Very Easy Arabic Mehndi Designs: Simple and Stunning Ideas to Try
Arabic mehndi designs are a beautiful and timeless form of henna art that have captured the hearts of people worldwide. Whether youâre new to henna artistry or simply looking for quick and effortless patterns, very easy Arabic mehndi designs are perfect for achieving elegance with minimal effort. This article dives into simple yet striking Arabic henna styles that anyone can master.
What Makes Very Easy Arabic Mehndi Designs Unique?
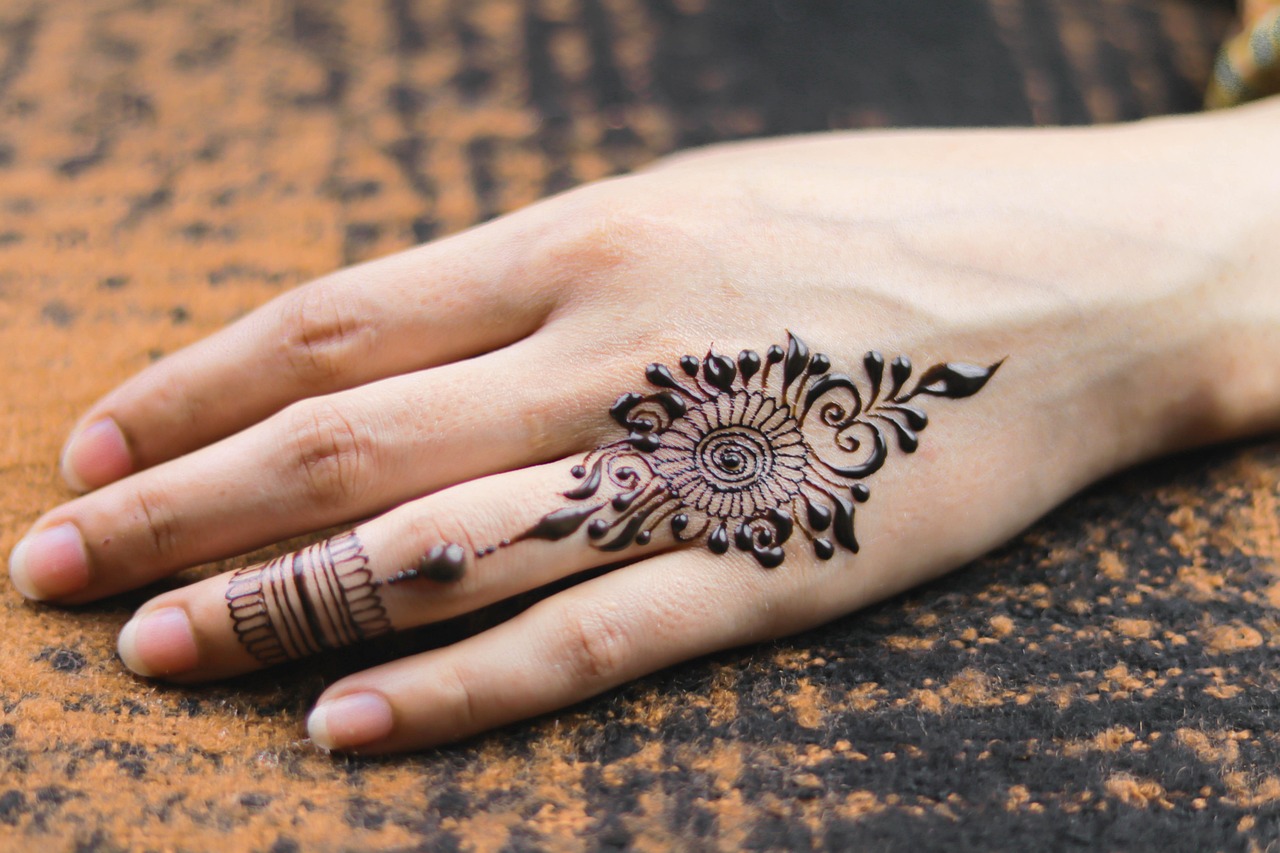
Arabic mehndi designs stand out due to their flowy patterns and minimalistic approach. Unlike heavily filled traditional designs, Arabic henna features sleek floral lines, gorgeous paisleys, and trailing motifs, often leaving negative spaces to enhance the designâs elegance. This makes them simpler and quicker to apply while still exuding charm and sophistication.
For beginners, starting with very easy Arabic mehndi designs is a great way to get hands-on experience without feeling overwhelmed.
What Are Some Popular Easy Patterns in Arabic Mehndi?
Some popular patterns you can try include:
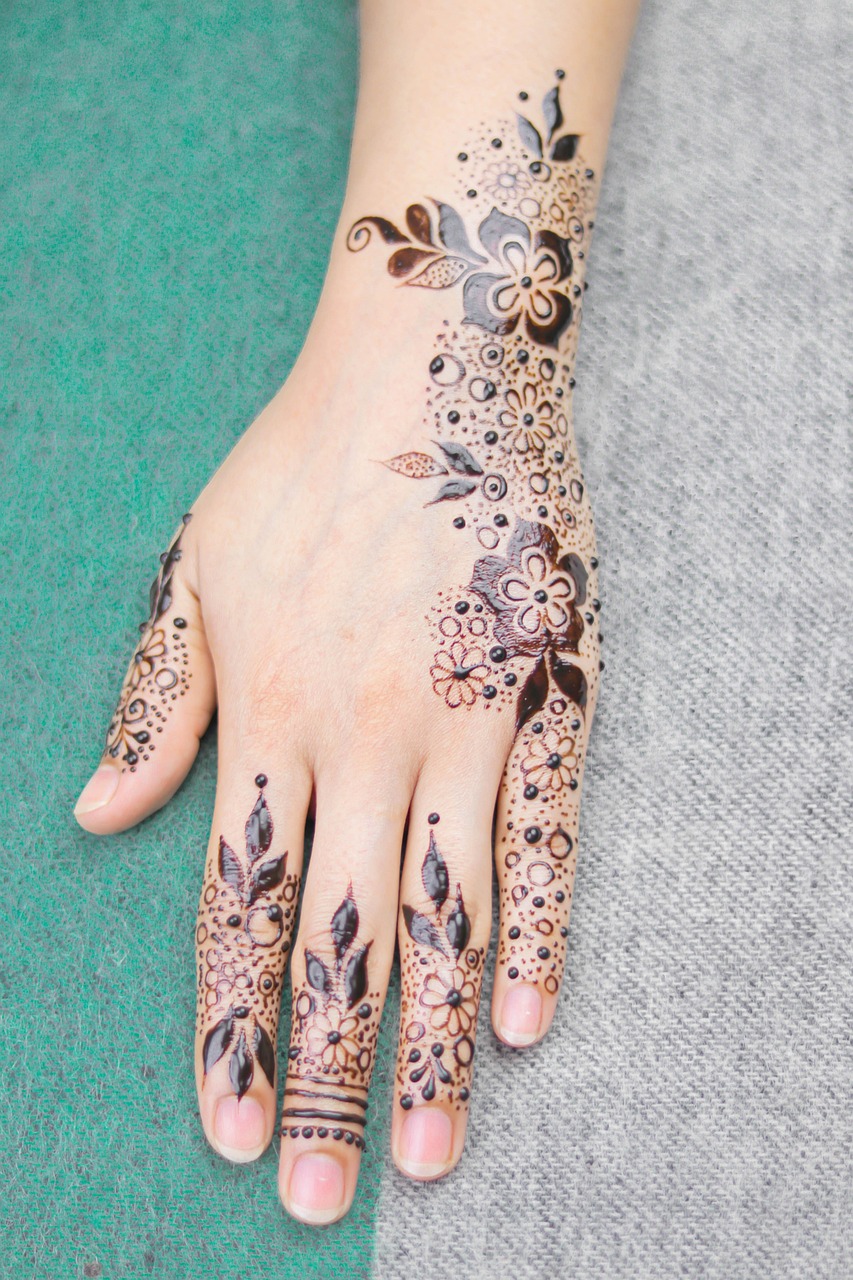
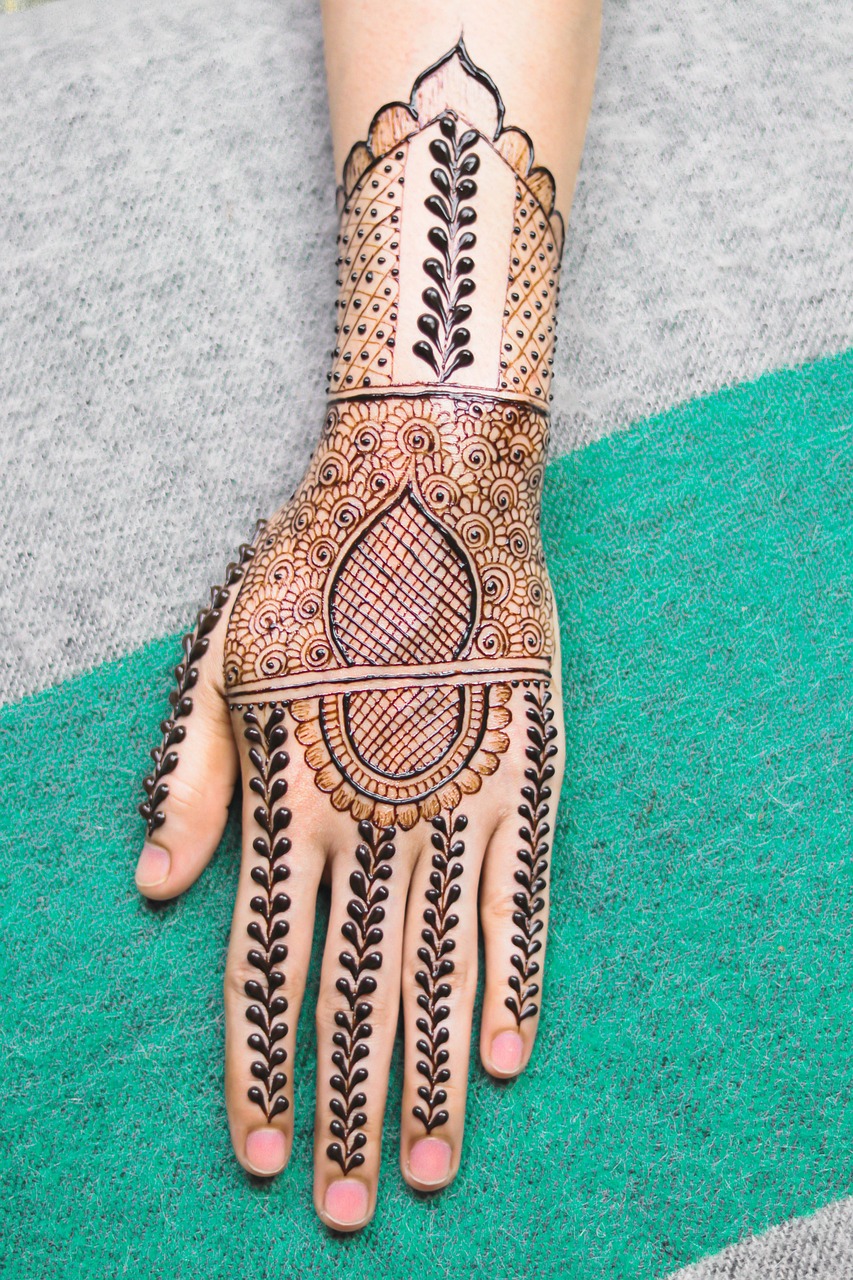
- Floral trails: Minimal, flowy vines with small flowers.
- Paisleys: Classic teardrop-shaped designs that are simple yet graceful.
- Finger detailing: Henna-covered fingertips with small mandala designs on the fingers.
Fun Fact: Origin of Arabic Mehndi Designs
Did you know that Arabic mehndi designs originated in Middle Eastern and Persian cultures, where simplicity and elegance were revered? These designs gained popularity due to their versatile and easy-to-draw patterns, and are now widely loved globally (source).
Tools and Tips for Creating Very Easy Arabic Mehndi Designs
All you need to start your Arabic mehndi journey are basic tools and some practice. The beauty of these designs lies not in their complexity but in their seamless flow. Using the right tools ensures cleaner and more defined patterns.
What Are the Must-Have Tools for Beginners?
- Henna cones: Pre-filled cones are easy to use and perfect for detailed designs.
- Practice sheets: Practicing on printed hand templates is a great way to build confidence.
- Fine-tip nozzles: Using cones with fine nozzles helps achieve precision.
Remember, patience and steady hands are key when working on very easy Arabic mehndi designs.
Pro Tip from Experts
Experts recommend starting with simpler floral trails and gradually moving on to elaborate vines. âWorking with small patterns first helps you master hand pressure and improve design symmetry,â says renowned henna artist Fatima Junaid.
Practical Guide for Effortless Arabic Mehndi Application
Now that you understand the basics and tools, itâs time to put your skills to the test. Arabic mehndi drawing doesnât require professional training, but following a practical step-by-step process can help reduce mistakes and improve your designs.
Whatâs the Step-by-Step Process for Applying Arabic Mehndi?
Follow these steps to get started:
- Wash and dry your hands to remove oils and impurities.
- Sketch your design on practice paper to create a plan.
- Start applying the henna cone to your hand, beginning with the wrist and working outward.
- Use small, light strokes to achieve clean and even designs.
- Allow the henna to dry for 2-4 hours for a rich stain.
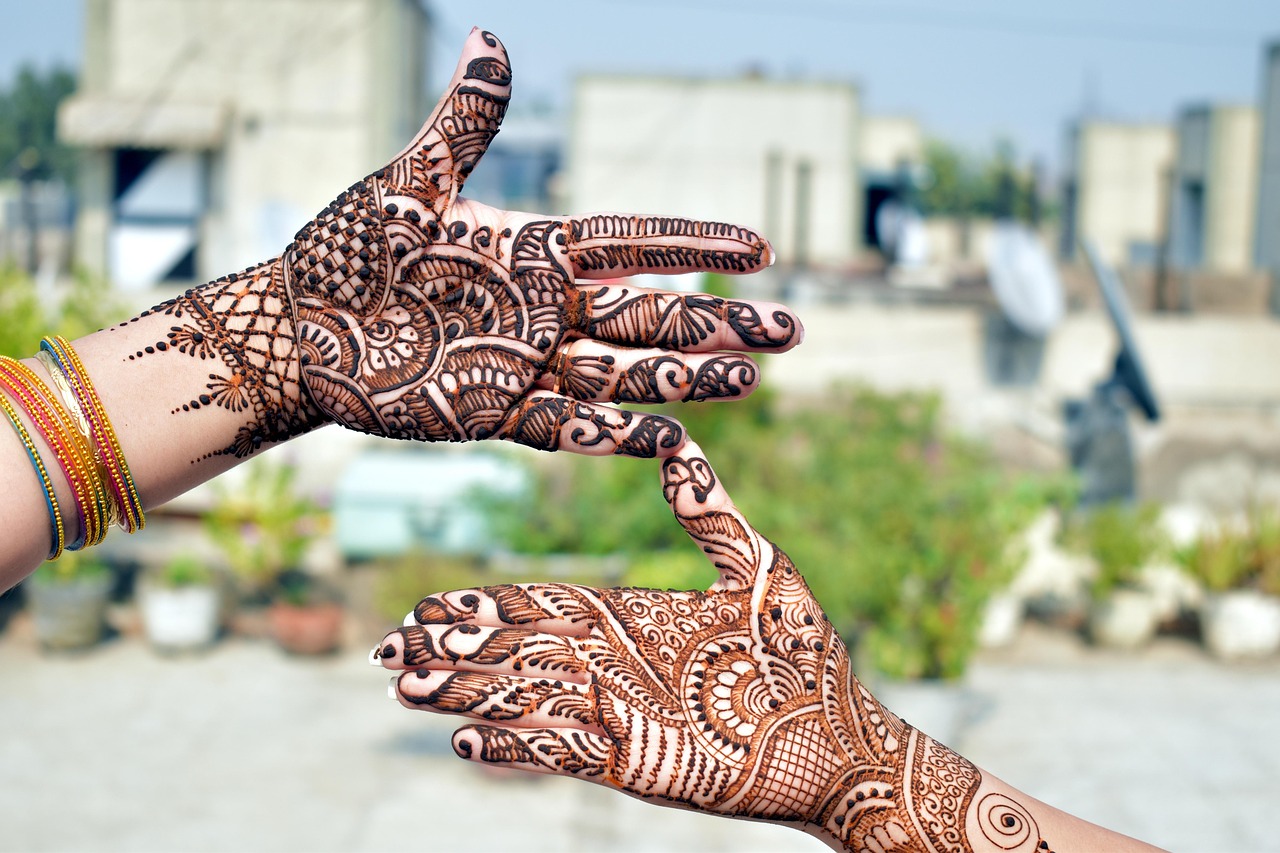
Case Study: Quick Mehndi Design for Beginners
A beginner practicing simple floral trails completed a full-hand Arabic mehndi design for her sisterâs engagement in just 30 minutes! By sticking to easy motifs like flowers and leafy vines, she achieved a graceful look without complexity.