
Simple Mehndi Design for Beginners Step by Step: Easy Guide to Get Started
Mehndi, also known as henna, is a timeless art form that has been cherished for centuries across various cultures. Whether it’s for a special occasion or just for fun, learning to create simple mehndi designs for beginners step by step allows anyone to explore creativity and add a personal touch to their artistry. If you’re new to mehndi, this guide will walk you through everything you need to know to confidently start your mehndi journey.
Understanding the Basics of Simple Mehndi Designs for Beginners
Mehndi design is an intricate and creative process, but for beginners, it’s important to start with basic patterns and techniques. These foundational steps not only help build confidence but also set the stage for mastering complex designs in the future. Let’s dive into the step-by-step process to create simple and beautiful mehndi patterns.
What Are the Best Simple Mehndi Patterns for Beginners?
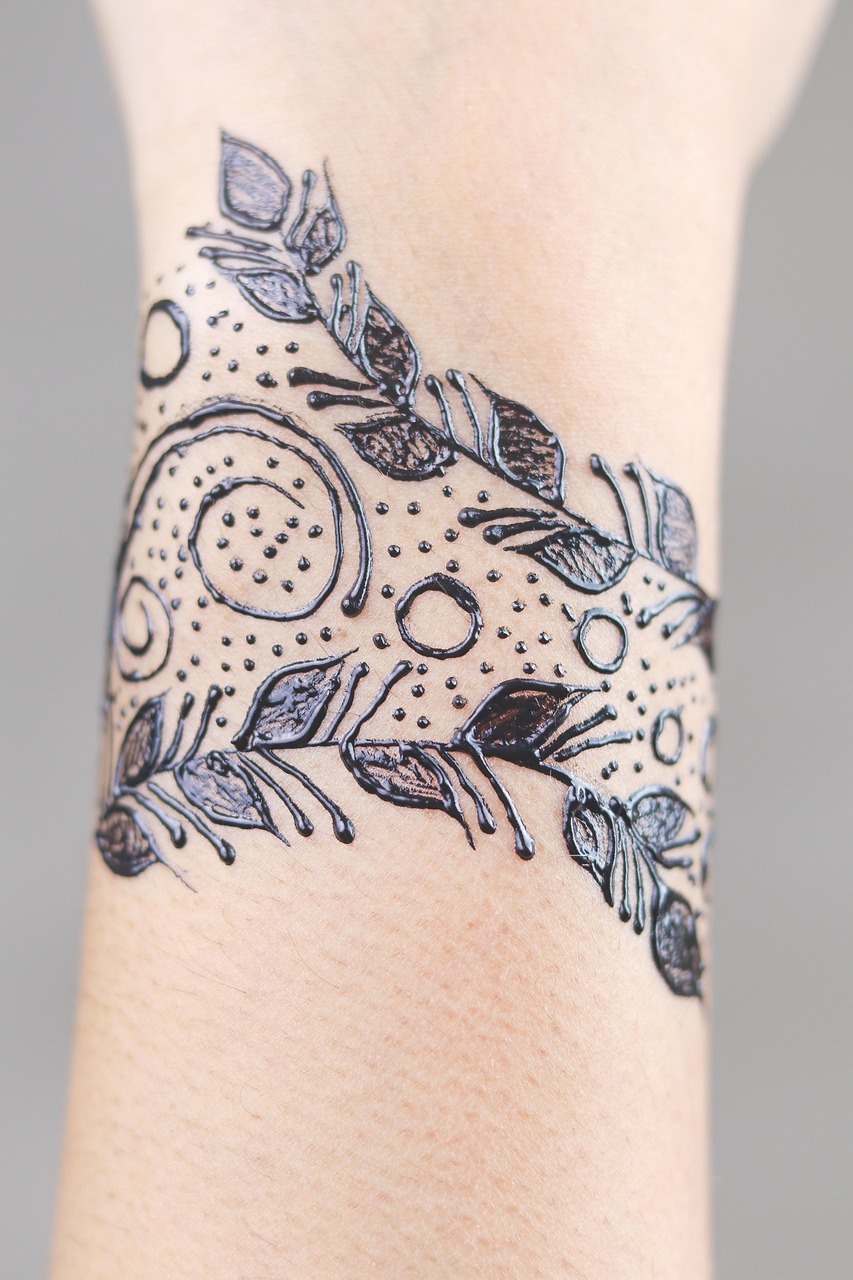
As a beginner, starting with basic patterns such as circles, lines, dots, and floral shapes is ideal. These elements are simple yet versatile and form the core of even intricate designs. Begin by practicing these shapes on paper before trying them on your hand or someone else’s.
Did You Know?
According to a study on henna use, mehndi has cultural and therapeutic benefits, such as its cooling effect and its role as a natural dye.
Simple Step-by-Step Mehndi Design for Beginners
Creating a simple mehndi design doesnât have to be overwhelming! Hereâs a step-by-step guide to help beginners get started:
- Step 1: Gather your supplies â fresh henna cone, tissue paper, and a reference design.
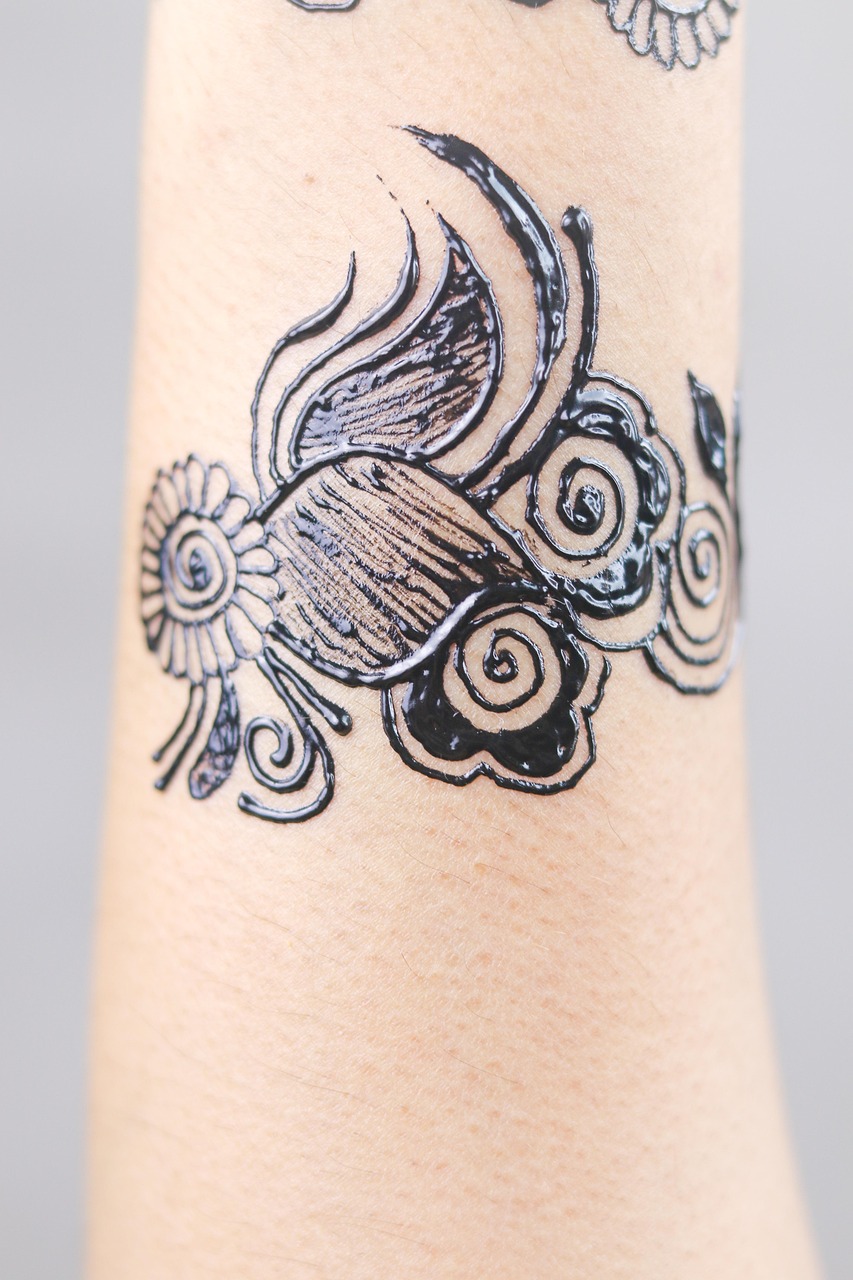
- Step 2: Begin by drawing small outlines of simple flowers or paisleys.
- Step 3: Add small dots and lines around the main design to enhance the details.
- Step 4: Practice filling negative spaces with grids, curves, or vines for a complete look.
- Step 5: Allow the mehndi to dry and set for at least 2-3 hours before removing.
How Do You Ensure Clean Lines in Mehndi Designs?
Maintaining steady hands is crucial for achieving clean lines. If youâre new, keep the henna cone tip small, and practice applying even pressure to ensure consistent flow.
Example Tip:
Experts recommend using pre-made cones with a fine tip to make it easier for beginners to create detailed patterns. Check out online tutorials and compare different brands for the best results.
Practicing Simple Mehndi Techniques for Beginners

Improving your mehndi skills doesnât happen overnight. Focus on practicing consistently using these ideas:
- Start with large floral shapes before moving to finer details.
- Use stencils or templates to guide your designs as a beginner.
- Practice on glass surfaces to refine your cone control.
Which Surfaces Are Best for Practicing Mehndi Designs?
In addition to paper, you can practice on plastic sleeves, fake skin, or even your own hand using water-based ink to mimic the real experience. This helps improve accuracy and precision.
Expert Insight:
According to renowned mehndi artist Veena Nagda, “Consistency in practicing basic strokes like dots, lines, and curves is the key to taking your mehndi skills to the next level.”
Conclusion: Start Your Mehndi Journey Today!
Learning simple mehndi designs for beginners step by step is both fun and rewarding. With patience, practice, and proper guidance, anyone can master the art of creating striking mehndi patterns. So go ahead, pick up a cone, and let your creativity flow!
If you found this guide helpful, donât forget to share it with your friends or bookmark it for future reference. Want more mehndi tips and tutorials? Subscribe to our newsletter for updates!