Simple Back Hand Mehndi Design for Beginners: Easy Tips and Tricks
Mehndi, or henna, is a timeless art form cherished worldwide for its cultural and aesthetic value. For beginners exploring this skill, starting with simple back hand mehndi designs can be an excellent first step. With these designs, you’ll not only learn the basics but also create beautiful patterns that are easy to replicate.
Whether you’re preparing for a festive event or just looking for a creative hobby, mastering simple back hand mehndi designs is a great way to build confidence and get started in this intricate tradition.
Simple Designs for Back Hand Mehndi: Key Elements
For beginners, itâs essential to focus on designs that are easy to create, yet elegant. These usually consist of basic motifs, repetitive patterns, and minimal detailing. Popular themes include floral designs, leaves, dots, and bold lines.
Here are some quick tips on key elements of simple back hand mehndi:
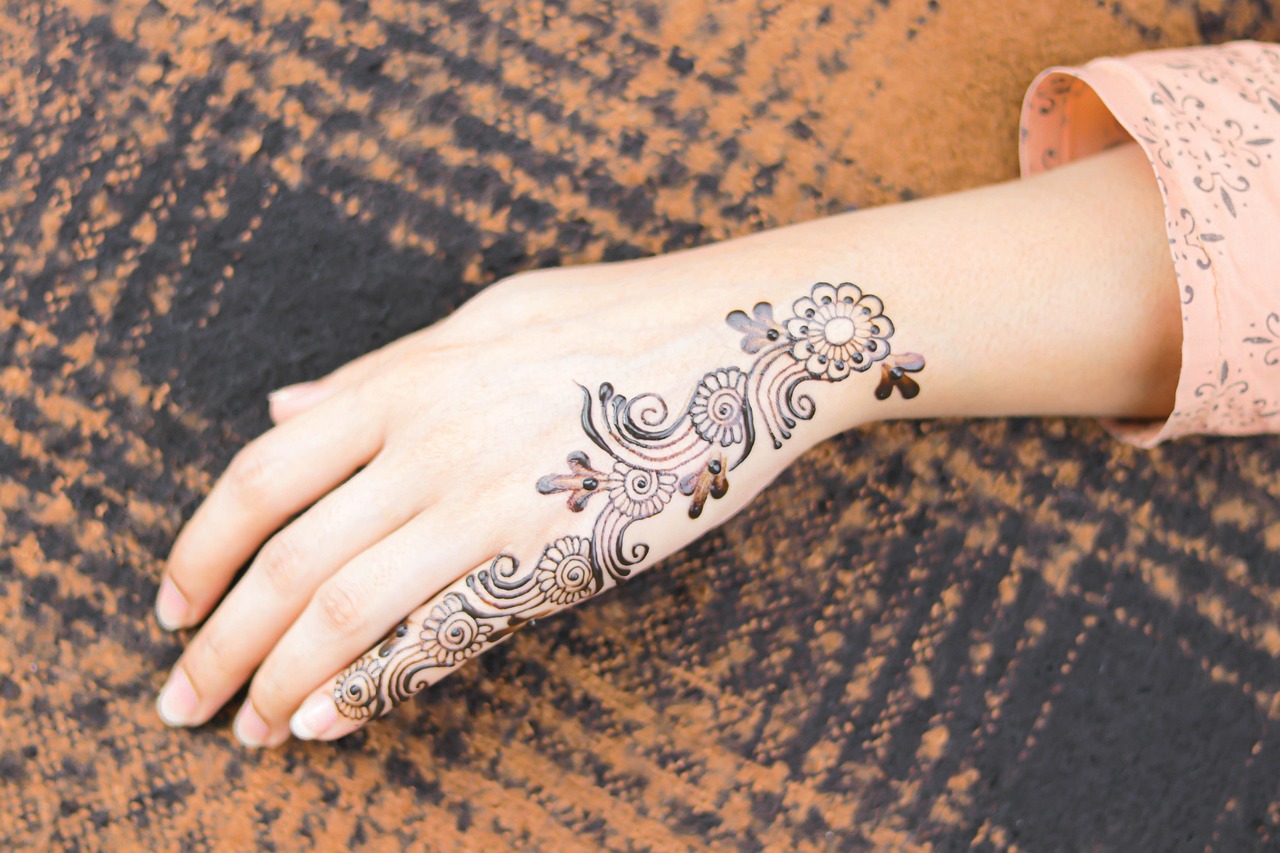
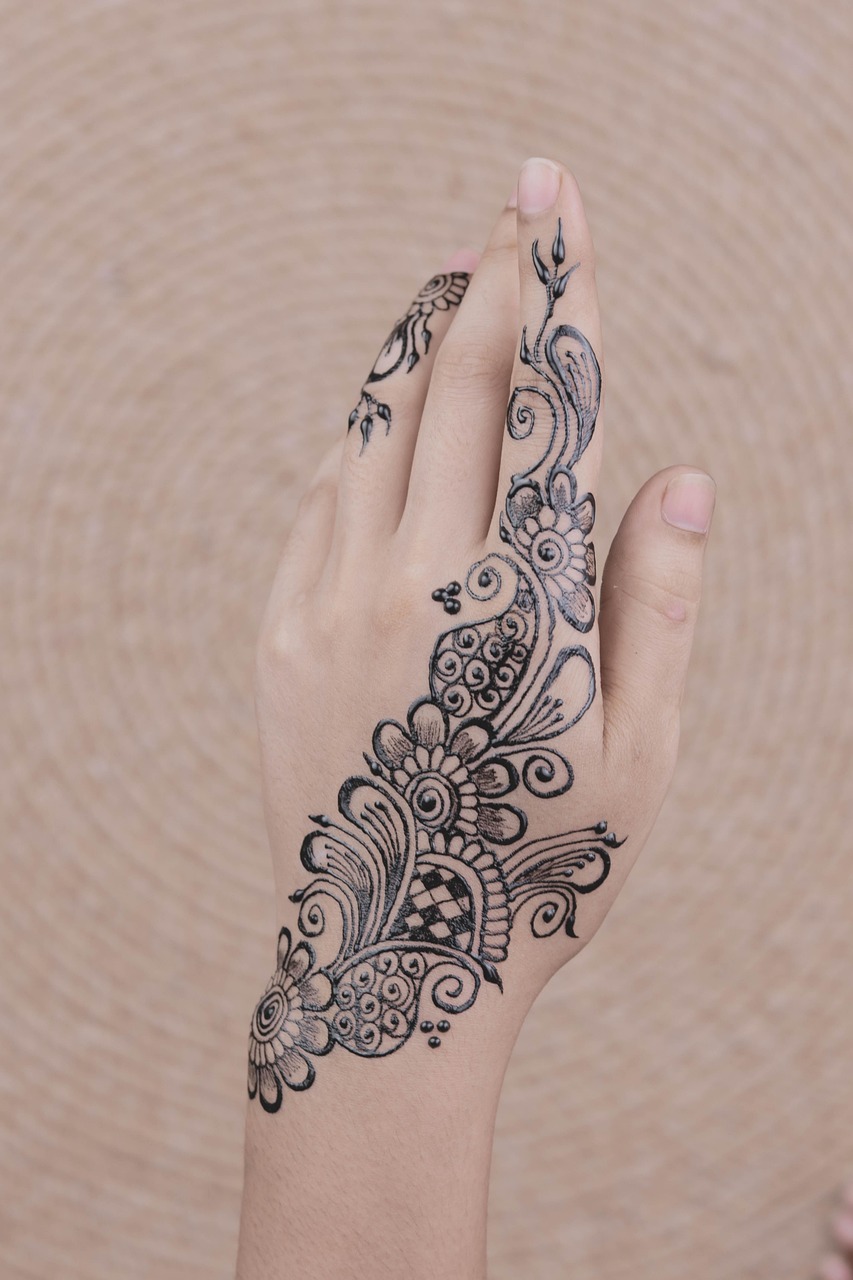
- Floral Patterns: Create small floral motifs that spread across the hand for a classy look.
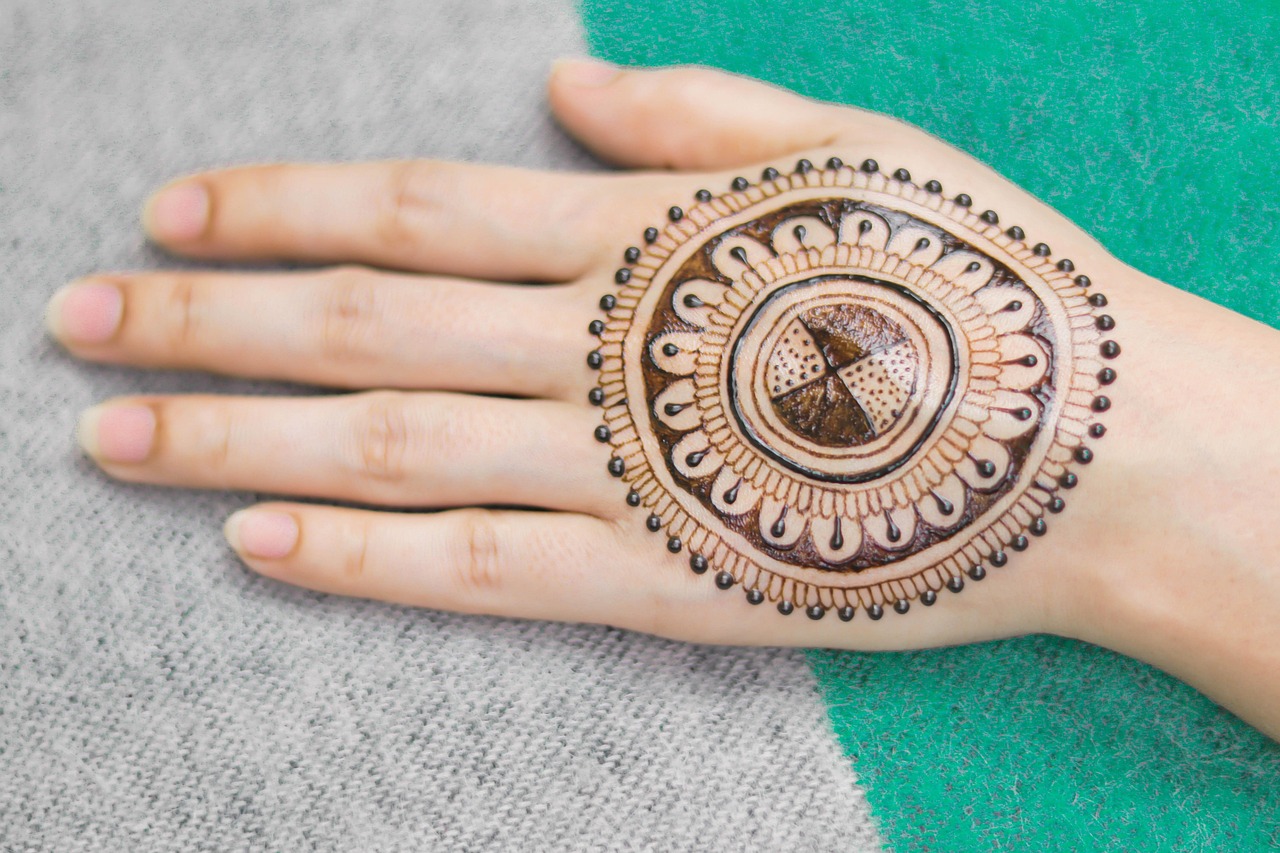
- Geometric Shapes: Combine circles, triangles, and straight lines to form creative designs.
- Minimalistic Styles: Focus on a single prominent pattern, such as a mandala, on the center of the back hand.
What are the easiest mehndi designs for beginners?
The easiest designs for beginners involve repetitive patterns like dots, vines, petals, and curved motifs. These are less time-consuming and help improve control over applying mehndi.
Fact: Origin of Mehndi Designs
Did you know that mehndi has been a significant part of cultural celebrations for centuries? According to Smithsonian Magazine, its use dates back to ancient Egypt where it was part of bridal and ritualistic customs.
How to Practice Simple Back Hand Mehndi Design
Practicing mehndi art involves the right techniques and tools. Start with a good-quality mehndi cone and practice basic strokes on paper first. Lines and curves are the foundation of every design, so perfecting these is critical.
How can beginners improve their mehndi skills?
Here are a few tips:
- Practice consistently for better control and precision.
- Follow tutorials or trace pre-drawn outlines to build muscle memory.
- Start small â focus on fingers or the wrist area before attempting full designs.
Example: Step-by-Step Guide
For example, draw a simple floral design using a small flower on the back of the hand’s center. Extend it with curving vines and add dots to fill empty spaces. This minimal design is both charming and easy to execute.
Additional Tips for Perfect Back Hand Mehndi
Once youâre confident with the basics, elevate your mehndi designs with these tips:
- Spacing: Leave sufficient gaps between elements to ensure the design looks clean and balanced.
- Skin Prep: Make sure your skin is clean and free from oil for better results and longer-lasting stains.
- Post-Application Care: Apply lemon-sugar mix to enhance the stain, and avoid washing the area for at least 6-8 hours.
What should beginners avoid in mehndi design?
Avoid overcrowding your design with excessive patterns as this can make it look cluttered. Ensure that your motifs are proportional and symmetrical to maintain aesthetic appeal.
Expert Insight
According to renowned mehndi artist Veena Nagda, “Simpler designs showcase the natural beauty of mehndi. For beginners, it’s not about complexity but precision and neatness.”
Conclusion
Learning simple back hand mehndi designs as a beginner is a fun and satisfying journey. With practice, patience, and a focus on basic patterns, youâll develop your skills and create stunning, professional-looking designs.
Ready to dive into the world of mehndi? Experiment with the designs mentioned above, share your creations with friends, or tag us on social media! Donât forget to subscribe to our blog for more mehndi tips and tutorials.