Simple and Easy Mehndi Designs Step by Step: A Beginner’s Guide
Mehndi, also known as henna, is a form of temporary body art that has been adorning hands and feet for centuries. The intricate patterns range from detailed bridal designs to minimalistic everyday looks. If you’re new to mehndi, don’t worry! This step-by-step guide will introduce you to simple and easy mehndi designs step by step, making it approachable and fun for anyone.
Let’s explore how you can master basic mehndi designs and create elegant patterns effortlessly.
Key Aspect of Simple and Easy Mehndi Designs Step by Step
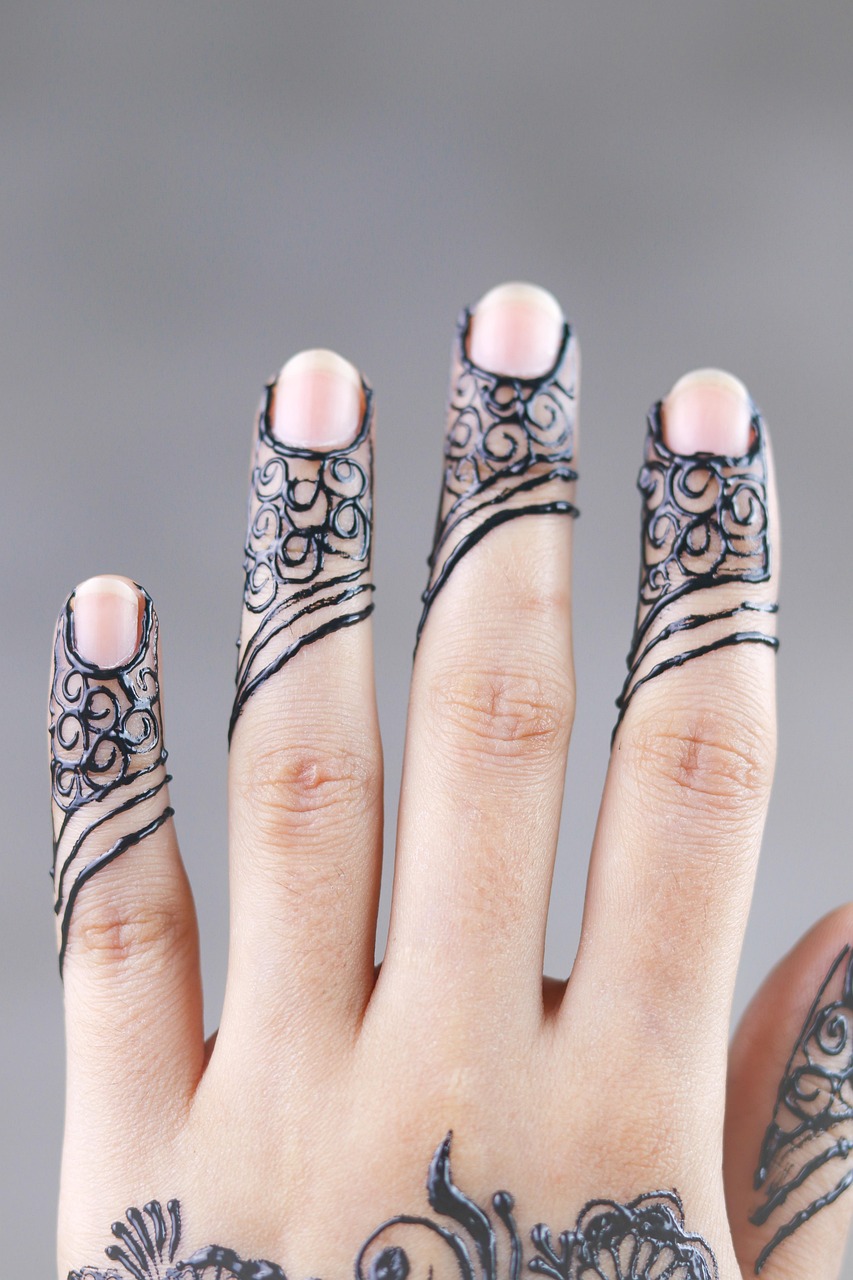
The foundation of creating beautiful mehndi designs lies in understanding basic patterns like dots, lines, and curves. These are the building blocks that make complex designs appear effortless. As a beginner, focus on simple shapes and gradually combine them to create intricate art.
What are the simplest mehndi patterns for beginners?
For beginners, floral motifs, circular patterns, and basic geometrical shapes are the easiest. Start by drawing small flowers, spirals, and half-circles on paper before replicating them on your hand.
External Information – Fact or Statistic
According to research by The Henna Page, mehndi designs originated over 5,000 years ago and were initially used for their cooling properties. Today, itâs a globally celebrated art form.
Understanding Symmetry and Flow in Mehndi Designs
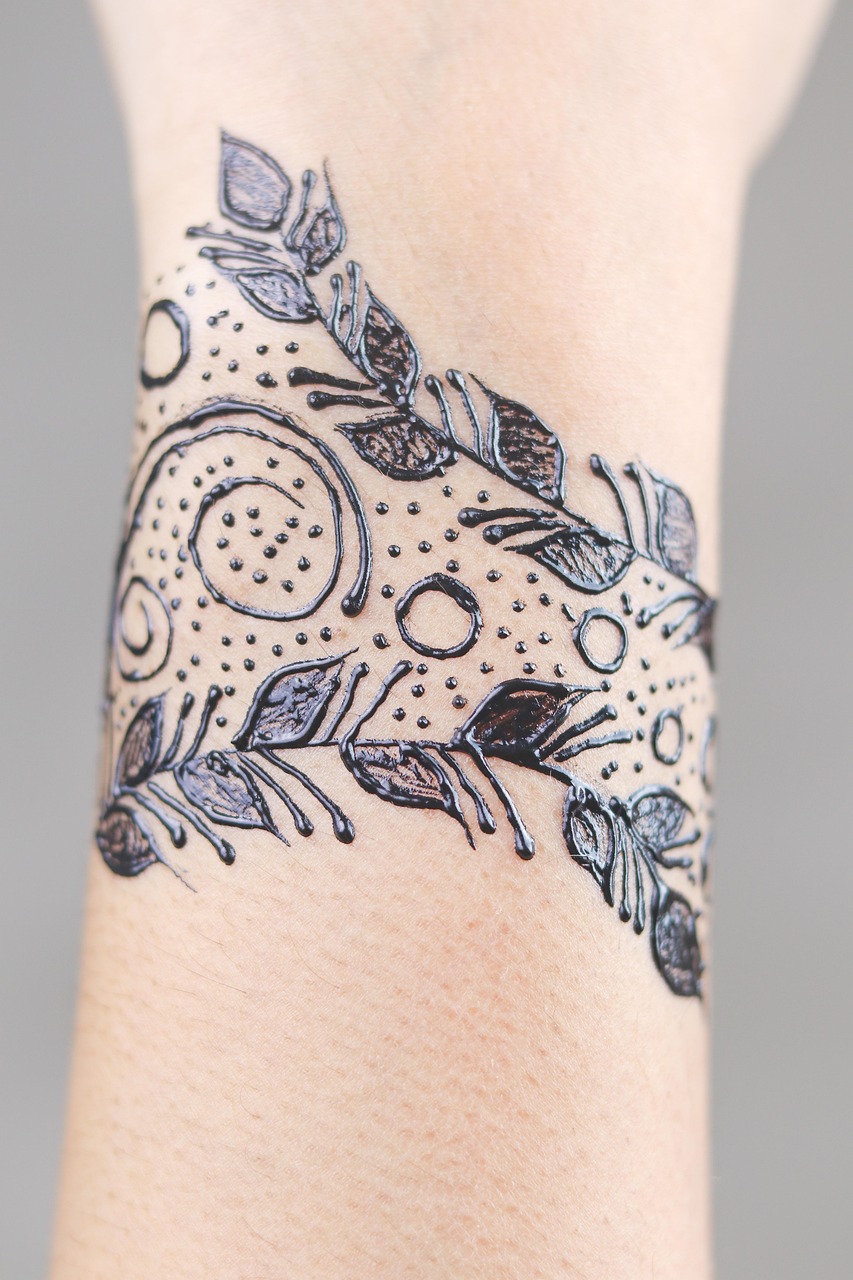
Another important aspect of simple and easy mehndi designs step by step is maintaining symmetry and flow. Symmetry adds balance to your patterns, and a cohesive flow ensures that the design looks connected and intentional.
How can I ensure my mehndi design looks balanced?
To create balance, start by applying a central motif on the palm or back of the hand. Then, build the design outward, filling the blank spaces with mini dots, leaves, or vines. Use a light pencil sketch to guide your pattern if needed.
External Information – Example or Case Study
Renowned henna artist Darcy Vasudev often shares tips on symmetry, emphasizing that starting small and working outward is the key to beautiful designs.
Practice Makes Perfect: Tips for Mehndi Success
Perfecting mehndi designs takes time, but consistent practice can help you master it quickly. Here are a few practical tips to get started:
- Use a mehndi cone with a fine tip for better control.
- Practice basic shapes, lines, and dots on paper before applying on hands.
- Experiment with different pressure levels to create thick or thin lines.
Whatâs the best way to prepare mehndi paste at home?
To prepare fresh mehndi paste, mix henna powder with lemon juice, sugar, and a few drops of essential oils like eucalyptus. Let it sit overnight for rich, dark results before using.
External Information – Expert Tip
Henna expert Catherine Cartwright-Jones advises keeping the mixture consistent and smooth to avoid clogs in the mehndi cone. She highlights the importance of using fresh henna for vibrant results.
Conclusion
Thereâs no need to feel intimidated by mehndi anymore! By following this guide on simple and easy mehndi designs step by step, youâll be able to create stunning patterns with confidence. Remember to start with basic designs, focus on symmetry, and practice consistently for steady improvement.
Are you ready to elevate your henna skills? Share your progress in the comments below or subscribe to our newsletter for more DIY beauty tips!
