
Simple and Easy Mehndi Designs for Hands: A Beginner’s Guide
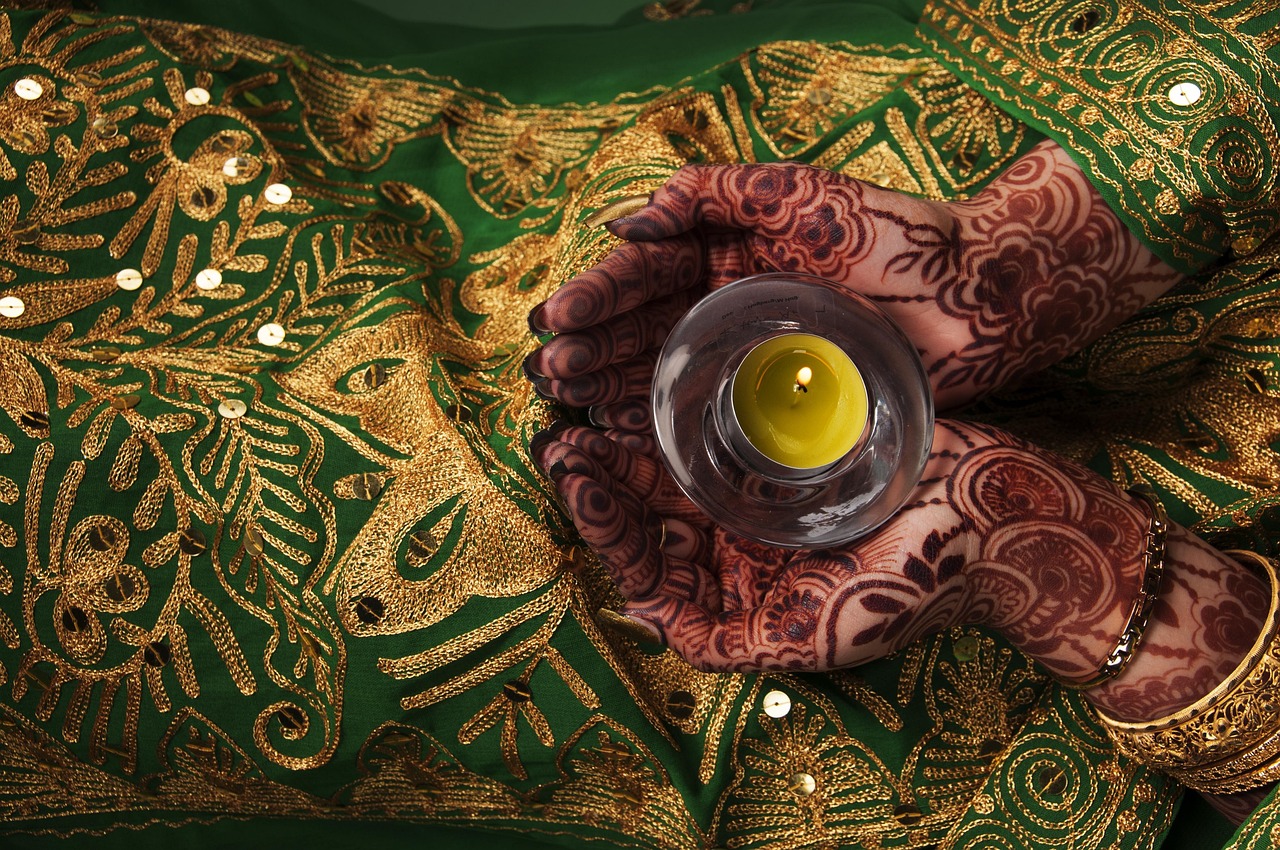
Mehndi, also known as henna, is a timeless body art tradition that’s not only beautiful but also deeply rooted in cultural significance. Whether you’re preparing for a festival, wedding, or simply want to try your hand at this art, opting for simple and easy mehndi designs for hands is a great way to begin. These designs are perfect for beginners and those looking for intricate yet quick patterns without the hassle. Letâs explore the charm and practicality of simple mehndi designs that anyone can master!
The Beauty of Simplicity: Why Choose Simple and Easy Mehndi Designs for Hands?
Simplicity in mehndi designs doesnât just make application easierâit highlights the elegance of traditional patterns with minimal effort. Simple designs often feature clean lines, floral patterns, and repetitive motifs like paisleys, which are universally flattering and easier to draw.
What Are the Best Simple Mehndi Designs to Try for Beginners?
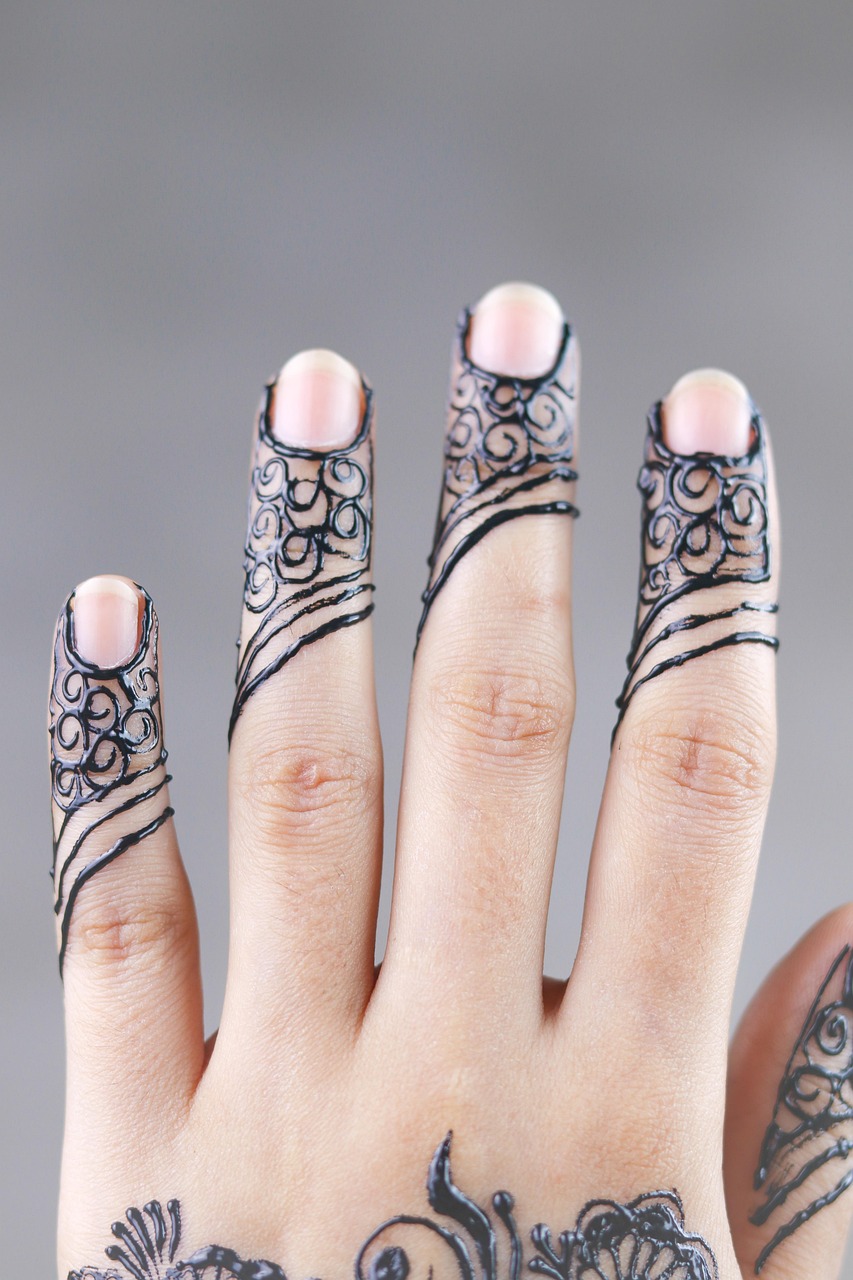
Beginners can start with minimalistic patterns like flowers, leaves, or basic geometric shapes. Designs such as gol tikka (a circular centerpiece) or simple vines across the fingers work wonders if you’re just starting! These patterns not only look stunning but also allow for easy application without requiring professional expertise.
Fun Fact: Did You Know?
According to a report by National Geographic, henna has been in use for over 5,000 years, originating as a cooling agent for the body before evolving into a medium for artistic expression in cultures worldwide.
Quick and Creative Mehndi Design Hacks
If youâre short on time, there are many ways to make your mehndi designs pop without going overboard. Stencil art and pre-designed practice sheets are perfect for anyone who struggles with freehand drawing. You can also use tools like toothpicks or markers for precision!
How Do Stencils Help in Mehndi Application?
Using stencils is a foolproof way to achieve professional-looking mehndi designs. Simply place the stencil over your hand, fill the gaps with henna paste, and peel off the stencil once the paste begins to dry. This hack is popular among beginners and saves time while ensuring precise lines.
Case Study: The Rise of Pre-Cut Stencils
A growing trend in the mehndi space is the use of stencils, readily available in markets and online stores. Brands like “Amazon” and “Etsy” report an increase in their stencil sales during festive seasons like Eid or Diwali, catering to the demand for quick and efficient designs.
Tips for Achieving Stunning Simple Mehndi Designs
Success with mehndi lies in the small details. From preparing high-quality henna paste to correctly maintaining the application process, these tips can make all the difference in getting vibrant, long-lasting designs.
How Can You Make Mehndi Color Darker for Simple Designs?
To achieve a rich, dark color, ensure you leave the paste on your hands for at least 6-8 hours. Using natural darkeners like lemon and sugar water or even steam after removing the dried paste can help deepen the color. Avoid contact with water immediately after scraping off the dry mehndi for the best results.
Expert Tip from a Henna Artist
Renowned henna artist Pavan Dhanjal, featured in the Guinness World Records, suggests that storing freshly mixed henna paste in warm conditions and using freshly squeezed lemon juice in the mix enhances the longevity and intensity of the stain.