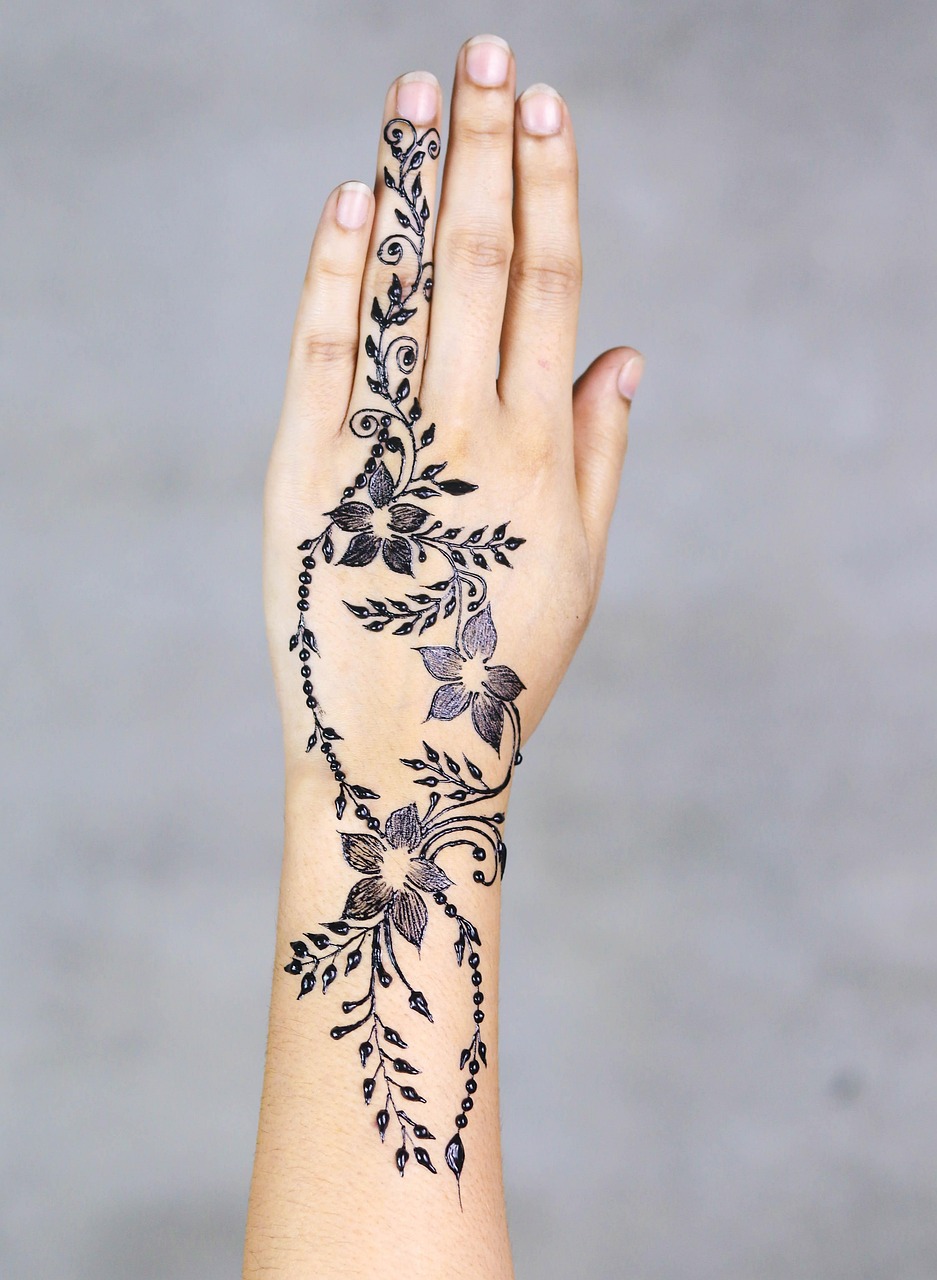
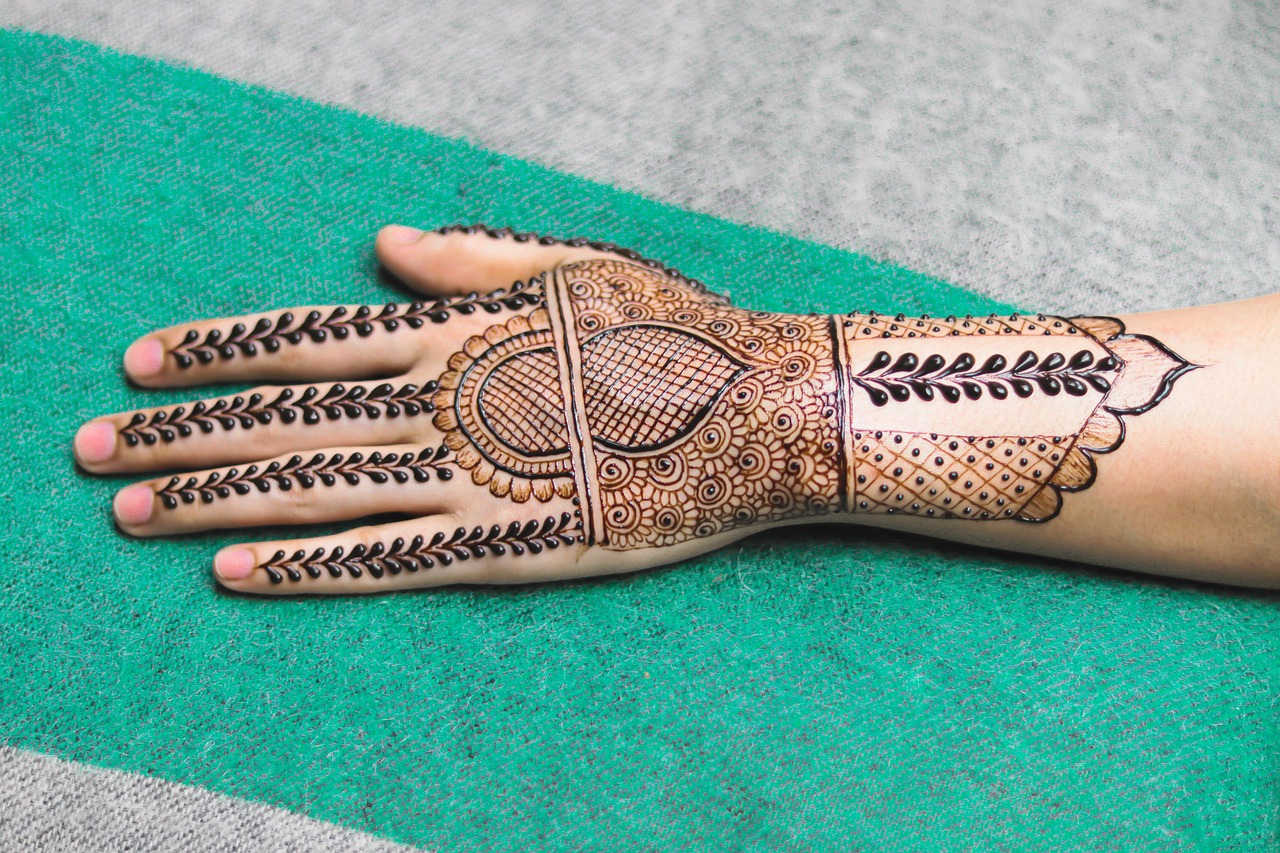
Creating Stunning Mehndi Designs with Pencil: A Beginner’s Guide
Mehndi design is a beautiful art form cherished for its intricate patterns and cultural significance. While traditional henna cones remain popular, using a pencil for drawing mehndi designs has emerged as a beginner-friendly method. Whether you are learning the basics or refining your skills, using a pencil offers precision and flexibility. In this blog, weâll explore how to create mesmerizing mehndi designs with a pencil, answer common questions, and share pro tips.
Why Use a Pencil for Mehndi Design?

The pencil method has gained popularity due to its simplicity and reliability. Itâs ideal for beginners who want to practice without committing to permanent styles. You can draft patterns, erase mistakes, and perfect your design before applying henna. This approach enhances your confidence while improving accuracy.
How Can Beginners Benefit from the Pencil Method?
Beginners can use a pencil to avoid the stress of making irreversible mistakes. By starting with pencil sketches, they can master the symmetry, flow, and intricate details of mehndi designs. This step ensures that their final henna application looks flawless.
The Importance of Practice in Mehndi Art
According to art experts, practice is crucial for honing any skill. Studies show that repetitive practice, even for 15-20 minutes daily, significantly improves pattern quality over time (ResearchGate).
How to Create Mehndi Designs Using a Pencil
To create stunning mehndi designs with a pencil, itâs crucial to follow a systematic approach. Hereâs how you can get started:
- Choose a high-quality, sharp pencil for precise lines.
- Lightly sketch your design on the skin or paper to avoid smudges.
- Start with simple motifs like paisleys, flowers, or vines and move towards more intricate patterns as you progress.
- Once satisfied with your draft, trace the design with henna paste for a professional finish.
How Do I Erase Mistakes Made with a Pencil?
One of the advantages of using a pencil is the ability to quickly erase mistakes. Use a soft eraser to remove unwanted marks without damaging the paper or skin. For better results on skin, consider wiping lightly with a damp cloth.
Example: Successful Pattern Drafting
A professional mehndi artist once noted how she used pencil sketches to plan bridal designs, helping her achieve symmetry and perfection. She shared her experience on a popular art forum, emphasizing the pencil methodâs role in mastering complex patterns (Artsy).
Essential Tips for Beautiful Results
Even with the pencil method, following certain tips can elevate your designs. Here are some practical suggestions to enhance your output:
- Use stencils or templates if youâre struggling with freehand patterns.
- Keep your hands steady while sketching for better precision.
- Practice popular designs to improve pattern consistency.
- Experiment with various pencil thicknesses to add depth and dimension.
What Should I Do After Completing a Pencil Sketch?
After finishing your sketch, carefully trace it with henna paste. Ensure the paste flow is smooth, and follow the pencil outlines for clean, professional results. Allow the henna to dry completely for vibrant, long-lasting stains.
Professional Insights for Perfect Mehndi
Renowned mehndi artist, Anita Dongre, advises beginners to sketch regularly to refine their artistic style. In her words, “Start small, dream big, and practice often to turn your mehndi designs into masterpieces” (Vogue).
Conclusion
Mehndi design with a pencil is the perfect way to boost your creativity and confidence. It enables beginners to practice intricate patterns with ease and precision. By starting with pencil sketches, you can refine your skills and achieve professional quality mehndi art. So, why wait? Grab your pencil and start designing today!
If you enjoyed this blog, subscribe to our newsletter for more useful tips and inspiration. Share this article with friends and help them embark on their mehndi journey too!