Master the Art of Mehndi with an Easy “Mehndi Design Step” Guide
Mehndi, also known as henna, has been a timeless tradition in many cultures. Whether itâs for a wedding, festival, or casual celebration, mehndi holds significant cultural and aesthetic value. If you’re new to mehndi and want to learn how to create stunning designs step by step, this guide is perfect for you. In this blog, weâll break down the “mehndi design step” process in a way that’s easy to follow, so you can start creating intricate patterns like a pro!
Step-by-Step Breakdown: Key Aspect of “Mehndi Design Step”
The foundation of beautiful mehndi art lies in learning to build designs progressively, rather than attempting intricate patterns all at once. Here’s a detailed guide to getting started:
- Start with the Base: Begin with basic shapes such as dots, lines, or circles. These are the building blocks of any mehndi design.
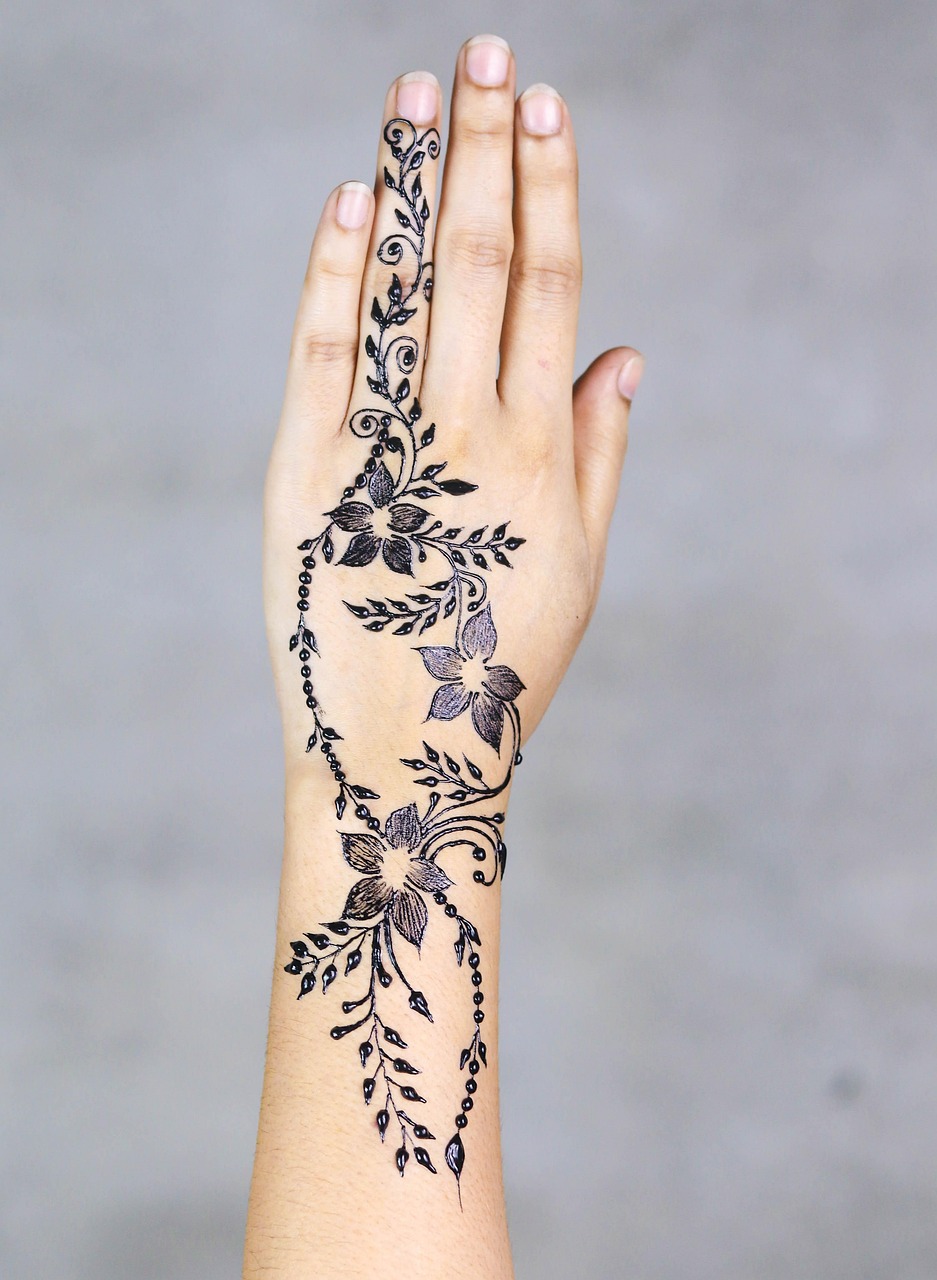
- Create Motifs: Use simple motifs like flowers, paisleys, or vines to establish your design structure.
- Layer It Gradually: Build upon your base by adding finer details like shading, strokes, or additional layers around your motifs.
What is the best type of mehndi cone for beginners?
For beginners, it’s recommended to use pre-filled, ready-to-use mehndi cones. They are easier to handle and come with a fine tip for precision. Look for natural and chemical-free cones to ensure safety and better results.
Research-Backed Insight
According to a study by Britannica, the art of henna dates back over 5,000 years, making it one of the oldest body art traditions in human history. Its enduring popularity owes much to the flexibility of designs and the skill of artists.
Enhancing Skills: Another Key Insight
Once you’re comfortable with basic designs, itâs time to enhance your skills by exploring various styles, such as Arabic, Indian, and Moroccan mehndi designs. Each has its unique characteristics and charm.
How long does it take to master mehndi designs?
Mastering mehndi designs depends on consistent practice. Beginners can create simple designs within a couple of weeks. However, advanced artists may take months or years to develop a skilled hand capable of crafting intricate patterns.
Case Study: Becoming a Mehndi Pro
Many experts recommend dedicating 15-30 minutes daily to practicing specific elements, like leaves or paisleys. For instance, Vandana Mehndi, a renowned henna artist, shared that focusing on one style at a time can accelerate your learning curve.
Expert Tips: Additional Useful Insight
For the best results, always prepare your hands and workspace. Clean, dry hands ensure smoother application, and having all materials ready saves time.
What’s the secret to long-lasting mehndi color?
The color depth of mehndi depends on several factors, including quality, skin preparation, and aftercare. Always let the mehndi dry naturally and avoid washing it off prematurely. Applying lemon-sugar solution and leaving it on overnight can darken the stain.
Expert Tip
According to professionals at Mehandi.com, using natural henna powder and mixing it with essential oils like lavender or eucalyptus can enhance the color intensity while providing a soothing fragrance.
Conclusion: Create Stunning Mehndi Designs with Confidence!
Learning the art of mehndi involves understanding the “mehndi design step” process, practicing consistently, and paying attention to detail. Start small, be patient with your progress, and explore different styles until you find your signature touch. If you found this guide helpful, share it with your friends or subscribe to our blog for more tips and tricks. Happy designing!