Mehndi Design Simple and Easy Step by Step: A Complete Guide
Are you looking to master the art of mehndi with simple and easy designs? Mehndi, also known as henna, is a timeless tradition and an integral part of many cultures, used to adorn hands and feet with intricate patterns. In this blog, weâll break down “mehndi design simple and easy step by step” to help beginners create stunning designs effortlessly. Keep reading to discover easy techniques, tips, and inspiration!
Step 1: Preparing for Your Mehndi Design
Before you start designing, it’s essential to prepare your materials and workspace. This ensures a smooth process and the best results. All you need is a ready-made henna cone, a clean surface, and a little creativity.
- Clean your hands: Wash your hands thoroughly to remove any oils or lotions that may block the henna stain.
- Set up your workspace: Use tissues and a clean table to keep your henna cone and tools organized.
- Pre-draw your design: Using a pencil, lightly sketch your patterns if youâre unsure about freehand practice.
What is the easiest mehndi design to start with?
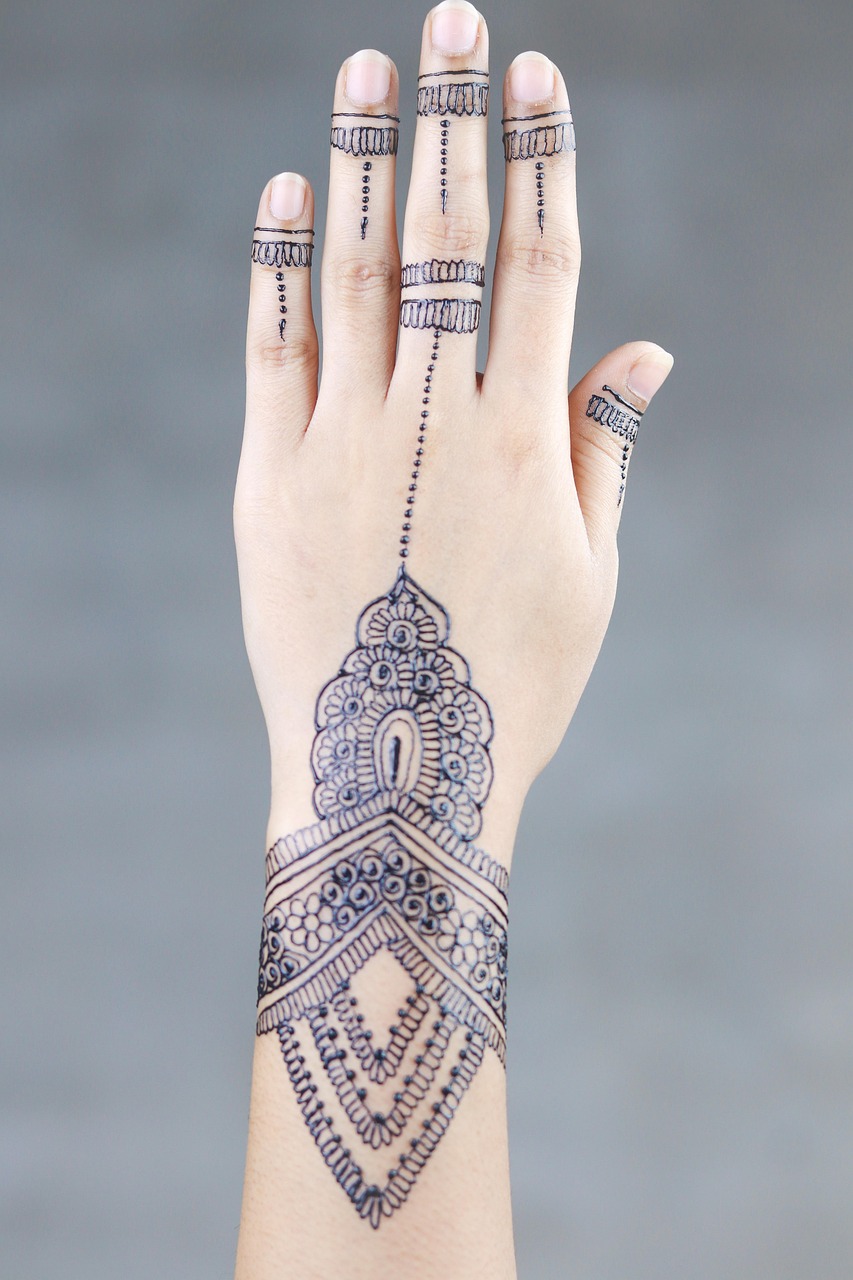
Beginner-friendly mehndi designs often include simple floral patterns, dots, and curved lines. Start with a central design like a flower and build outward with repeating motifs such as petals, swirls, and vines.
Did You Know?
According to a Cosmopolitan beauty study, over 65% of DIY enthusiasts prefer simple mehndi designs for occasions like festivals or weddings due to their ease and quick application time.
Step 2: Mastering Basic Mehndi Patterns
Once youâve set up your workspace, itâs time to create basic patterns. Donât worry if youâre newâpractice and simplicity are key! Below are the steps to craft easy patterns:
1. Start with simple dots and lines. Draw a group of 3 to 5 dots in a straight or curved formation.
2. Add a flower design at the center of your palm. Begin with a small circle surrounded by teardrop shapes.
3. Create vines and loops extending from the flower. Use small curved lines to form leaves.
Can I achieve neat designs as a beginner?
Yes, with a steady hand and patience, you can achieve decently neat designs. Start small and avoid overcomplicating your patterns. Keep practicing simple combinations to build confidence.
Case Study: A Beginnerâs Journey
Maria, a college student, started practicing 15 minutes a day while using online tutorials. Within a month, she mastered simple floral and mandala designs. Her tip? âPatience is key, and small repetitive strokes form the best designs.â
Step 3: Practical Tips for Enhancing Your Mehndi Skills
As you progress, refine your skills by experimenting with shading, spacing, and symmetry. These tips will help elevate your designs:
- Consistency: Maintain even pressure on the cone to ensure smooth lines.
- Practice shading: Use small dots and tapered lines to create a shaded effect.
- Patience: Let the henna dry completely for darker stains.
What are the best practices for long-lasting mehndi stains?
To maximize your mehndi stain, keep it on for at least 5-6 hours and avoid washing with soap immediately after removing the dried paste. Applying lemon-sugar water on the design helps deepen the color.
Expert Tip
According to mehndi artist @Henna.Blogger, âThe longer you leave the henna paste, the darker and more vibrant your stain will be. Also, keep your hands warm during the process for a richer outcome.â
Conclusion
Creating a beautiful “mehndi design simple and easy step by step” is an art that anyone can learn with practice. Start with the basics, master simple patterns, and gradually progress to intricate designs. Whether for festivals, weddings, or casual occasions, these tips and techniques will help you create stunning mehndi designs.
Ready to try your first mehndi design? Share your experience with us and tag your creations online! Donât forget to subscribe for more mehndi tutorials, tips, and inspiration.