
Master Mehndi Art: Mehndi Design Practice Step by Step for Beginners
Mehndi design is a centuries-old art form that is not only beautiful but also deeply rooted in tradition. For beginners, learning this intricate skill might seem daunting, but with the right approach and consistent practice, anyone can create stunning designs. This guide will walk you through **mehndi design practice step by step**, helping you master the basics and unlock your creativity.
Understanding the Basics of Mehndi Design Practice Step by Step

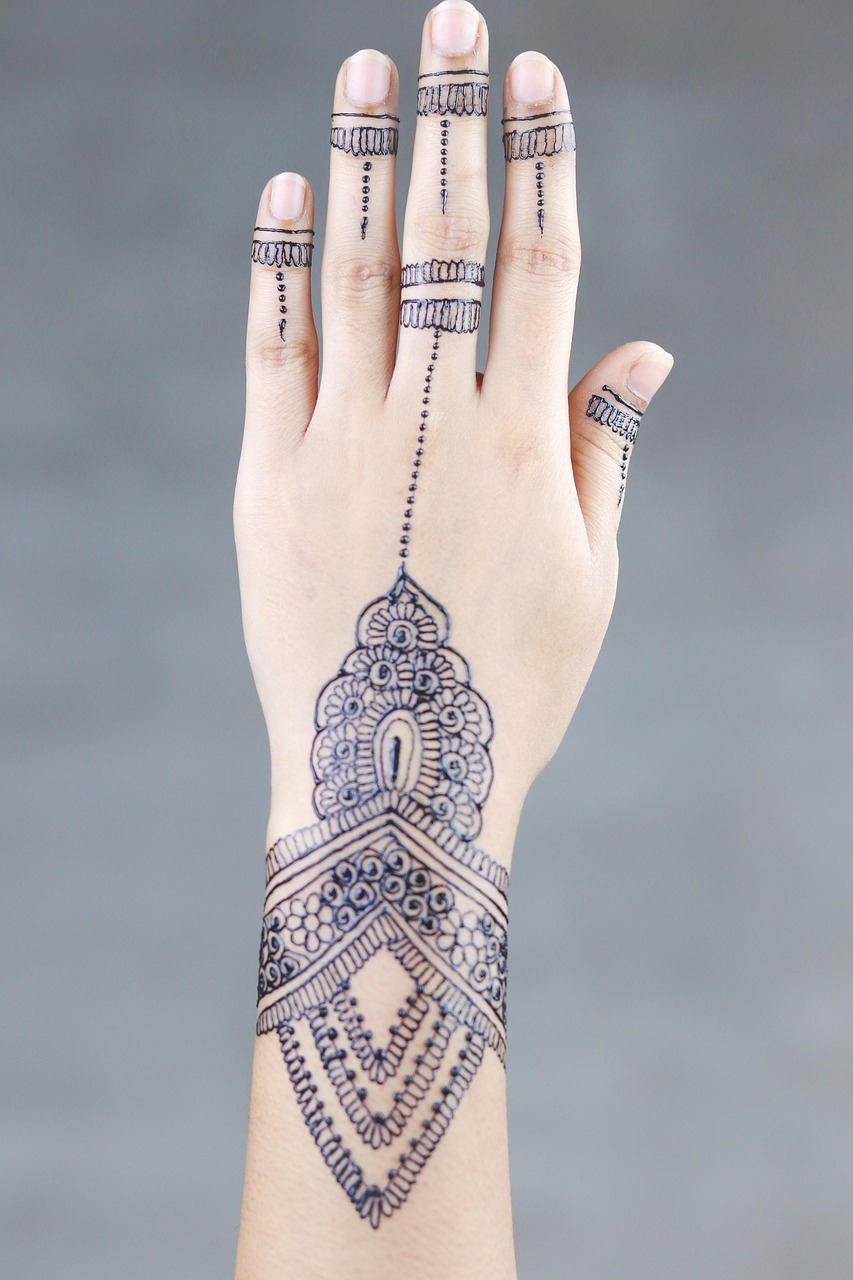
To excel in mehndi designing, itâs crucial to start with the basics before moving to intricate details. Mehndi art revolves around mastering key shapes like circles, dots, lines, and curves, which are the foundation of all complex patterns.
Why is practising shapes important in mehndi design?
The first step towards achieving flawless mehndi designs is perfecting simple shapes. These shapes combine to create motifs such as flowers, paisleys, and geometric patterns. Consistent practice helps improve symmetry, which is essential in mehndi art.
Fact: Shapes as Building Blocks
According to professional mehndi artists, about 80% of mehndi designs are variations on basic shapes and patterns like circles, curves, and dots. Practising these consistently is the stepping stone to creating professional-grade designs. (Source)
Step-by-Step Practice Techniques to Improve Your Mehndi Design
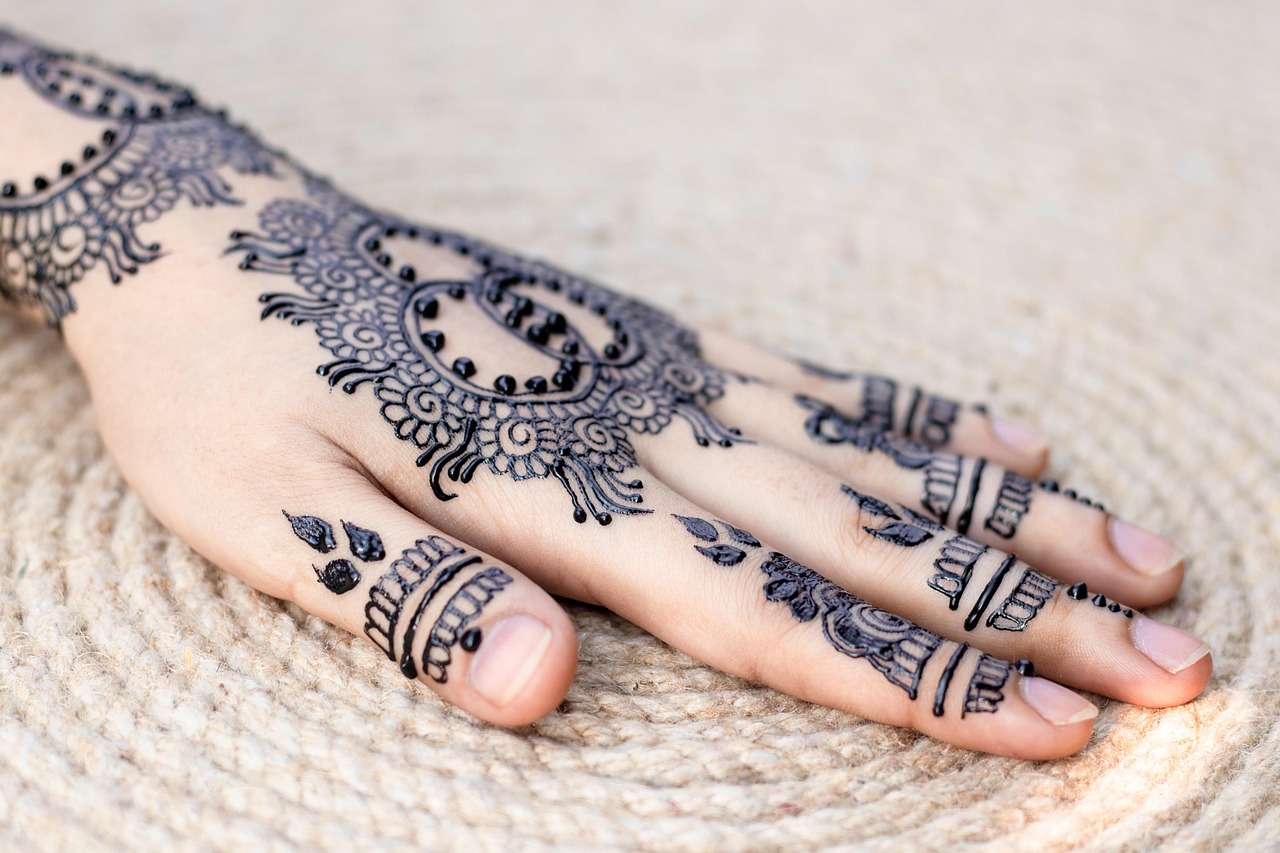
After mastering the basic shapes, follow a structured approach to practice and experiment with patterns. Having an organized routine will allow you to refine your technique and discover your unique artistic style.
What tools are needed for mehndi design practice?
To begin, you’ll need a mehndi cone, a notebook or practice sheets, and a steady hand. Start by lightly sketching designs if youâre unsure, then use the cone to draw over them. Over time, increase your practice on real skin surfaces for a more authentic feel.
Case Study: A Beginnerâs Journey to Expert Mehndi Artistry
Aditi, a self-taught mehndi artist, started her journey by following simple step-by-step guides on YouTube. She began with one-hour practice sessions daily and eventually started taking professional orders within six months.
Practice Tips to Create Unique Mehndi Designs
Once you’re comfortable with the basics and structured patterns, it’s time to unleash your creativity. Trying out unique combinations and experimenting with trends will help you develop a signature style as a mehndi artist.
How can you create larger, complex designs?
Start small by combining basic shapes into larger components, such as floral clusters or paisley patterns. Gradually add layers of details to create fuller, more intricate designs. Donât shy away from referencing existing designs for inspiration, which will make this process smoother.
Expert Insight
Rashmi Jain, a professional henna artist, advises: âStart practicing with geometric structures or gridsâthis will help you maintain symmetry and structure in larger designs.â
Conclusion
Learning mehndi design step by step is a rewarding journey full of creativity and artistry. By starting with basic shapes, following structured practice, and experimenting with unique designs, you can develop both skills and confidence. Remember, dedication and consistency are key to mastering this elegant art form.
Ready to elevate your mehndi skills? Start practising today and share your journey with us! Feel free to ask questions or share your progress in the comments below. You can also subscribe to our newsletter for more artistic tips and tutorials.