Mehndi Design Easy Back Side: Stunning Yet Simple Ideas
Mehndi, also known as henna, has been an integral part of cultural celebrations for centuries. Among the various styles and patterns, easy back side mehndi designs are a favorite for their elegance and accessibility. Whether you’re a beginner or someone short on time, these designs can make your hands stand out in no time. In this blog, weâll share useful tips, FAQs, and creative inspiration for mehndi design easy back side.
Key Aspects of Mehndi Design for the Back Side
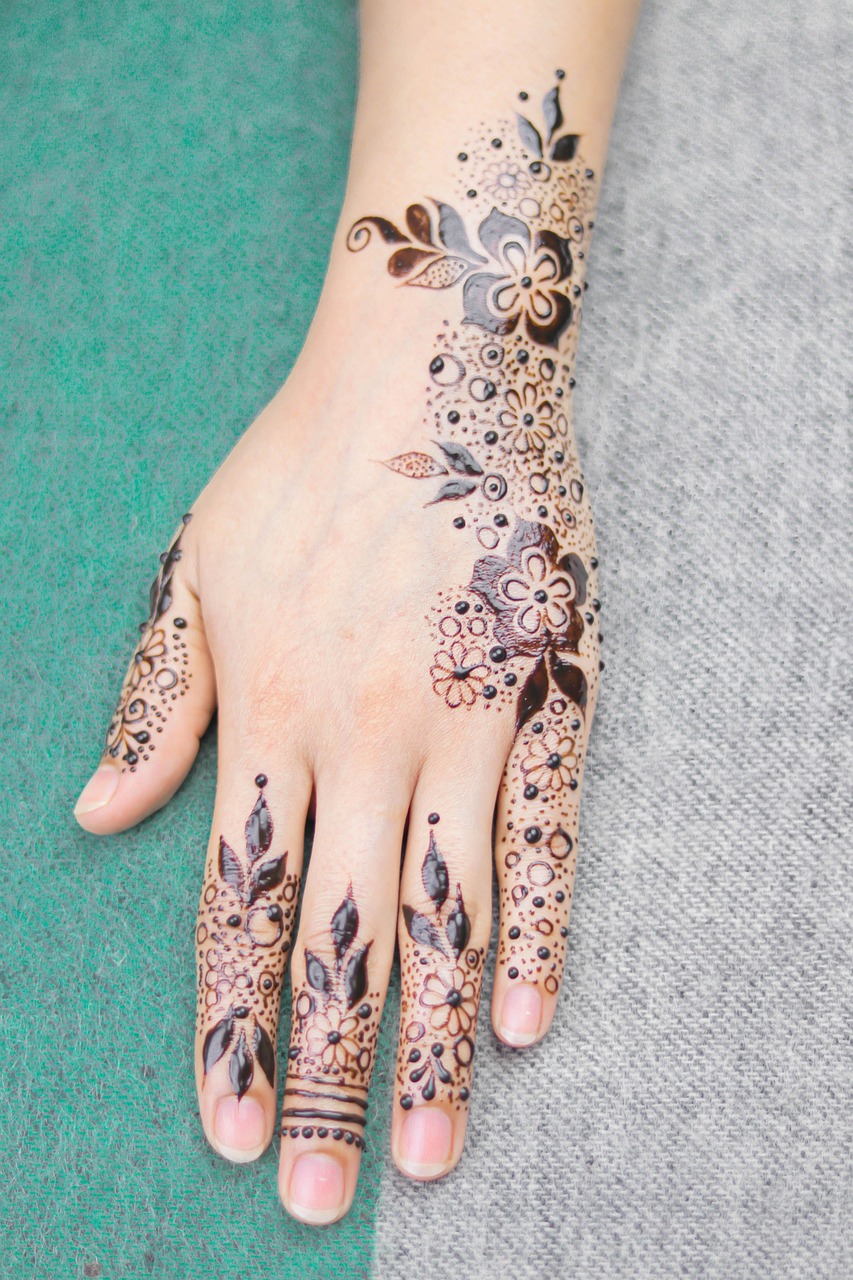
Designing on the back side of the hands offers unique opportunities to showcase artistry with minimal effort. The back side remains visible when you wave, gesture, or pose, making it perfect for quick yet impactful mehndi designs. Simple patterns like florals, mandalas, and netted designs are especially effective for creating striking looks without complexity.
What Are the Easiest Back Side Mehndi Designs?
When it comes to effortless mehndi designs, simple floral trails, circular mandalas, and modern minimalistic patterns are some of the most popular choices. These styles are easy to master and require only a basic understanding of mehndi application, making them accessible for beginners.
Did You Know?
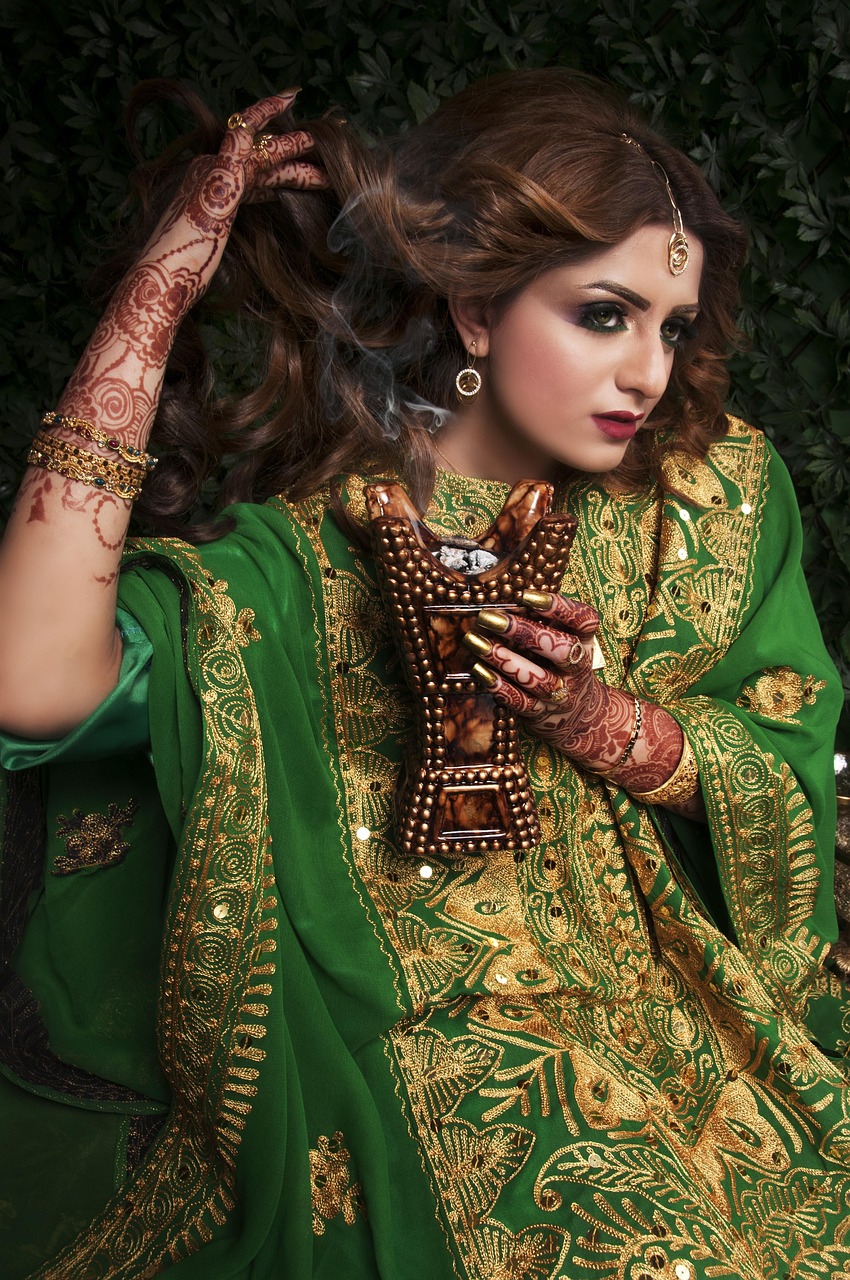
According to a survey conducted by Statista in 2022, over 65% of brides in South Asia prefer back-side-oriented mehndi designs for their pre-wedding functions, citing their convenience and aesthetic appeal.
Tips for Creating a Perfect Easy Back Side Mehndi Design
The key to a perfect mehndi design is practice, planning, and balance. Start by sketching a design or practicing on paper. Use a cone with even flow and test on a small area before proceeding. Another secret is symmetry; ensure the design flows naturally without overcrowding.
How Do You Make Your Mehndi Design Look Professional?
Here are some top tips for achieving a professional look even with a simple design:
- Use fine-tipped mehndi cones for detailed strokes.
- Choose a focal point, such as a central mandala or large flower.
- Incorporate blank spaces to enhance the design’s elegance.
Real-Life Example
Mehndi artists from renowned studios like Pinterestâs Creative Artists recommend using glitter mehndi accents to elevate simple back-side designs. These accents can make your easy designs look elaborate with minimal effort.
Top Last-Minute Mehndi Design Tips

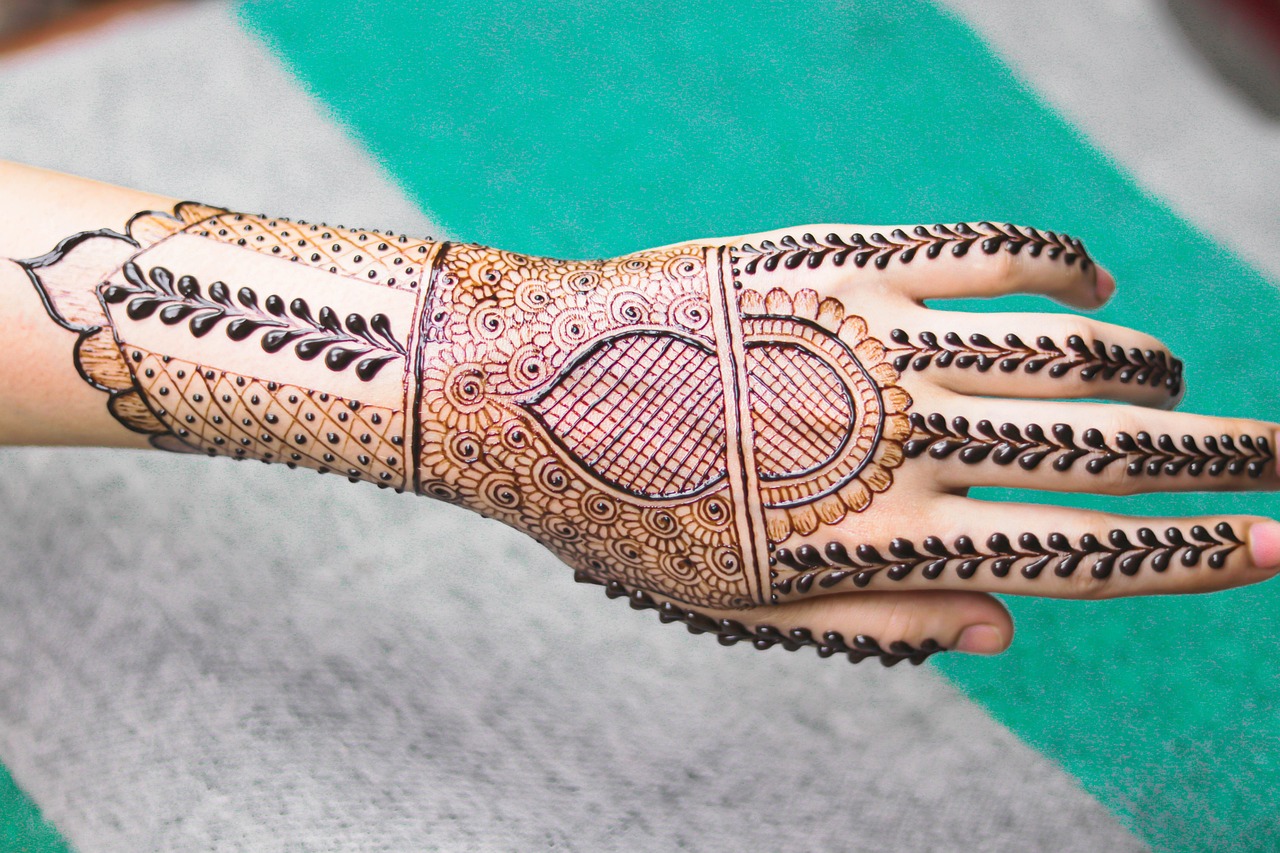
If you’re in a hurry or applying mehndi at home, stick to classic motifs that are quick yet impressive. Use repetitive patterns such as dots, leaves, or paisleys for a cohesive style that is easy to execute. Always keep wet wipes handy to fix any mistakes while the henna paste is still wet.
What Are Some Common Mistakes to Avoid in Mehndi Design?
Common mistakes include overloading the design, uneven spacing, and using dull or dry mehndi cones. Avoid smudging the design by allowing the paste to dry completely before touching any surfaces.
Expert Tip
Celebrity mehndi artist Anita Gujar suggests adding a touch of eucalyptus oil to the back side of your hands before applying henna. This not only enhances the color but also helps the design set faster.