
How to Master Mehndi Design at Home: A Complete Beginner’s Guide
Looking for a creative way to adorn your hands with beautiful patterns? Learning mehndi design at home is simpler and more rewarding than you might think! Mehndi, also known as henna art, is a traditional and timeless form of body adornment celebrated across cultures. Whether you’re a beginner or want to experiment with new designs, this guide will walk you through essential tips and techniques to get started on your mehndi journey from the comfort of home.
Understanding the Basics of Mehndi Design at Home
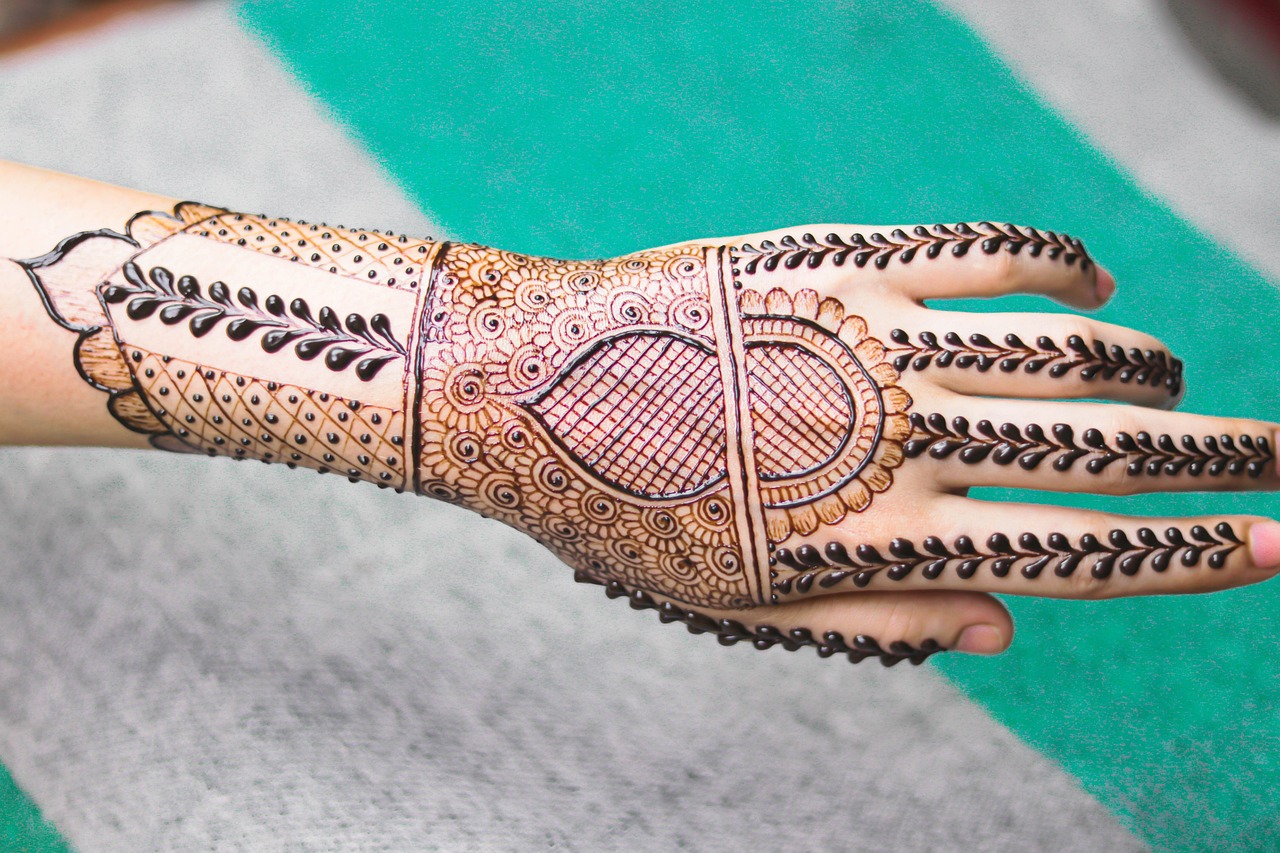
Learning mehndi design starts with understanding its foundationâtools, patterns, and techniques. Begin by gathering quality materials, such as fresh henna cones, and practicing simple motifs like lines, dots, and floral patterns. Patience and practice are key to mastering intricate designs.
What Tools Do You Need to Get Started?
The basic tools include a freshly prepared henna cone, tissue for wiping mistakes, and a flat surface for practice. Additionally, you may want to invest in mehndi stencils for guidance, especially if you’re new to freehand designs. Make sure to test your henna paste for color vibrancy and skin safety before applying it extensively.
Did You Know?
According to research published by SAGE Journals, henna has natural cooling properties and has been used for centuries in traditional ceremonies like weddings and festivals, adding a cultural and wellness aspect to its application.
Step-by-Step Guide to Create Mehndi Design at Home
If you’re worried about creating perfect designs, fret not. Follow these steps to make the process fun and easy:
- Start by tracing simple patterns like shapes and vines on paper to get a feel for the motions.
- Clean your hands and apply lemon-sugar syrup after drawing the mehndi to darken the stain.
- Let the paste dry for at least 6-8 hours to ensure the deepest color payoff.
How Can Beginners Avoid Common Mistakes?
One of the most common mistakes is applying too much pressure while creating designs, which can cause uneven lines. Consistency is key. Begin with light hand pressure, and practice on paper or non-porous surfaces to perfect your control.
Example
An inspiring example is the story of a self-taught mehndi artist named Ananya. She began by practicing small floral designs daily, documenting her progress on Instagram, and eventually built her skills to create bridal-level intricate mehndiâall from home!
Pro Tips for Elevating Mehndi Design at Home
With consistent practice, you’ll find unique ways to develop your personal mehndi style. Here are some final tips to stand out:
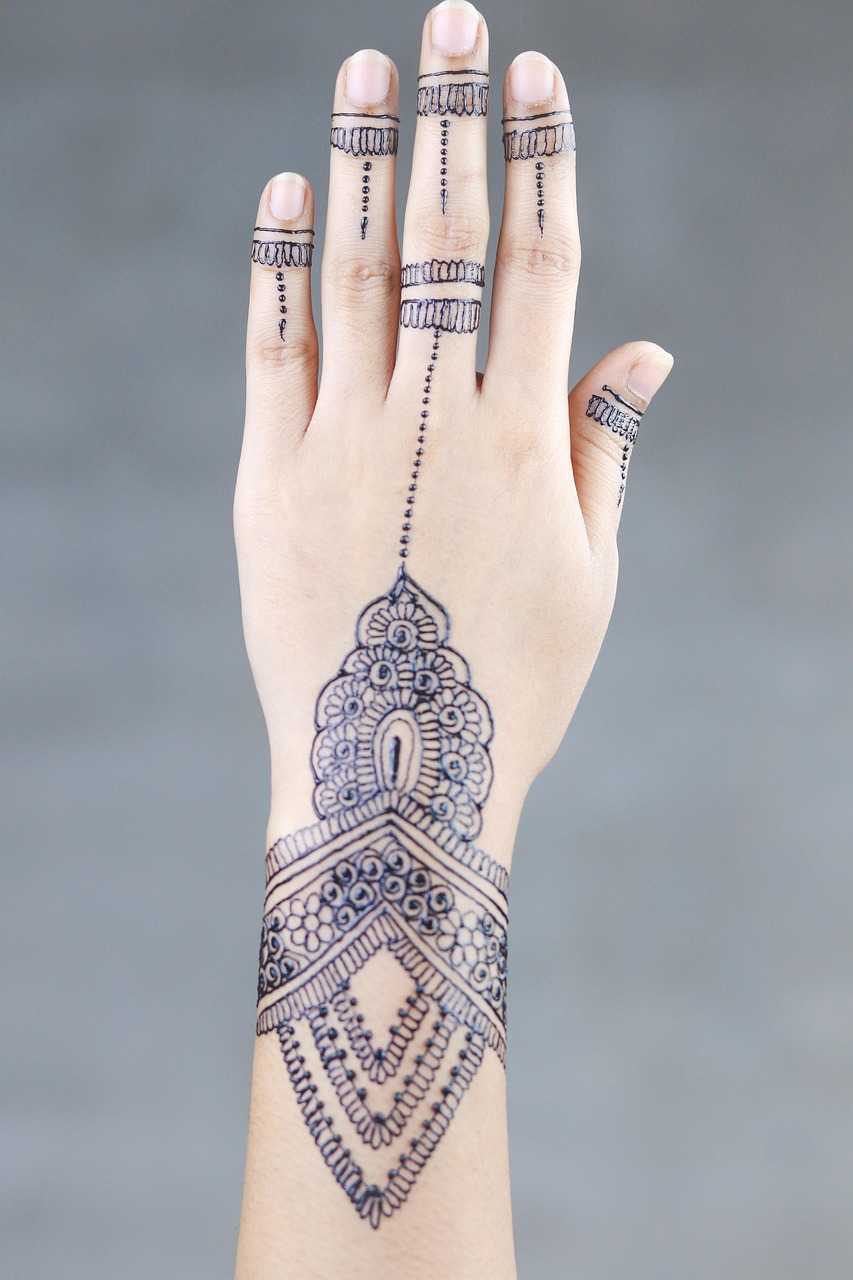
- Experiment with fusion styles by combining traditional and modern patterns.
- Add embellishments like glitter mehndi for festive looks.
- Watch online tutorials and create a specific timeline for regular practice.
Where Can You Find Mehndi Design Inspiration?
The internet is a treasure trove of ideas. Pinterest and Instagram feature thousands of beginner-friendly to advanced mehndi designs. Join mehndi design communities for insights and tips from experienced artists, and donât hesitate to share your creations for feedback.
Expert Tip:
According to celebrity mehndi artist Veena Nagda, âThe secret lies in well-mixed paste and steady practice. Donât rush to create intricate designs; perfecting the basics is where the magic begins.â