How to Make Simple Mehndi Design: A Step-by-Step Guide
Mehndi is a beautiful art form that has been cherished for centuries, celebrated for its intricate patterns and cultural significance. However, not all designs need to be complex. Knowing how to make simple mehndi designs allows beginners to enjoy this art without feeling overwhelmed. Whether you’re preparing for a festive occasion or just exploring your creative side, mastering simple designs can be fun and fulfilling.
Step-by-Step Guide to Creating Simple Mehndi Designs
To create beautiful yet simple mehndi designs, all you need are a few basic tools, a steady hand, and some creativity. Below, weâll break it down into easy steps to help you get started.
Related Question: What are the essential tools for making mehndi designs?
Before starting, ensure you have these tools: a quality henna cone, tissue paper, and a small plastic sheet to practice. You can find ready-made henna cones in most markets or online stores.
External Information: Useful Tip on Choosing the Right Henna
When selecting a henna cone, opt for organic or herbal options to avoid chemicals. According to experts at Healthline, natural henna not only produces vibrant designs but is also safer for your skin.
Understand the Basics of Simple Mehndi Patterns
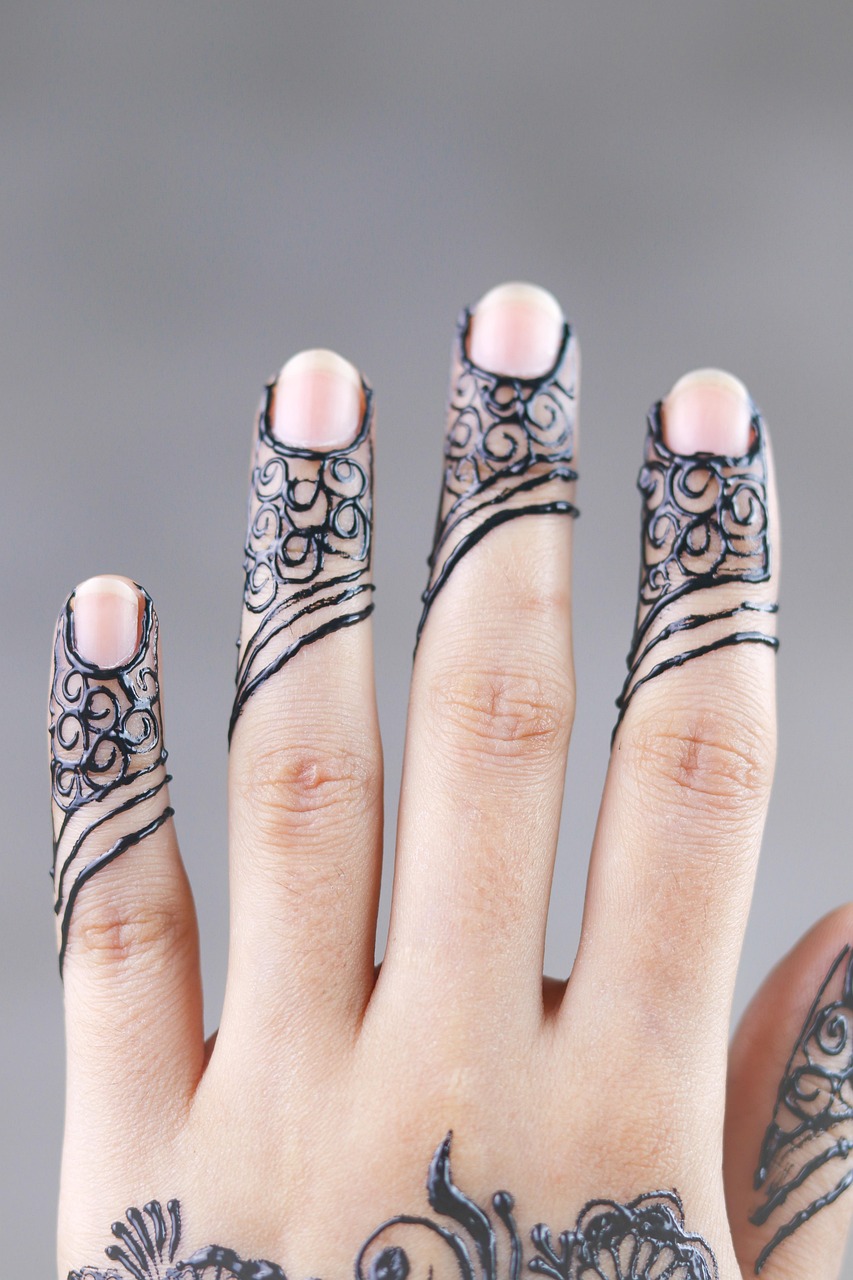
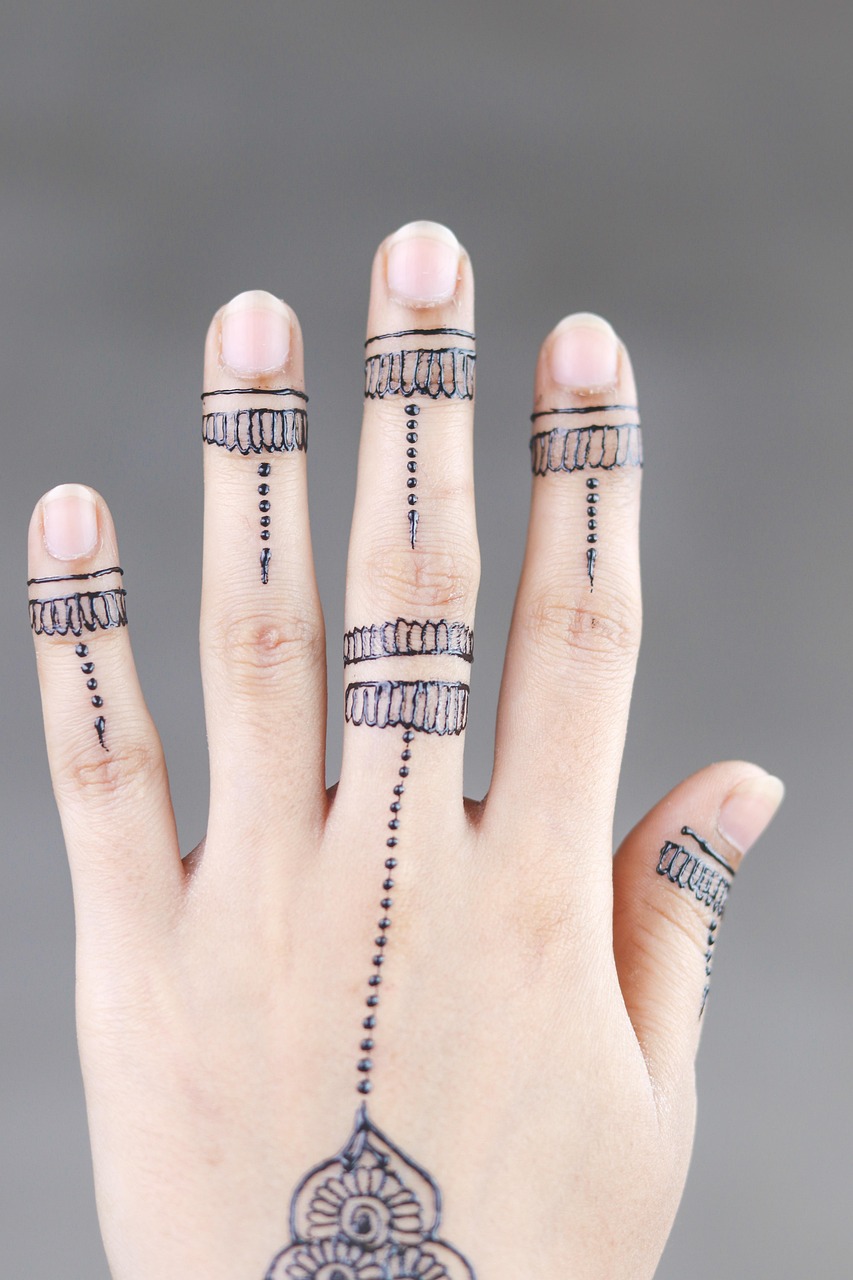
Beginner-friendly mehndi patterns focus on easy shapes like lines, dots, circles, and floral elements. These can be drawn in repeat patterns to form stunning yet minimalistic designs.
Related Question: How can beginners perfect their strokes?
Practicing on paper or a plastic sheet is crucial. Start with drawing straight lines, curves, and small flowers. Remember, a steady hand comes with practice, so donât rush the process.
External Information: Simplified Practice Technique
Experts recommend using baking paper to practice, as it mimics skin texture. You can trace templates to develop muscle memory. This method is often taught in professional mehndi workshops.
Advanced Tips to Make Mehndi Designs Even Simpler
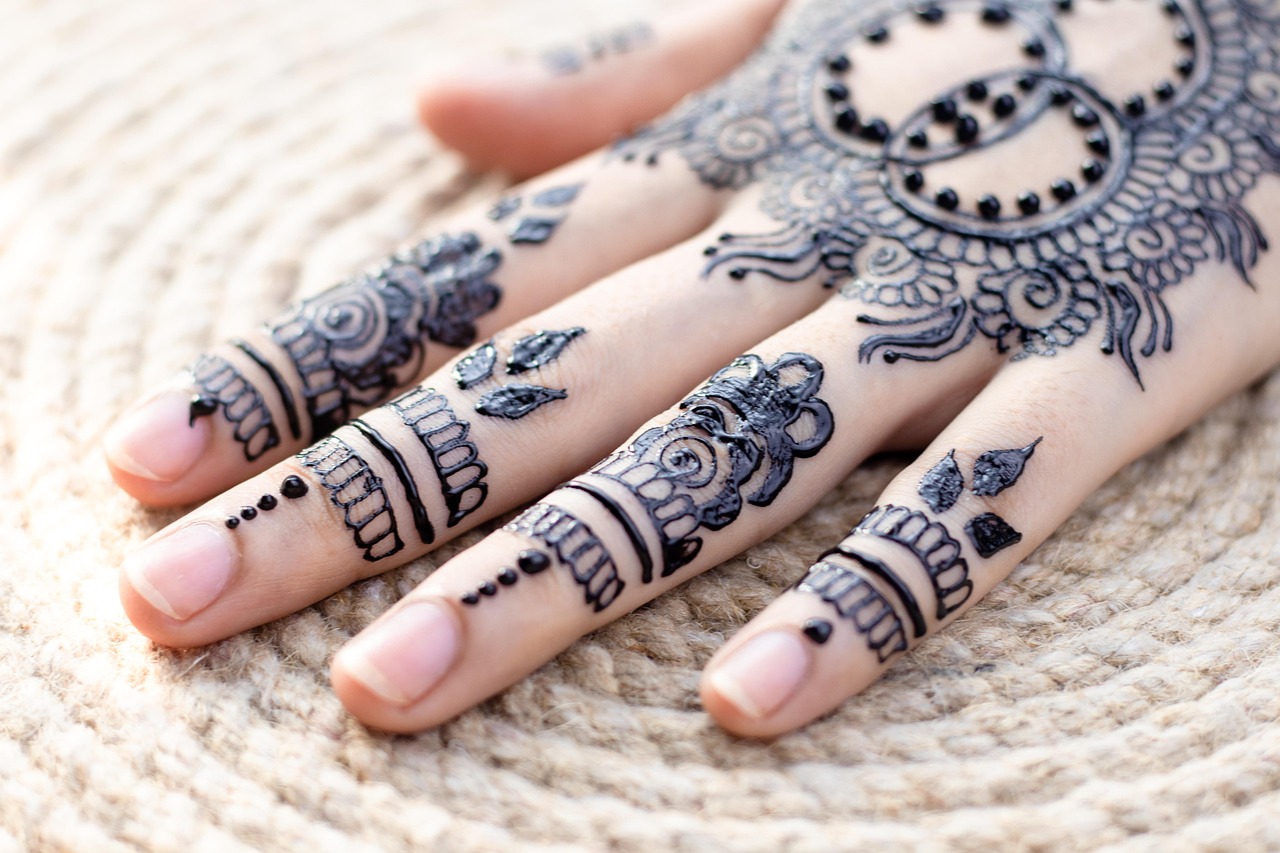
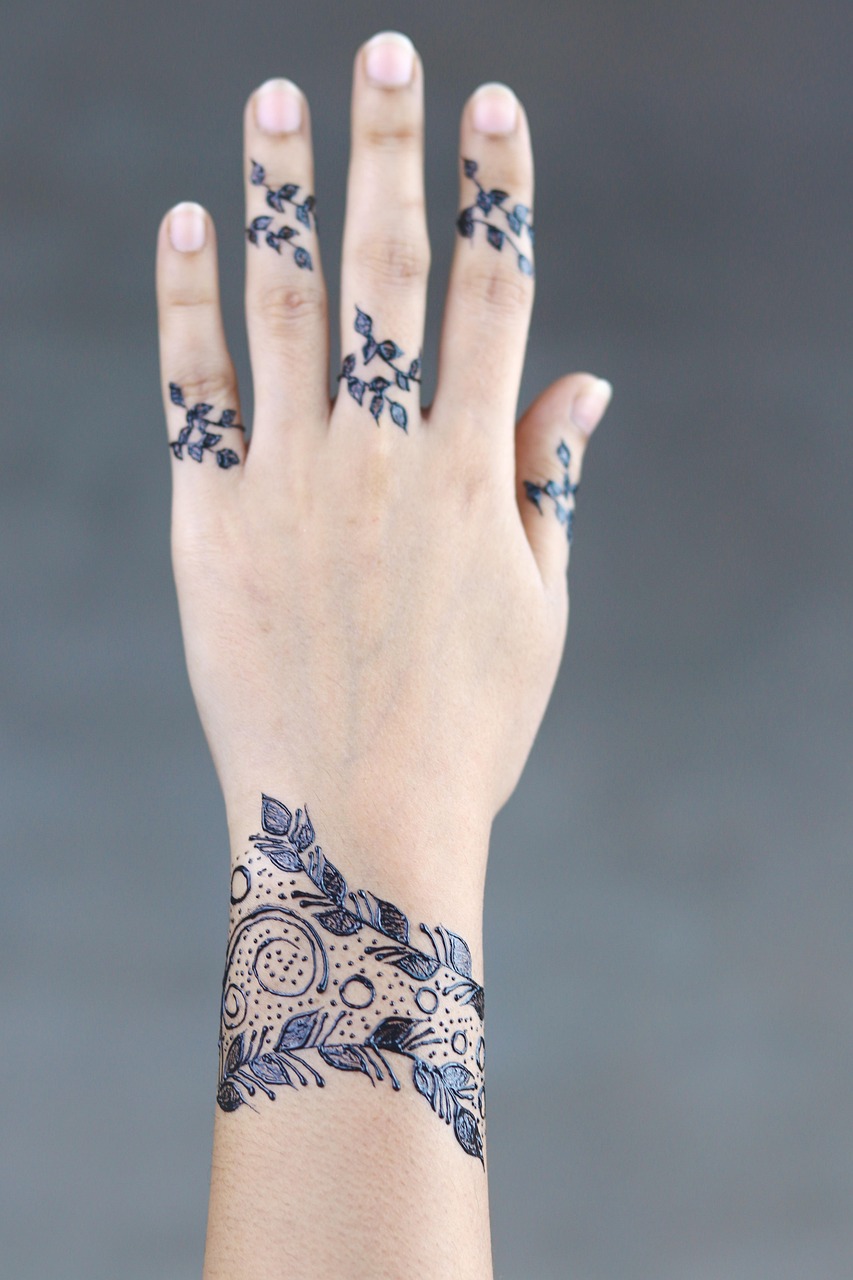
To further simplify your designs while maintaining elegance, try combining basic shapes into recognizable motifs like paisleys or minimalist mandala patterns. These are beginner-friendly and still look stunning.
Related Question: How long does it take for henna to stain the skin?
Typically, henna stains develop over 24-48 hours. For deeper colors, leave the henna paste on your skin for at least 6 hours before scraping it off. Avoid water for the first 24 hours after removal.
External Information: Expert Tip for Longer-Lasting Stain
Mehndi artists suggest applying a lemon-sugar mixture over the dried henna. This keeps the paste moist and enhances the staining process. A well-known mehndi course from Udemy also highlights this technique as a pro tip for beginners.
Conclusion
Learning how to make simple mehndi designs is a rewarding journey that combines creativity and cultural appreciation. By investing time in practice and following these tips, youâll find it easier to create stunning patterns that suit any occasion. Start with basic shapes, experiment with tools, and let your creativity flow!
Ready to explore more? Subscribe to our newsletter for additional mehndi tips, design templates, and tutorial videos. Share this guide with your friends and family to inspire their creative journey!