How to Make Mehndi Design: A Beginner’s Guide to Beautiful Creations
Mehndi, also known as henna art, is a timeless tradition that decorates the body with beautiful patterns and designs. Whether for weddings, festivals, or personal enjoyment, learning how to make mehndi design can be both fun and deeply rewarding. In this guide, weâll explore practical techniques, tips, and insights to help you master the art of mehndi design.
Key Aspect of How to Make Mehndi Design: Understanding the Basics
At its core, creating mehndi designs involves skillfully applying henna paste onto the skin to form intricate patterns. For beginners, itâs important to start with simple designs and gradually move on to more complex ones.
- Choose the right cone: A fresh, high-quality henna cone ensures smooth application.
- Practice basic shapes: Start with dots, lines, and simple flowers before progressing to detailed motifs.
- Maintain consistency: Apply steady pressure to ensure even henna flow.
What is the best way to improve mehndi skills?
Consistency and practice are critical. Dedicate regular time to practice on paper first, then try your designs on skin. Watching video tutorials and observing expert henna artists can also accelerate your learning curve.
Fact: The Origin of Mehndi
Mehndi has a rich cultural history that dates back over 5,000 years, frequently associated with Indian, Middle Eastern, and North African traditions (Britannica).
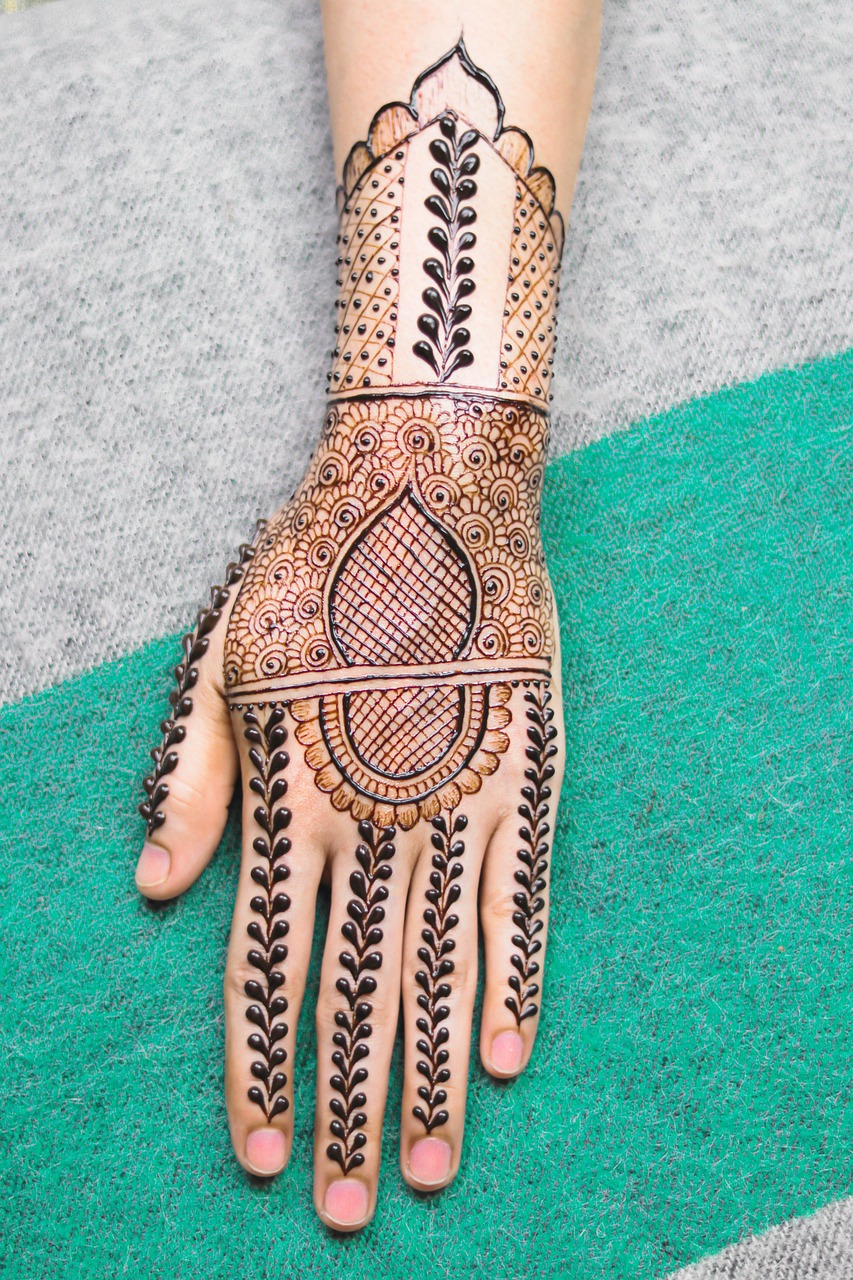
How to Create Intricate Mehndi Design Patterns
Once you master the basics, youâre ready to explore intricate designs. These often include symmetrical patterns, paisleys, and floral arrangements. Follow these steps:
- Start in the center: Begin with a central motif like a flower or mandala, then extend outward.
- Use layering techniques: Add lines, curves, and dots to fill spaces without overcrowding the design.
- Draw symmetrical patterns: Use mirror-image repetition to enhance visual appeal.
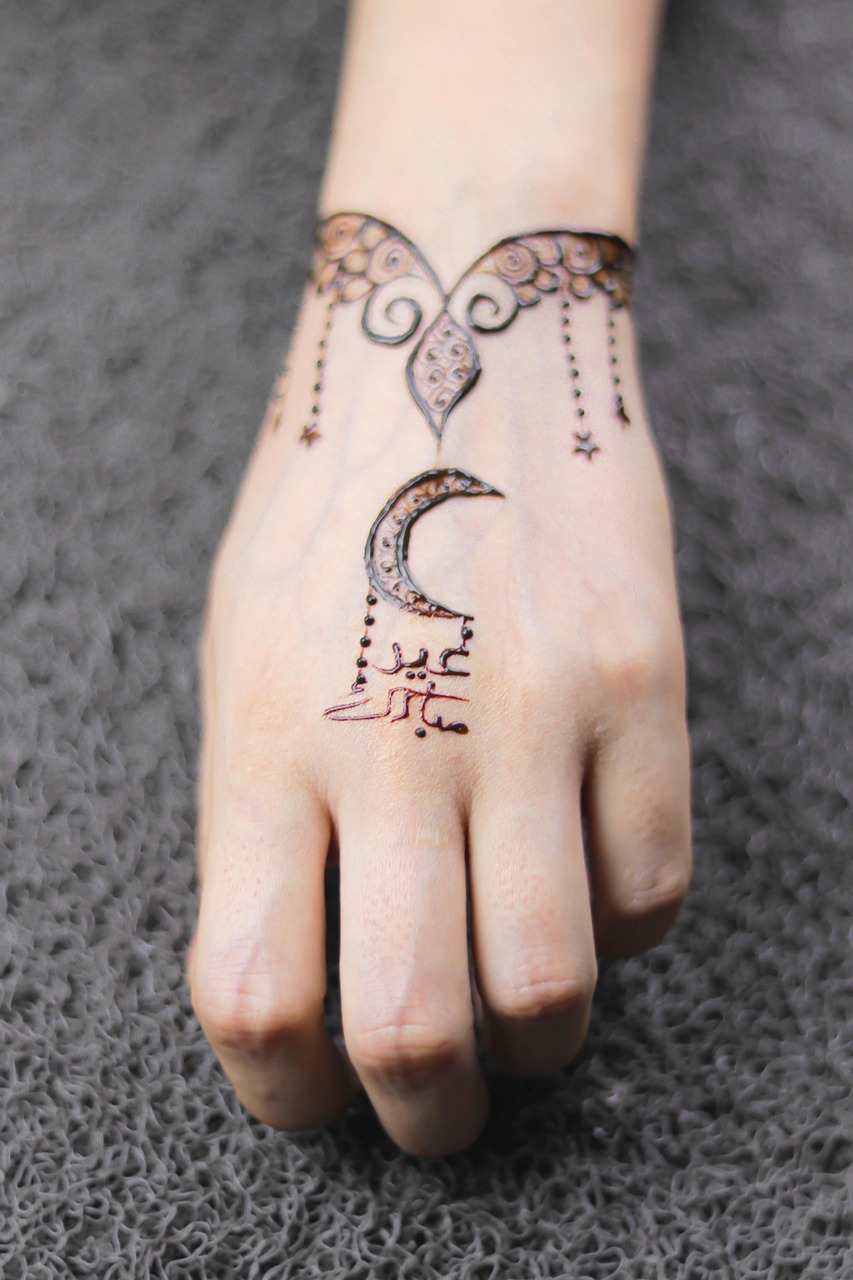
How can I make designs more unique?
Incorporate cultural elements or symbolic motifs that have special meaning to you or your clients. Customized designs, including names, initials, or event-specific themes, are a great way to make your art distinct.
Example: Bridal Mehndi Design Case Study
An Indian brideâs mehndi typically includes patterns symbolizing love and prosperity, such as swans, lotuses, and peacocks, woven into a seamless design (Indian Wedding Site).
Additional Tips for Achieving Stunning Mehndi Designs

To elevate your creations, focus on the following aspects:
- Prepare your skin: Clean and dry the application area to ensure flawless results.
- Leave the paste longer: Allow the henna to dry for 4-6 hours for a darker and longer-lasting stain.
- Experiment: Test different styles like Arabic, Indian, or Moroccan mehndi for variety.
Why does henna sometimes fade quickly?
The longevity of henna designs depends on care. To preserve the stain, avoid washing the area for 24 hours and apply natural oils like coconut or mustard oil after the paste is removed.
Expert Tip: Maximize Henna Stain Intensity
“Adding a mixture of sugar and lemon juice to dry henna designs helps enhance absorption, resulting in a richer color,” says renowned henna artist Divya Patel.
Conclusion
Mastering how to make mehndi design requires patience, creativity, and consistent practice. Begin with simple patterns, explore diverse styles, and gradually refine your technique to create stunning, personalized designs. Whether youâre aiming to become a pro or simply enjoy this art form, mehndi allows you to express your creativity like no other medium.
Are you ready to start your mehndi journey? Share your progress with us in the comments, or subscribe to our newsletter for more design tips and inspiration!