Front Hand Mehndi Designs for Beginners: A Step-by-Step Guide to Start Your Henna Journey
Mehndi, also known as henna, is a traditional art form cherished across many cultures for its intricate and beautiful designs. If you’re new to mehndi, starting with front hand mehndi designs for beginners is an excellent way to dip your toes into this creative world. Whether for a festival, wedding, or casual occasion, learning easy and stylish designs can elevate your skill while offering a therapeutic artistic experience.
In this article, we’ll explore tips, designs, and answers to common questions that will help you master front hand mehndi designs with confidence.
Why Start with Front Hand Mehndi Designs as a Beginner?
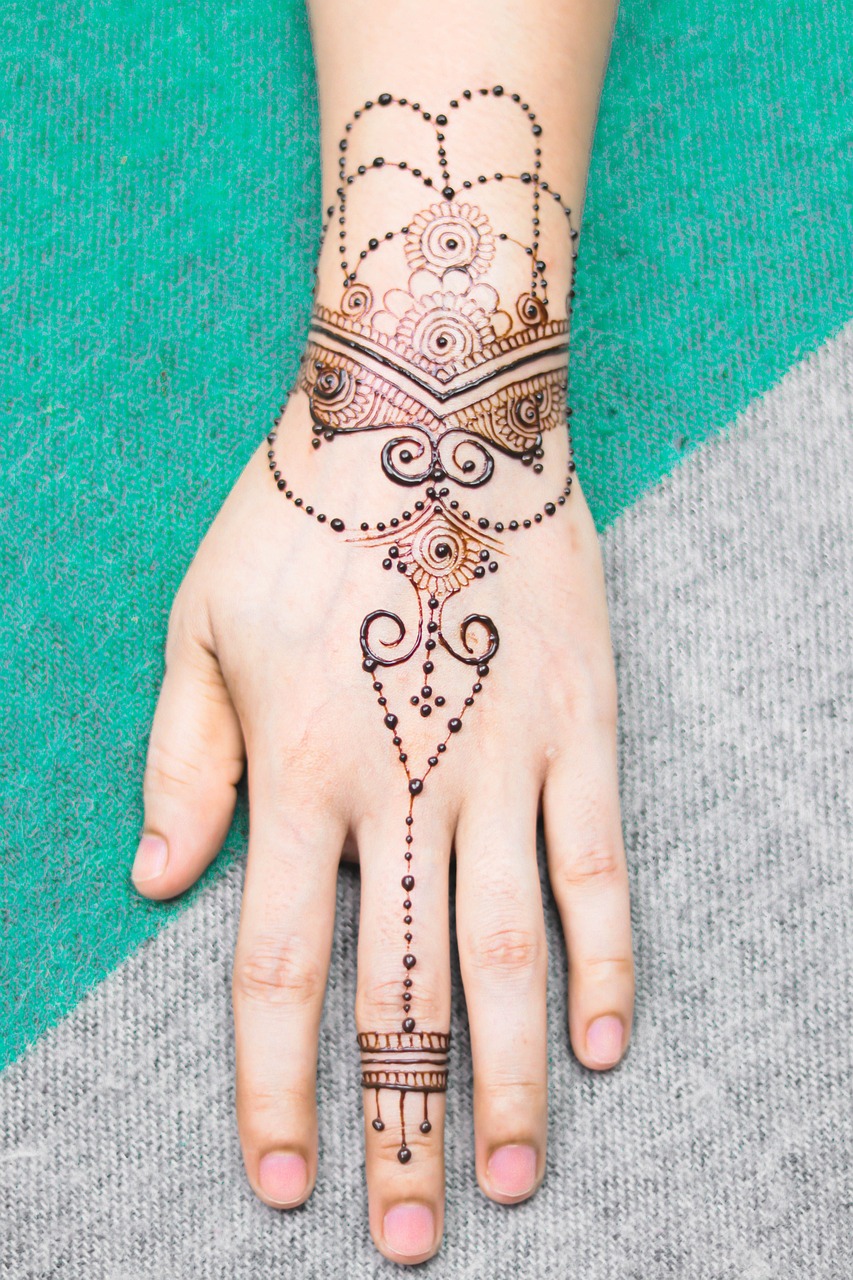
The front of the hand serves as a fantastic canvas for beginner-friendly mehndi ideas. Unlike palms or fingers, where detailing can feel overwhelming, the front offers more freedom to experiment with simpler, structured designs without heavy pressure.
Hereâs why this focus benefits newbies:
- Itâs easier to draw symmetrical patterns.
- Designs like minimal florals or simple swirls are perfect for practicing core techniques.
- These designs take less time, letting you master the basics faster.
What are Some Example Patterns for Beginners?
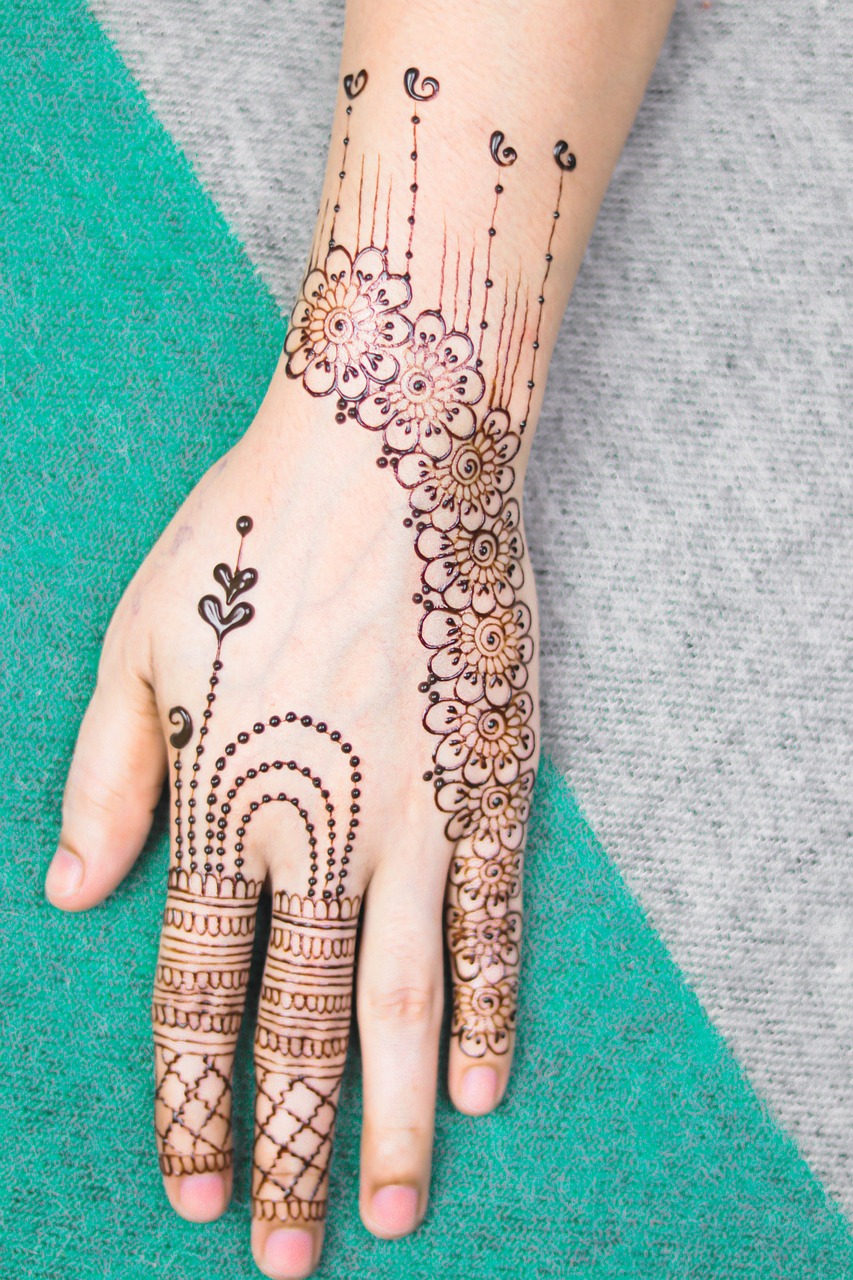
Start with beginner patterns like vines, dots, mandalas, or straight diagonal lines. These designs donât require expert precision and look classy when replicated effectively.
Did You Know?
Studies show that creating art, including henna designs, reduces stress and promotes relaxation. Many mehndi artists find the process therapeutic and rewarding.
Simple Tips to Perfect Your Front Hand Mehndi Designs
Mastering mehndi designs doesnât happen overnight, but these tips can make it much easier:
- Use cones with fine tips for better control.
- Practice on paper before applying directly to the skin.
- Keep your designs symmetrical for a polished look.
What Equipment Do Beginners Need to Get Started?
Aside from henna paste, hereâs your must-have beginner kit:
- A plastic cone or henna applicator bottle for drawing designs.
- Wax paper to practice patterns.
- A damp cloth and toothpick for small corrections.
Case Study: A Beginnerâs Lovely First Attempt
One new mehndi artist, Samira, started with only floral patterns and dots. She followed online tutorials, practiced every day for a week, and then showcased her first bridal front-hand design at her cousin’s wedding! Today, she shares her creations on social media and inspires other beginners.
Practice Makes Perfect: How to Grow From Beginner to Pro
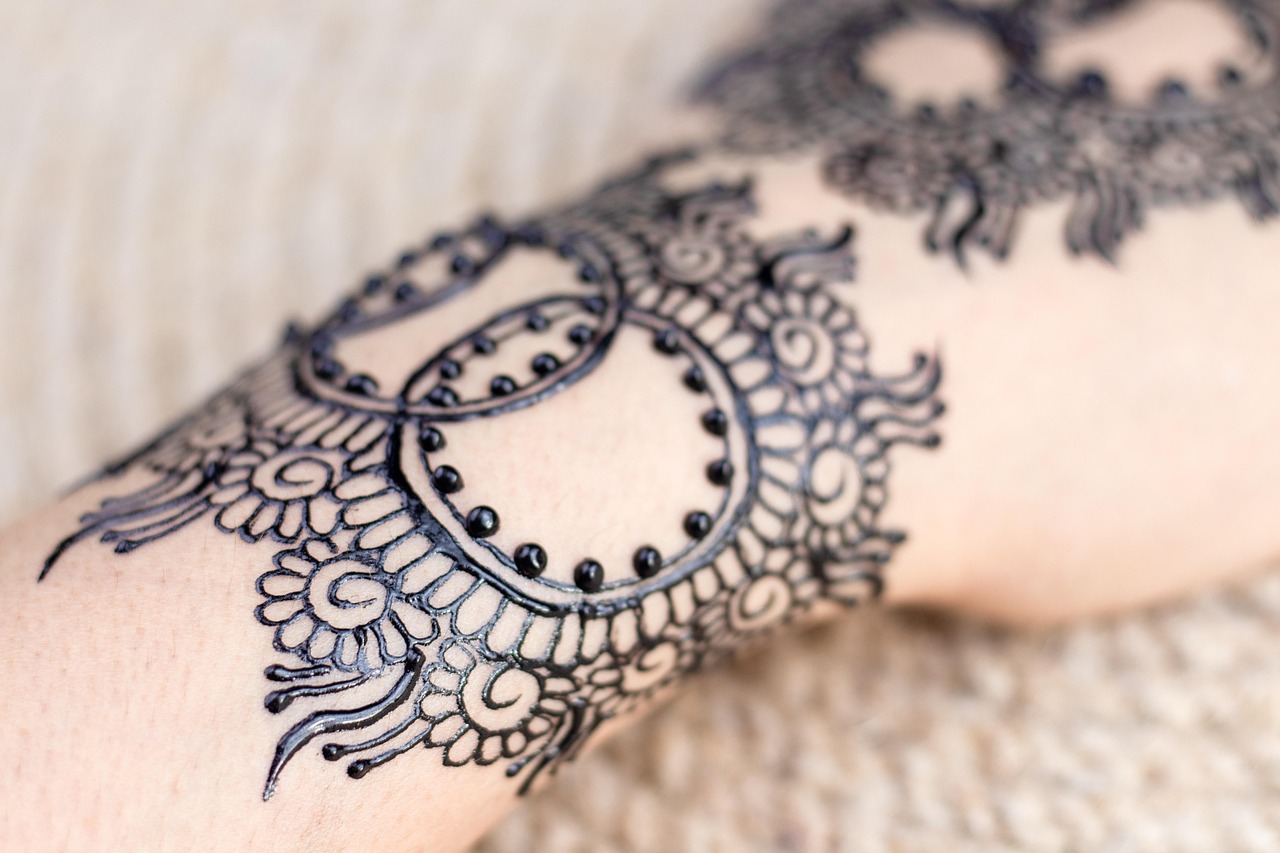
Beyond honing your skills, consistency is the key to mastery. Once you feel comfortable with basic mehndi patterns, experiment with more complex styles such as mandala designs, peacock motifs, or shading techniques.
How to Make Sure Your Mehndi Stays Dark and Lasts Long?
To ensure your henna stain appears rich and dark:
- Let the paste sit on your skin for at least 6-8 hours before removal.
- Apply a lemon-sugar mixture while the paste is still wet to keep it moist.
- Avoid washing for 24 hours after peeling off the paste for optimal results.
Pro Tip from a Mehndi Artist
Professional mehndi artist Priya Sharma advises: âNatural henna is key! Always check for high-quality henna powder to avoid chemical-based formulas, which can impact your stain and skin health.â