Easy to Make Mehndi Design: A Beginnerâs Guide to Gorgeous Henna Art
Mehndi, also known as henna, is an ancient art form loved for its intricate patterns and cultural significance. But did you know that creating beautiful mehndi designs doesnât have to be complicated? In this article, weâll explore everything you need to know about “easy to make mehndi design” and how anyone â even beginners â can try their hand at this stunning art form.
Why Start with Easy to Make Mehndi Designs?
When learning the art of mehndi, diving into complex designs can be overwhelming. Starting with easy mehndi designs allows beginners to build confidence, refine skills, and develop a steady hand. These beginner-friendly designs focus on basic patterns like lines, flowers, dots, and swirls, which are simple yet elegant.
What are the Main Elements of Easy Mehndi Designs?
Easy-to-make mehndi designs are typically composed of repetitive motifs such as circles, paisleys, and grids. By combining these basic elements, you can create unique and eye-catching patterns without feeling intimidated by complexity.
3 Fun Facts About Mehndi
- Mehndi has been used for over 5000 years in various cultures across the world.
- Henna paste is derived from a plant called Lawsonia inermis.
- According to research, henna has natural cooling and stress-relieving properties (Source).
How to Create Easy Mehndi Designs: Tools and Techniques
The right tools and techniques can make designing mehndi simpler. Here are some essentials to get you started:
- Henna cones: Disposable cones are beginner-friendly and easy to maneuver.
- Practice sheet: Draw patterns on paper to develop consistency before applying on skin.
- Steady application: Use light pressure for thin lines and heavy pressure for bold patterns.
What Are Some Beginner-Friendly Mehndi Patterns?
For starters, focus on simple designs such as:
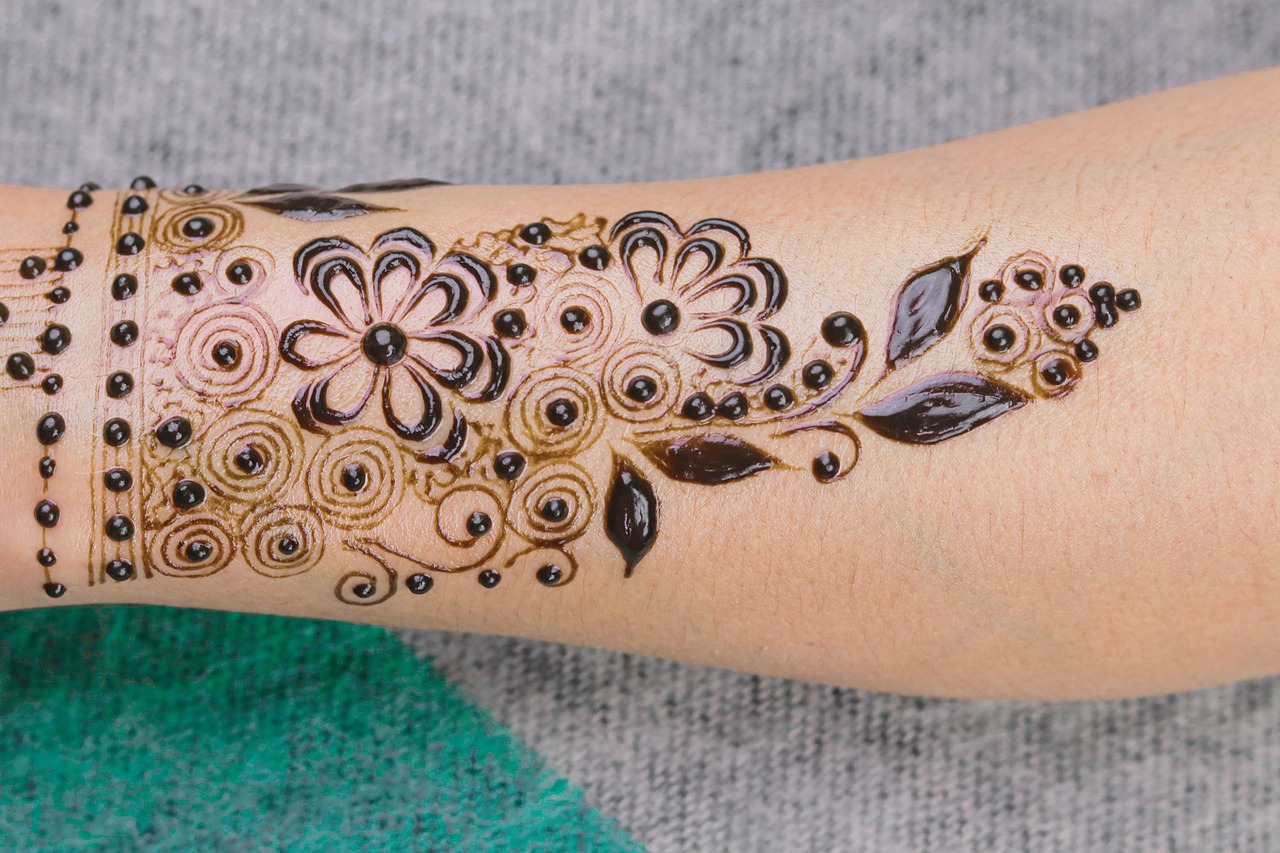
- Flower designs: Add floral motifs to the palm or back of the hand.
- Geometric symmetry: Repeat shapes like triangles or circles for a minimalist look.
- Spirals and dots: Perfect for filling gaps and adding style to larger patterns.
Case Study: Popular Mehndi Artistsâ Journey
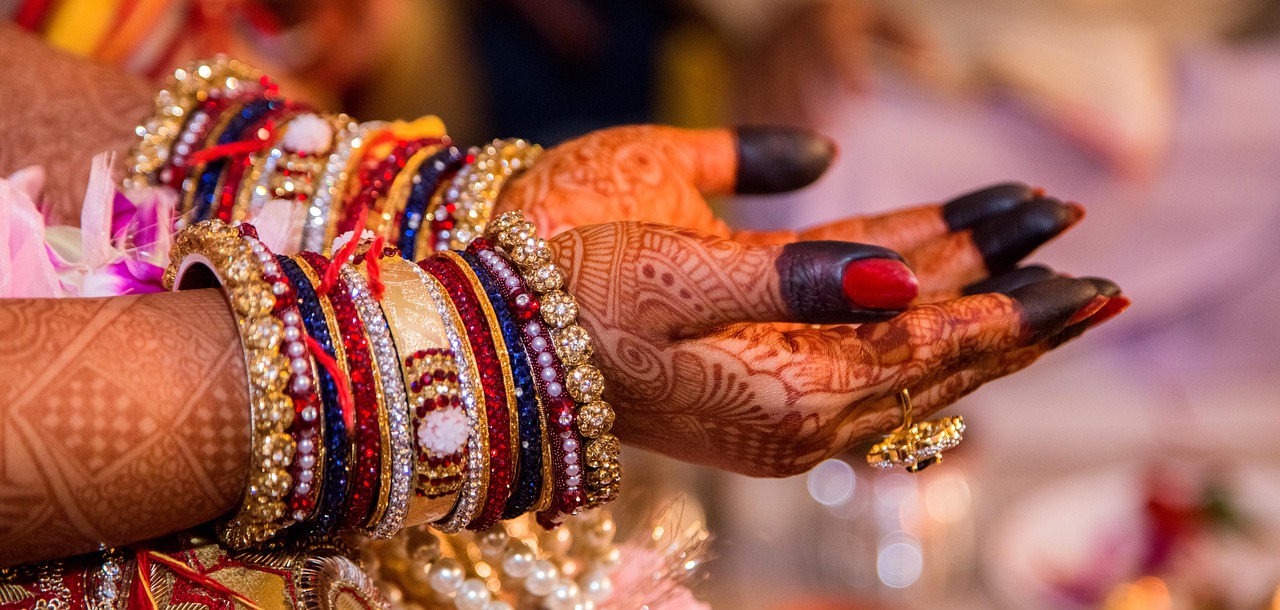
Renowned mehndi artists like Veena Nagda began honing their art by practicing simple, repetitive shapes before advancing to elaborate bridal designs. This step-by-step approach has helped countless beginners level up their skills.
Pro Tips for Mastering Mehndi Designs

Ready to refine your mehndi skills? Follow these tips to create flawless designs effortlessly:
- Prepare the skin: Clean and dry the application area to ensure the henna adheres properly.
- Start small: Avoid large, complex patterns initially; focus on mastering a few motifs at a time.
- Allow proper staining time: Leave the henna on for at least 4-6 hours for a rich, dark color.
How Can Beginners Avoid Common Mistakes?
If youâre new to mehndi, you may make errors such as uneven lines or smudging. To avoid this:
- Always keep tissues or cotton swabs handy for quick corrections.
- Avoid moving your hand too much immediately after applying the henna.
Expert Tip on Mehndi Application
“Practice is key to creating clean, professional-looking designs. Spend at least 15-20 minutes daily sketching freehand patterns to improve your confidence.” – Rashmi Mehta, Mehndi Artist