Easy Simple Mehndi Design for Front Hand: Tips and Tricks for Beginners
Mehndi, also known as henna art, has been a cherished tradition in many cultures for centuries. Whether for weddings, festivals, or casual get-togethers, mehndi designs add a touch of elegance to any occasion. If you’re searching for an easy simple mehndi design for the front hand, youâre in the right place! In this post, weâll guide you through the beauty of simple mehndi and provide inspiration for beginners to enhance their skills.
Why Choose an Easy Simple Mehndi Design for the Front Hand?
Front hand mehndi designs are perfect for showcasing your creativity and grabbing attention at events. However, opting for an easy and simple design is ideal for beginners or those short on time. Simple designs often rely on minimal patterns like flowers, leaves, and geometric shapes, making them quicker to execute while still looking stunning.
What Patterns Work Best for Simple Front Hand Mehndi Designs?
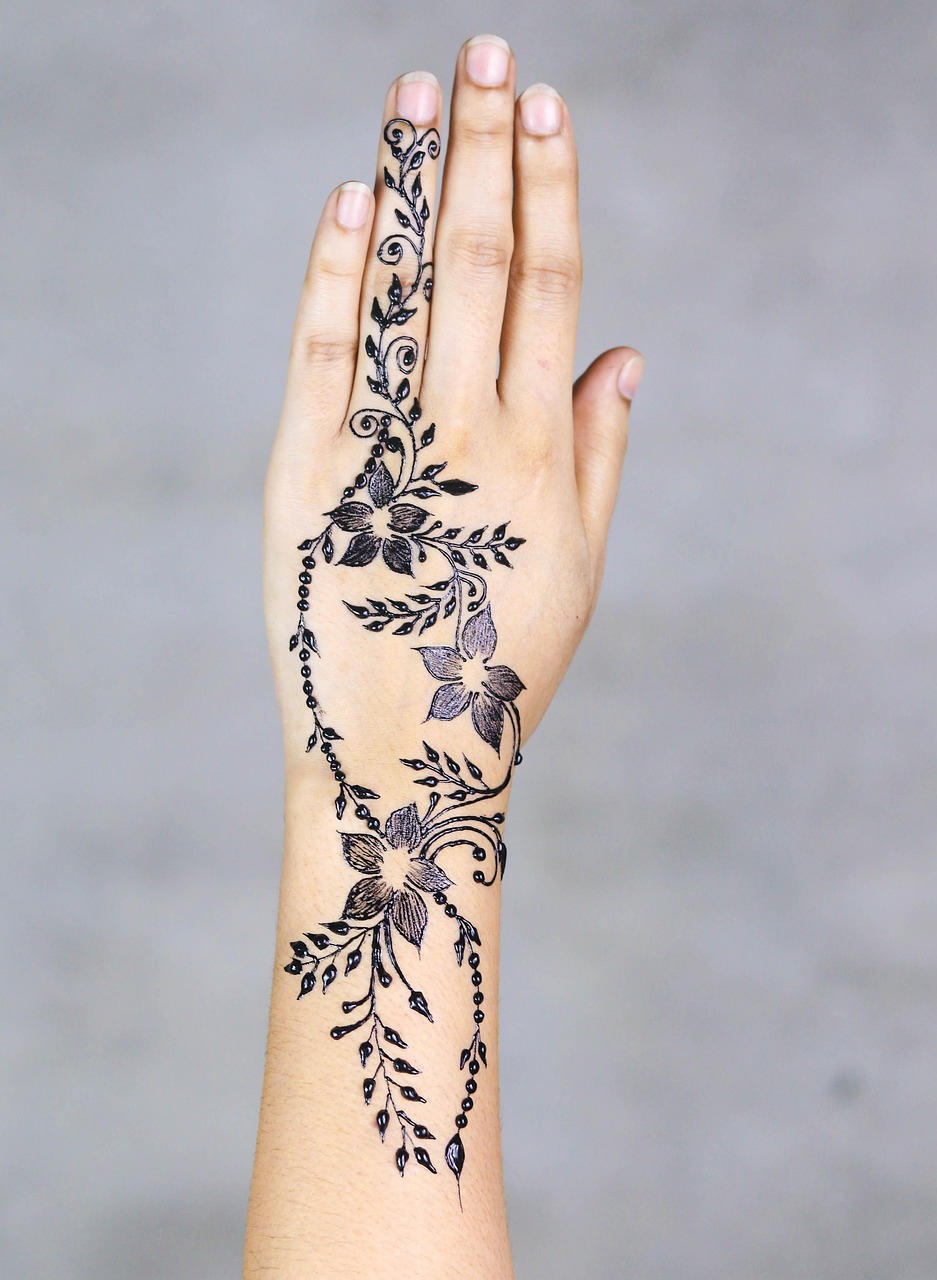
Floral motifs, paisleys, and linear patterns are some of the best choices for beginners. They are versatile and can be customized based on oneâs preferences. Start with a simple flower surrounded by small leaves on the palm, then extend to the fingers with lines or dots for an elegant touch.
Did You Know?
Studies show that mehndi designs are not only beautiful but also have cooling properties. According to Healthline, traditional henna can help calm the body and reduce stress, making it a therapeutic art form as well.
Step-by-Step Tips for Perfect Front Hand Mehndi Designs
To create a flawless easy simple mehndi design for the front hand, preparation and practice are key. Here are some helpful tips:
- Start With a Clean Surface: Wash your hands and ensure they are free of any oils or lotion to allow the mehndi to adhere better.
- Select the Right Cone: Use a fine-tipped mehndi cone for precision in drawing delicate designs.
- Practice on Paper: Before applying on the hand, practice your chosen design on paper to build confidence.
What Tools Are Needed for Simple Mehndi Designs?
While a good mehndi cone is essential, you can also use pins to unclog cones and tissues for quick fixes. Some artists recommend keeping an earbud handy for smudging minor errors into patterns seamlessly.
Example:
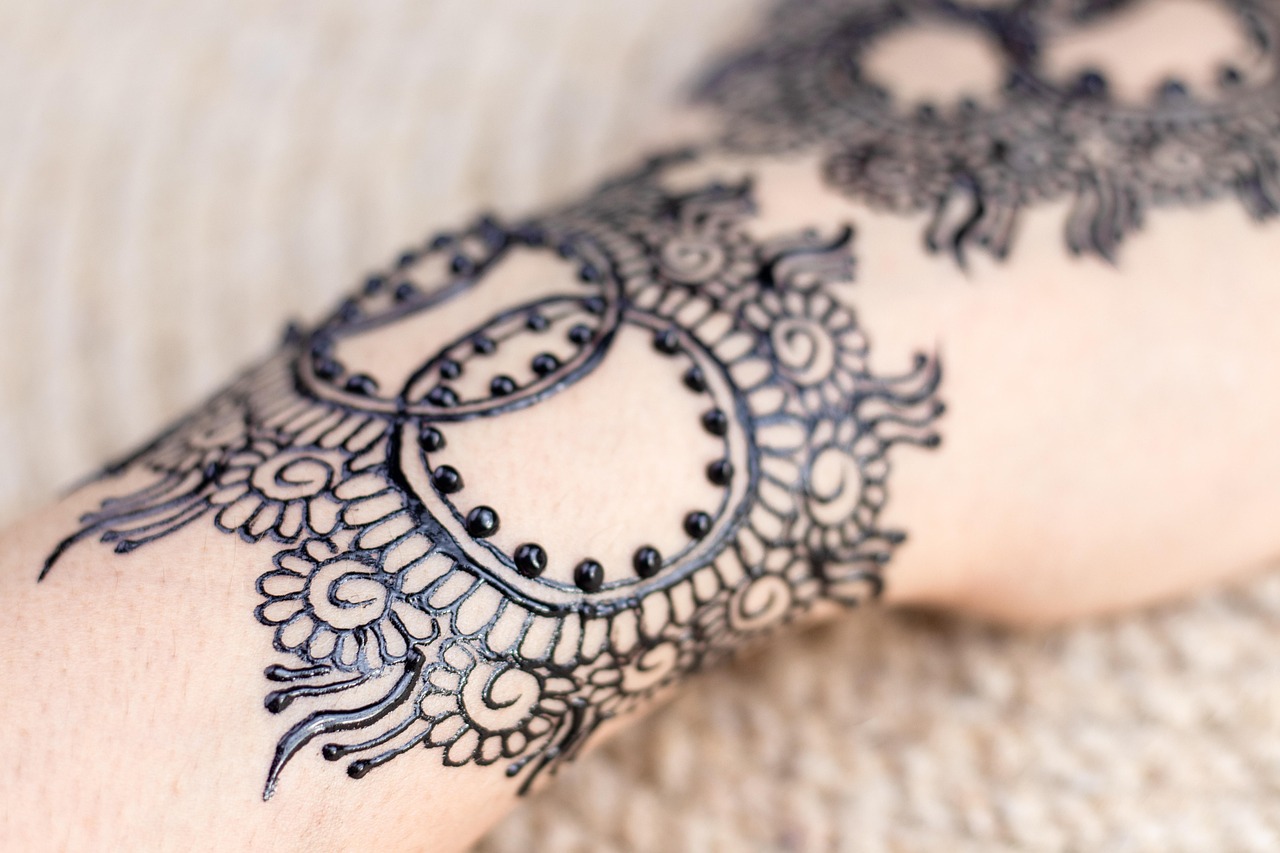
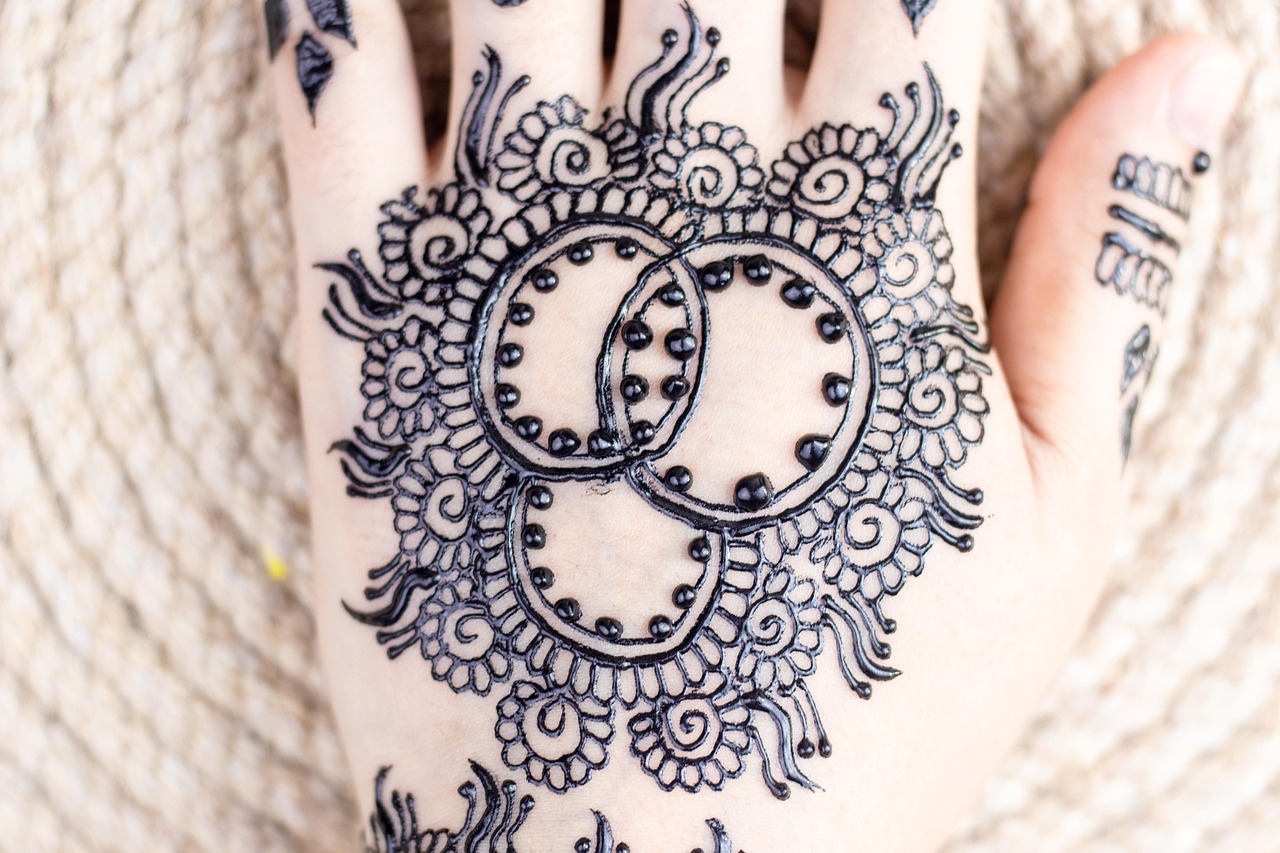
One of the easiest designs to try is a simple mandala on the palm with leafy vines extending toward the fingers. It’s beginner-friendly and looks elegant on any occasion.
Common Mistakes to Avoid When Applying Mehndi

Even with simple designs, there are common mistakes that can affect the outcome of your mehndi. Hereâs how to avoid them:
- Skipping a Test Patch: Always test the mehndi on a small area to ensure there are no allergic reactions.
- Impatience During Drying: Allow the mehndi to dry completely and avoid touching it unnecessarily to prevent smudges.
- Overloading the Cone: Squeeze the cone lightly to ensure clean lines and optimal flow.
How Can You Make Your Mehndi Last Longer?
Apply sugar and lemon juice mix over your dried mehndi to keep it moist and help it stain deeper. Additionally, keep the applied area warm with steam or by wrapping it in cloth.
Industry Insight:
Top henna artists recommend leaving the paste on for at least 6-8 hours for a rich orange-to-brown stain. Avoid washing hands immediately, as the color develops over 24-48 hours.
Conclusion
Creating an easy simple mehndi design for the front hand is an art you can master with patience and practice. From selecting the right patterns to following proper application techniques, anyone can achieve stunning results. Whether youâre a beginner or a seasoned mehndi enthusiast, experimenting with these simple designs can add elegance to your look.
Weâd love to hear your tips and see your designs! Donât forget to share this article with your friends and follow us for more mehndi inspiration. Happy designing!