Easy Mehndi Design for Right Hand: Beautiful, Quick, and Effortless Ideas
Mehndi, also known as henna, is a cornerstone of traditional celebrations and festive events. But did you know you donât need to be an expert artist to create beautiful designs? Discover how “easy mehndi design right hand” can transform your look for any occasion while being surprisingly simple and fun. Whether you’re preparing for a wedding or just decorating your hand for a casual gathering, this post has everything you need!
Why Focus on Easy Mehndi Design for the Right Hand?
The right hand often takes center stage during celebrations, making it the perfect canvas for mehndi art. For beginners, choosing an easy design ensures a quick and stunning transformation without professional help. These designs are simple yet elegant, perfect for anyone seeking effortless beauty.
What Makes a Mehndi Design “Easy”?
An easy mehndi design is typically characterized by minimal patterns, repetitive motifs, and simple shapes like dots, flowers, and curved lines. These take less time and effort compared to intricate, complex designs that demand higher precision.
Did You Know?
According to a Britannica article on henna, the use of mehndi dates back over 5,000 years and was traditionally applied for its cooling effect on the skin. It remains popular today due to its aesthetic appeal and cultural significance.
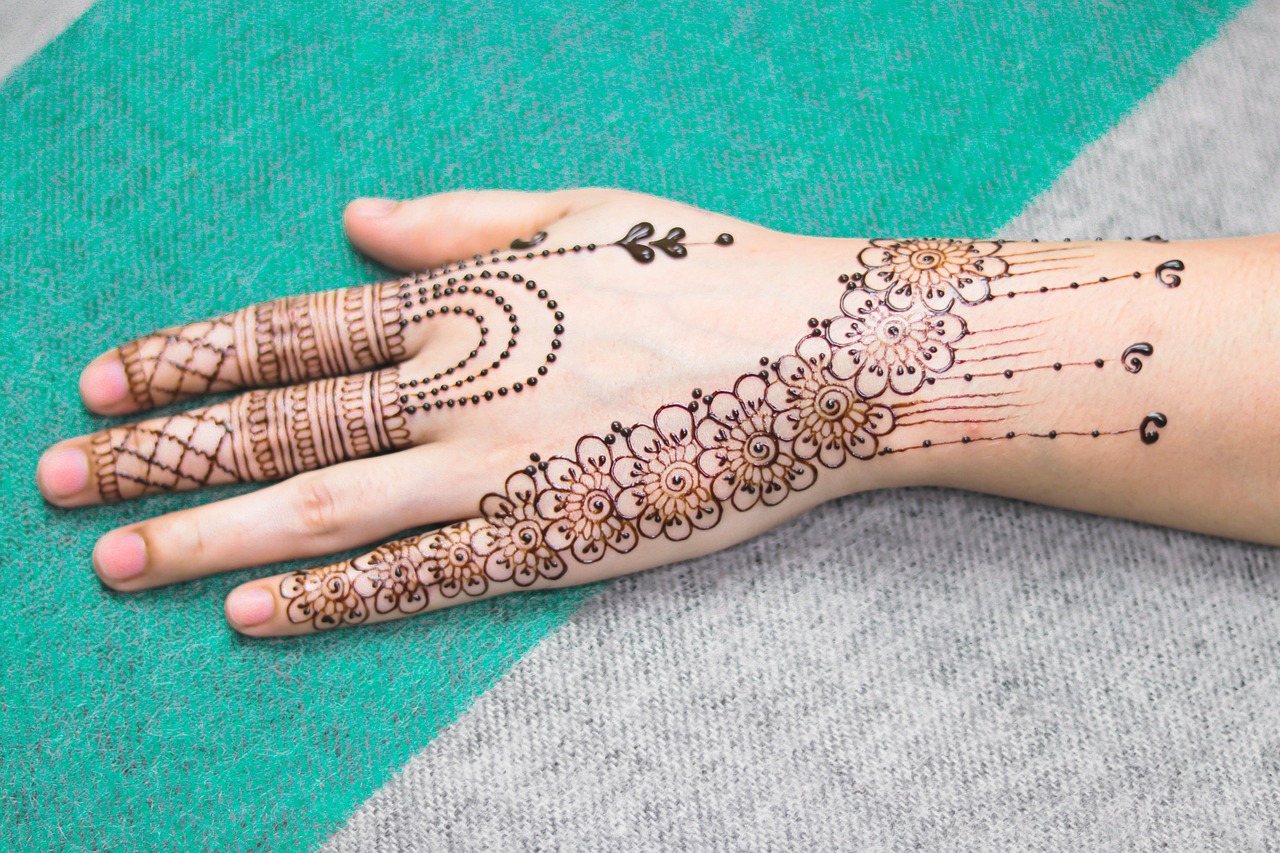
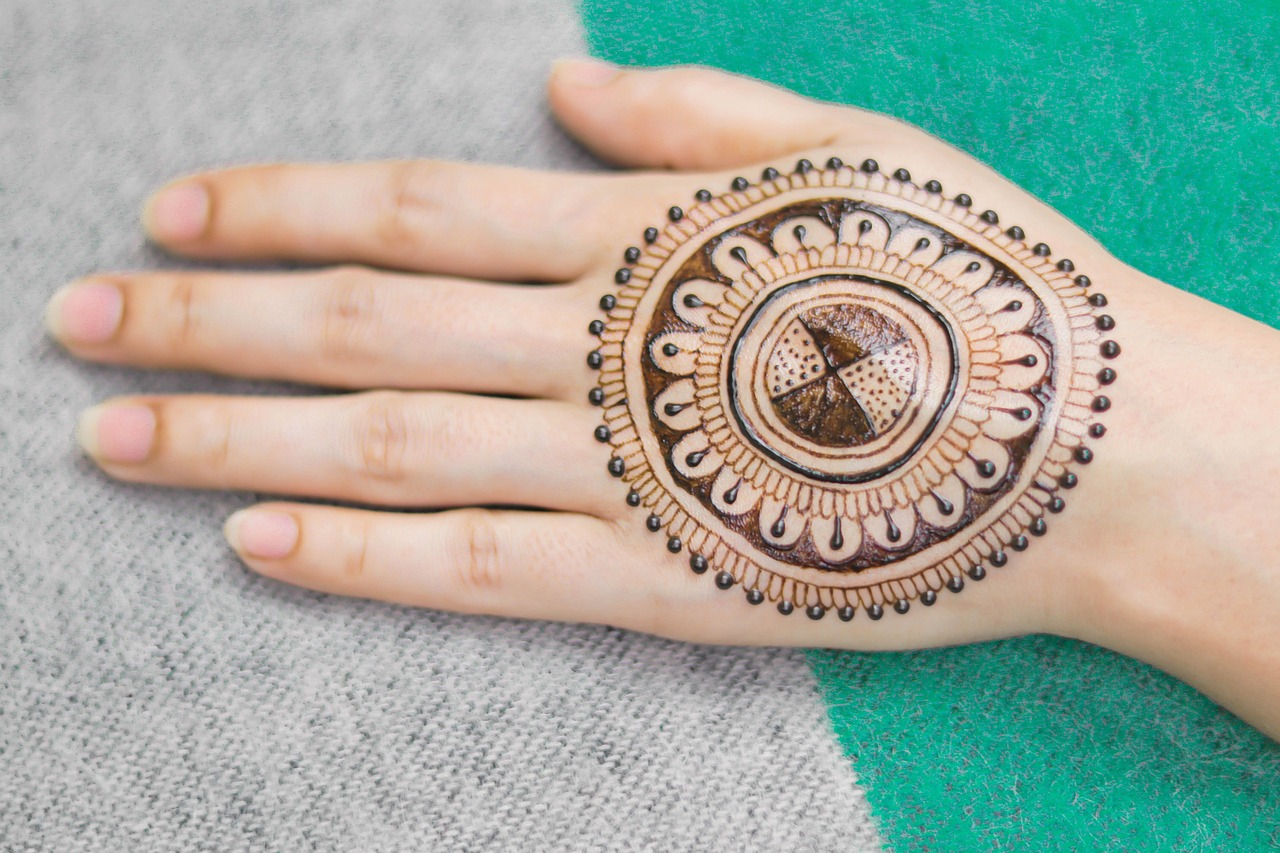
Top Patterns for Easy Mehndi Design on Your Right Hand
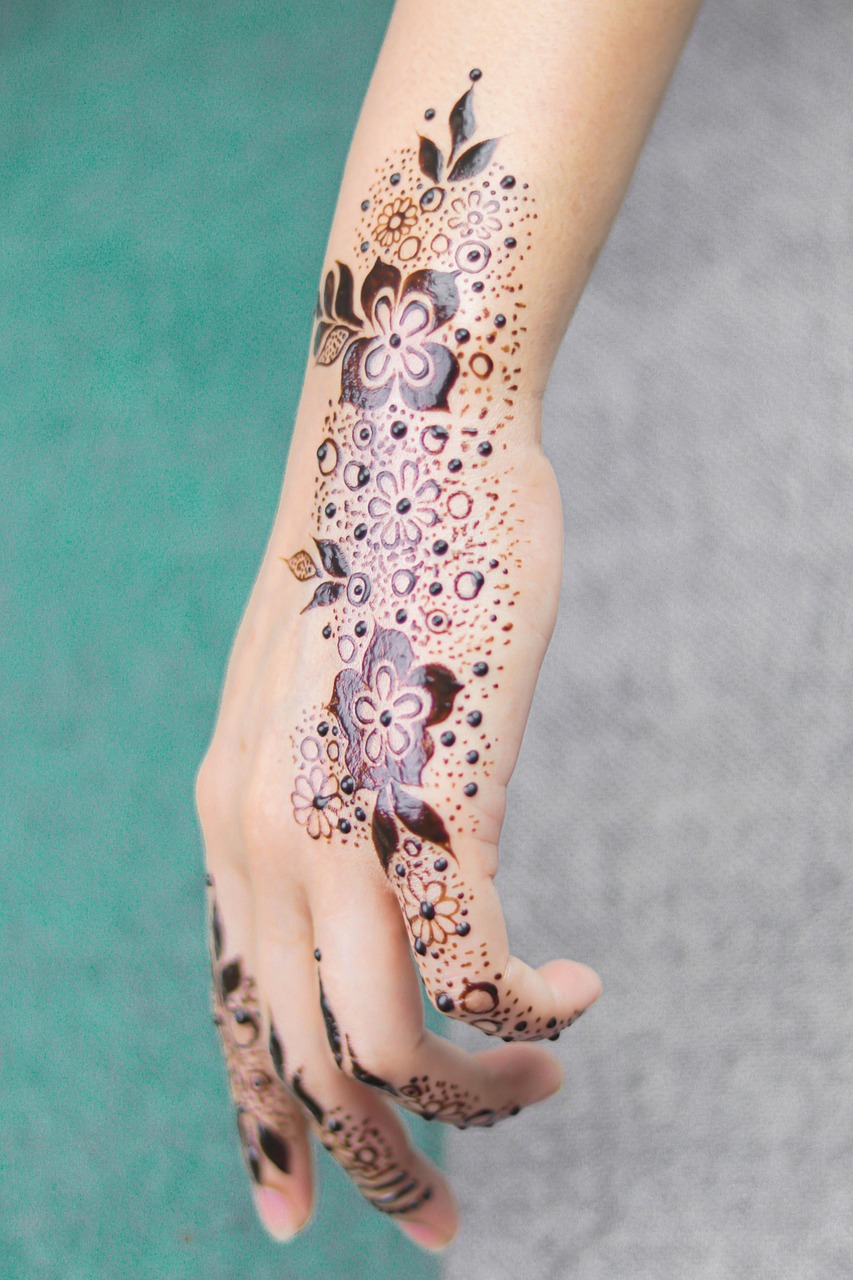
For beginners or quick applications, there are several go-to designs that work wonders for the right hand. These include finger motifs, trailing vines, semi-circle patterns, and mandala-inspired styles. Each design strikes the perfect balance between beauty and simplicity.
How Can I Learn to Create Simple Mehndi Patterns?
Learning mehndi is easier than ever thanks to online tutorials and step-by-step guides. Platforms like YouTube and Pinterest offer a treasure trove of ideas to get you started. You can begin with basic strokes and gradually build up to more creative patterns.
Example of Easy Mehndi Designs
A great beginner-friendly idea is to draw a floral centerpiece on the palm, followed by dotted trails extending to the fingers. As you gain confidence, add small leaves and curls for extra flair. This design requires only a steady hand and a little practice.
Tried-and-Tested Tips for Perfect Mehndi Application

Beyond the design itself, nailing the application is equally important. By following a few practical tips, you can achieve salon-like results at home without hassle.
What Are Some Pro Tips for Long-Lasting Mehndi?
Here are some foolproof tips to ensure your mehndi looks great and lasts longer:
- Clean your hand thoroughly to remove oil or dirt before applying mehndi.
- Let the mehndi dry naturally, avoiding blow dryers or artificial heat.
- Apply lemon-sugar syrup to enhance the color after it dries but before itâs removed.
- Avoid washing your hand for at least 12 hours after removal.
Expert Insight
Renowned mehndi artist Divya Patel suggests starting with simple designs on paper before practicing on your hand. “This gives beginners the freedom to perfect their strokes and visualize the final result before transferring it onto skin,” she says.
Conclusion
Embracing “easy mehndi design right hand” opens up a world of creativity without the stress of perfection. From basic floral patterns to elegant finger motifs, these designs prove that mehndi can be simple yet mesmerizing. So, grab your henna cone and start practicing today!
Looking for more inspiration? Subscribe to our newsletter for weekly mehndi tips, or share this post with friends whoâd love to try easy mehndi designs too. Letâs spread the joy of beautiful, accessible art!