
Easy Mehndi Design Left Hand: Perfect Patterns for Beginners
Mehndi, also known as henna, is a timeless art that adorns hands with intricate designs. For those looking to create beautiful patterns on their left hand, the process doesn’t have to be complicated. Whether you’re a beginner or simply prefer minimalist styles, easy mehndi designs are the perfect choice. In this guide, weâll explore simple yet stunning options for decorating the left hand and provide practical tips to make your mehndi journey effortless and enjoyable.
Key Aspect of Easy Mehndi Designs for the Left Hand
Designing mehndi on your left hand can be both fun and artistic, especially when you focus on simple patterns that are quick to create. The goal here is to choose designs that are elegant yet donât require extensive expertise. With practice and a little creativity, you can master beautiful shapes like floral motifs, paisley, and dotted accents.
What are Some Simple Design Ideas for the Left Hand?
Here are a few easy mehndi design ideas for your left hand:
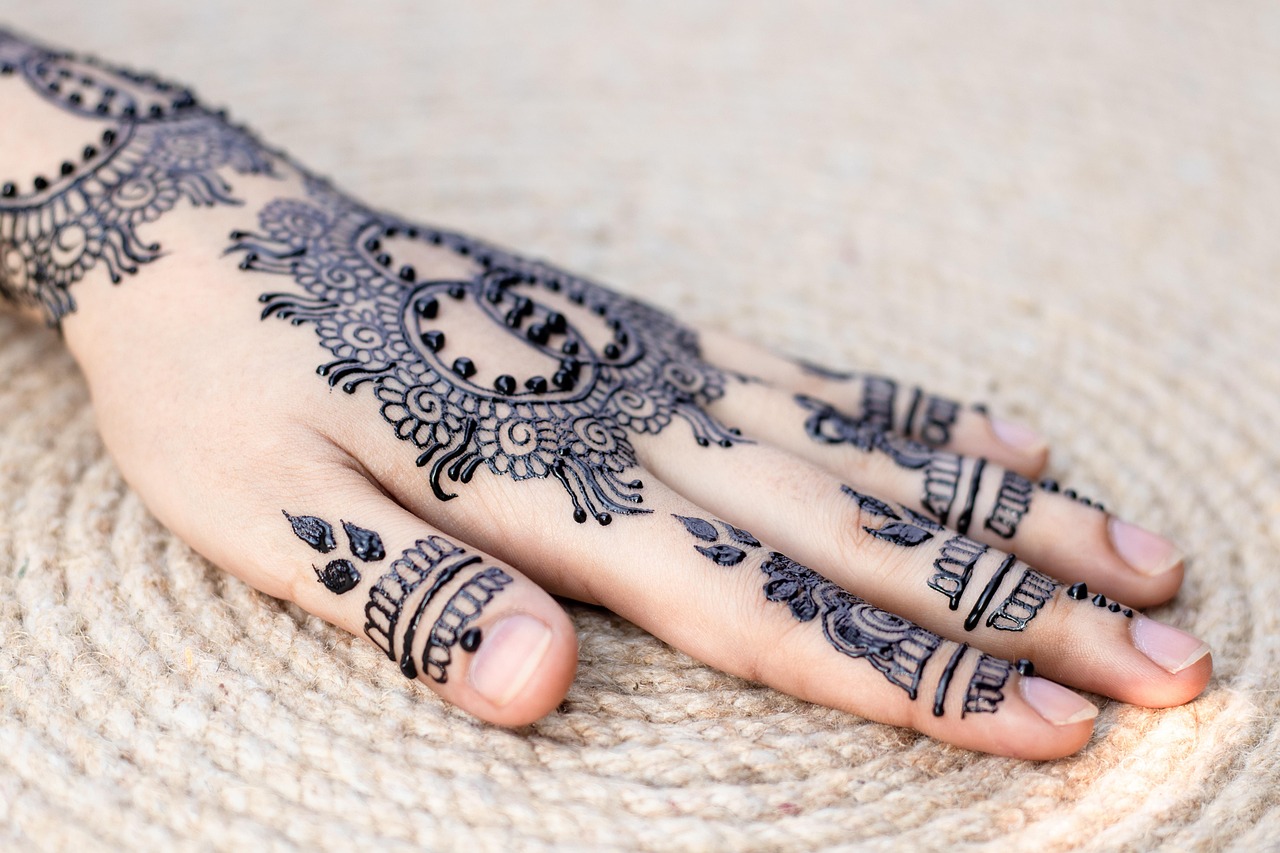
- Start with minimal finger patterns consisting of dots and small petals.
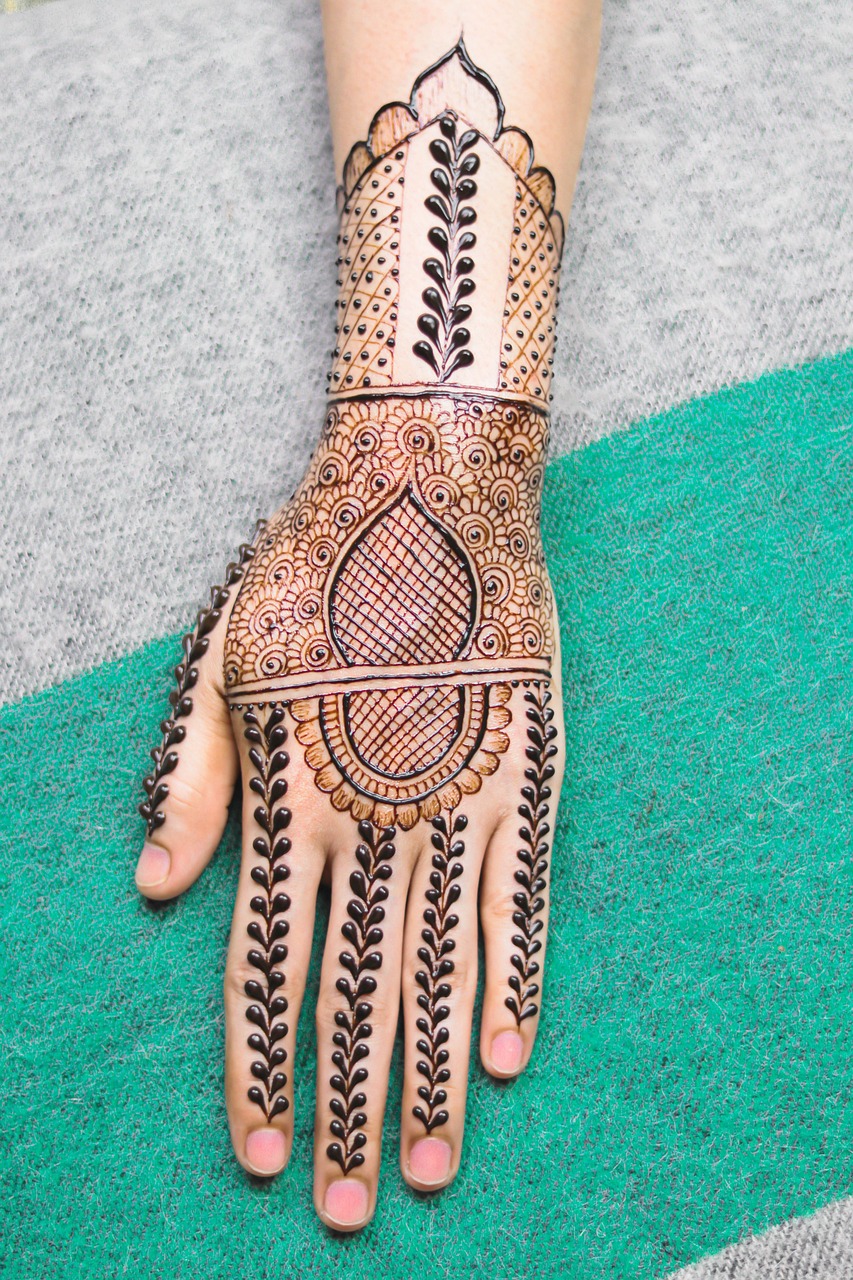
- Use simple flower chains that trail from the wrist to the fingers.
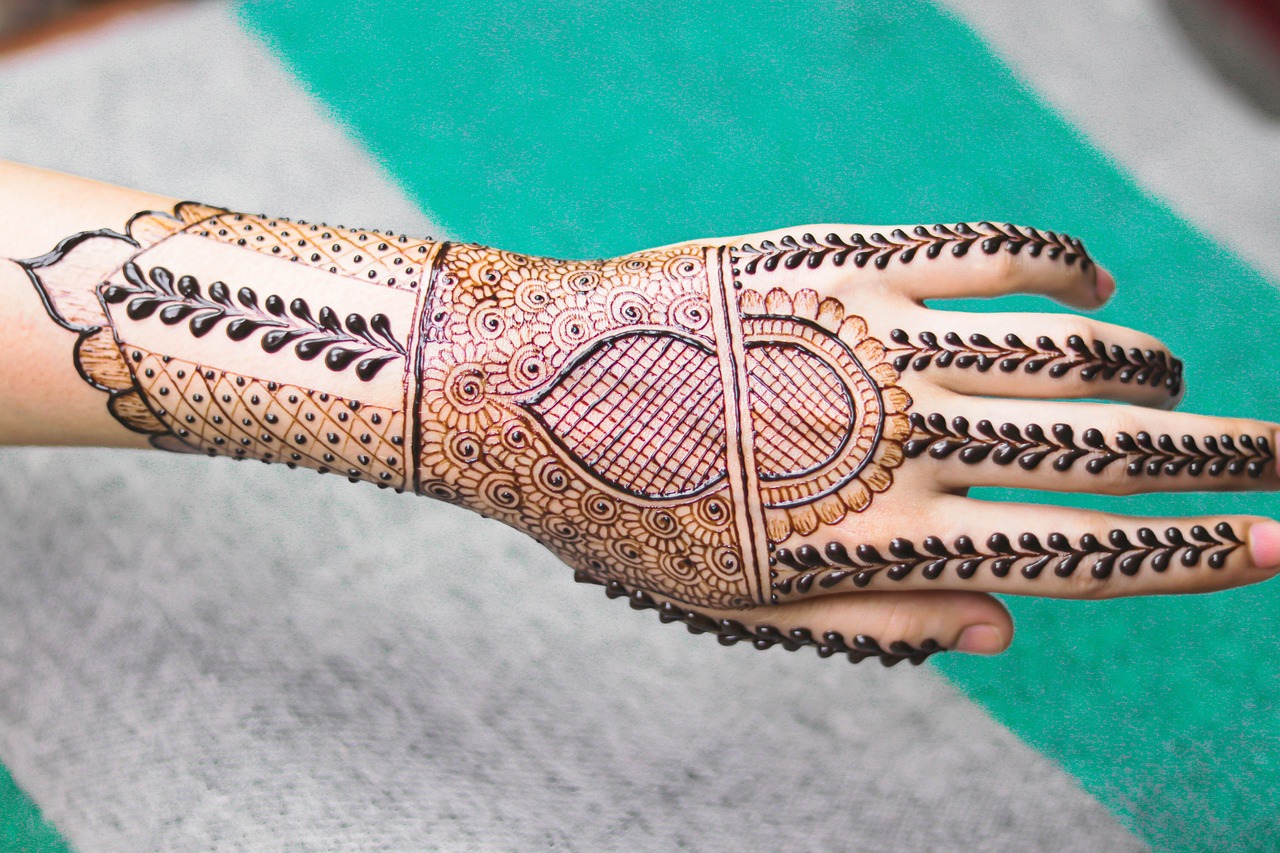
- Create semi-circular motifs along the hand for a classic look.
- Focus on bolder wristbands to draw attention without intricate details.
External Information – Did You Know?
According to a study published in the Journal of Traditional Arts, henna has been used for over 5,000 years across cultures for both decorative and medicinal purposes. It remains a popular choice today for celebrations and seasonal festivals.
How to Make Applying Easy Mehndi Designs Easier
Part of creating an effortless mehndi design on your left hand is about preparation and the tools you use. From choosing the right cone to practicing on paper, there are many ways to simplify the process while maintaining a polished result.
How Can Beginners Apply Mehndi with Confidence?
If youâre new to mehndi, follow these steps for a smoother application:
- Choose the right cone: Go for a fine-tipped mehndi cone that allows for better control and precision.
- Start small: Begin with dots, lines, and repetitive patterns until you feel confident with curves.
- Use stencils: Mehndi design stencils can be a great way to achieve professional results effortlessly.
- Practice on paper: Before applying on your hand, practice on a sheet of paper to fine-tune your skills.
External Information – Case Study
A popular mehndi artist from Instagram, @mehndibystarz, shares that using pre-made templates helped her transition from beginner to professional by learning design symmetry early on.
Tips for Perfecting Easy Mehndi Design on the Left Hand
Even for simple mehndi patterns, a few practical tips can elevate your design and ensure it looks refined. Pay attention to minor details and use these best practices to make your work look professional.
Whatâs the Best Way to Finish a Mehndi Design?
Once your mehndi design is complete, focus on these finishing touches to make it long-lasting:
- Let the mehndi dry for at least 60 minutes without moving your hand.
- Apply a mixture of lemon juice and sugar to keep the design moist and darker in color.
- Avoid washing your hands immediately; let the design cure overnight for best results.
External Information – Pro Tip from Experts
Professional mehndi artists recommend keeping your hands warm during and after application to help the stain appear richer. Wrapping your left hand in plastic after the paste dries can enhance the color intensity.
Conclusion
Creating a beautiful mehndi design on your left hand doesnât have to be difficult. By focusing on simple patterns, using the right tools, and practicing regularly, you can craft stunning designs effortlessly. Whether youâre preparing for an event or just experimenting for fun, these easy mehndi design tips will help you get started.
Ready to create your own stunning mehndi designs? Share your creations on social media and inspire others! Donât forget to check out more simple mehndi tutorials and tips here.