Easy Left Hand Mehndi Design: Simple and Stunning Ideas for Everyone
Mehndi, often referred to as henna, is a traditional art form adored for its natural beauty and elegance. Whether itâs for a wedding, festival, or simply to experiment with creative designs, mehndi can be intricate or minimalist. And when it comes to women searching for an “easy left hand mehndi design,” the good news isâthere are endless simple yet stunning patterns to choose from that wonât take hours to create!
Key Aspect of Easy Left Hand Mehndi Design
Designing mehndi on the left hand doesnât have to feel daunting, even if youâre a beginner. The positioning of patterns and simplicity of the design play a significant role in creating a balanced and elegant look. This is especially important because intricate designs for the left hand can be tricky without professional experience. Keeping it easy yet stylish is the perfect approach.
What are some popular easy mehndi designs for the left hand?
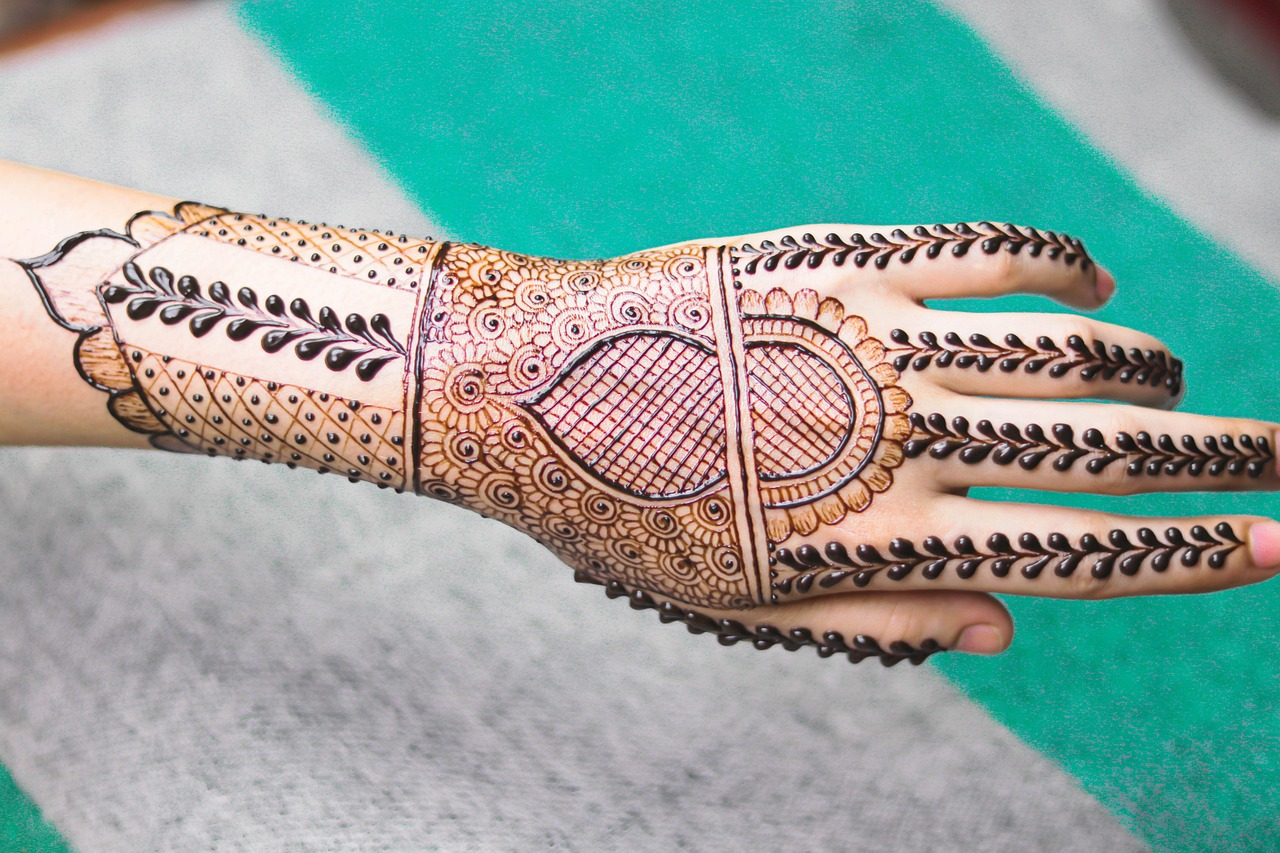
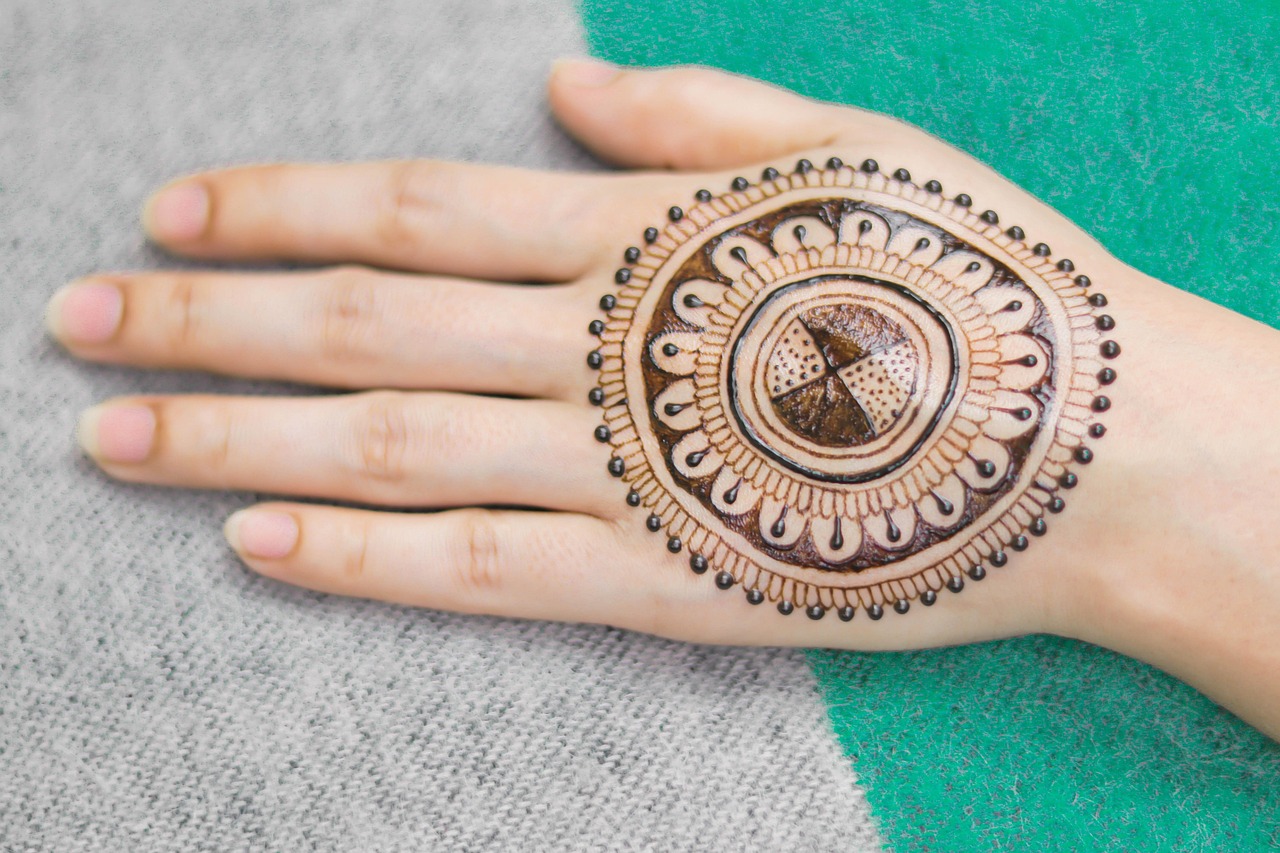
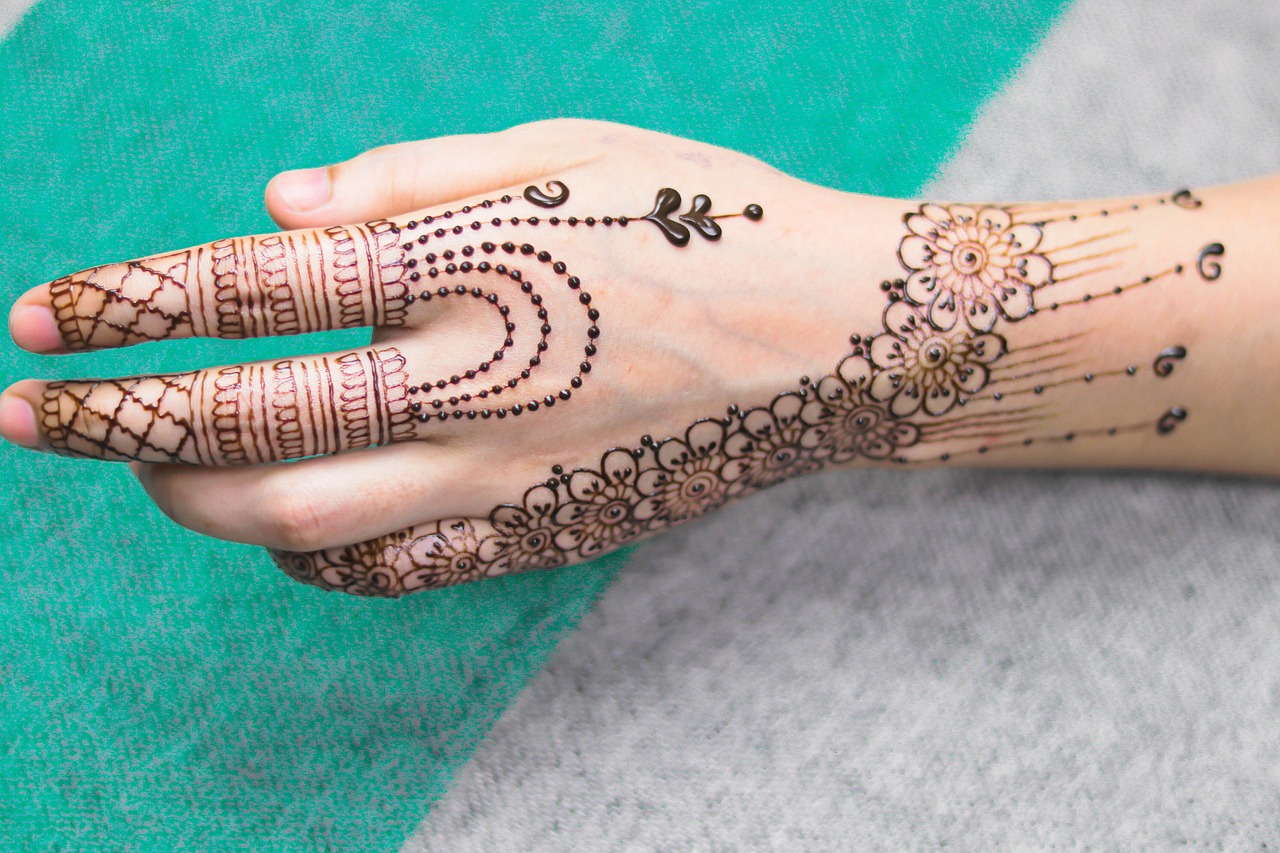
Some easy mehndi design styles for the left hand include floral motifs, mandala patterns, Arabic-inspired trails, and minimal leafy vines. These designs are simple to apply, yet they look classy and sophisticated. Finger-focused mehndi designs that leave plenty of negative space are particularly trendy and fast to create.
External Information – Did You Know?
According to a recent report by Henna Page, minimalist mehndi designs are becoming a top trend globally, as people seek fuss-free yet stylish art that can be applied quickly.
How to Make Your Left-Hand Mehndi Design Stand Out

One of the essential insights to keep in mind while creating an easy left hand mehndi design is to experiment with symmetry and negative space. For instance, a mandala at the center of your palm paired with tiny dots and leaves on the fingers can look both simple and artistic. You can also add a dash of glitter or white henna for a modern twist.
Can beginners master left-hand mehndi designs quickly?
Yes, absolutely! Beginners can practice easy designs using a cone or stencil. Start with circular shapes, small paisleys, and floral patterns. If freehand drawing feels challenging, stencils available in the market can be a go-to tool for beginners.
External Information – Expert Opinion
Professional mehndi artist Divya Sharma emphasizes that starting with basic symmetrical designs and focusing on precision is key for mastering the art of left-hand mehndi. She also suggests practicing on paper before applying it to your skin.
Additional Tips to Perfect an Easy Left Hand Mehndi Design
For those aiming to ace their left hand mehndi, preparation is critical. Before beginning, ensure your hand is clean and dry, and your mehndi cone has a fine tip for precision. Additionally, using pre-mixed cones from reputable brands ensures better results, especially if you’re new to the art.
How can I make my mehndi look darker naturally?
To make your mehndi stain richer and darker, avoid washing your hands immediately after application. Instead, let the paste dry naturally, leave it on for at least 5-6 hours, and apply a balm made from lemon juice and sugar for deeper color. Avoid water exposure for 24 hours after removal for enhanced longevity.
External Information – Pro Tip from Artists
Renowned mehndi artist Poonam Shah shares, “For a long-lasting and dark mehndi stain, wrap your hand with plastic wrap after the henna starts drying slightly. This traps warmth and moisture, creating a darker stain.”
Conclusion
Creating an easy left hand mehndi design is enjoyable and accessible for everyone, from beginners to seasoned enthusiasts. With simple patterns like floral motifs, mandalas, and leafy trails, your left hand can become a canvas of artful elegance in no time. Remember to keep your designs minimal and focus on neatness for the best results. Ready to create your masterpiece? Share your mehndi journey with us in the comments below or subscribe to our newsletter for more tips and tutorials!