How to design beautiful and simple Mehndi for beginners
Mehndi, also known as henna, is a form of body art that has been practiced for centuries across various cultures. Its intricate and elegant designs have adorned brides and individuals celebrating special occasions. For beginners, starting with simple Mehndi designs can be a fun and creative experience. Here’s a step-by-step guide to help you design beautiful and simple Mehndi patterns.

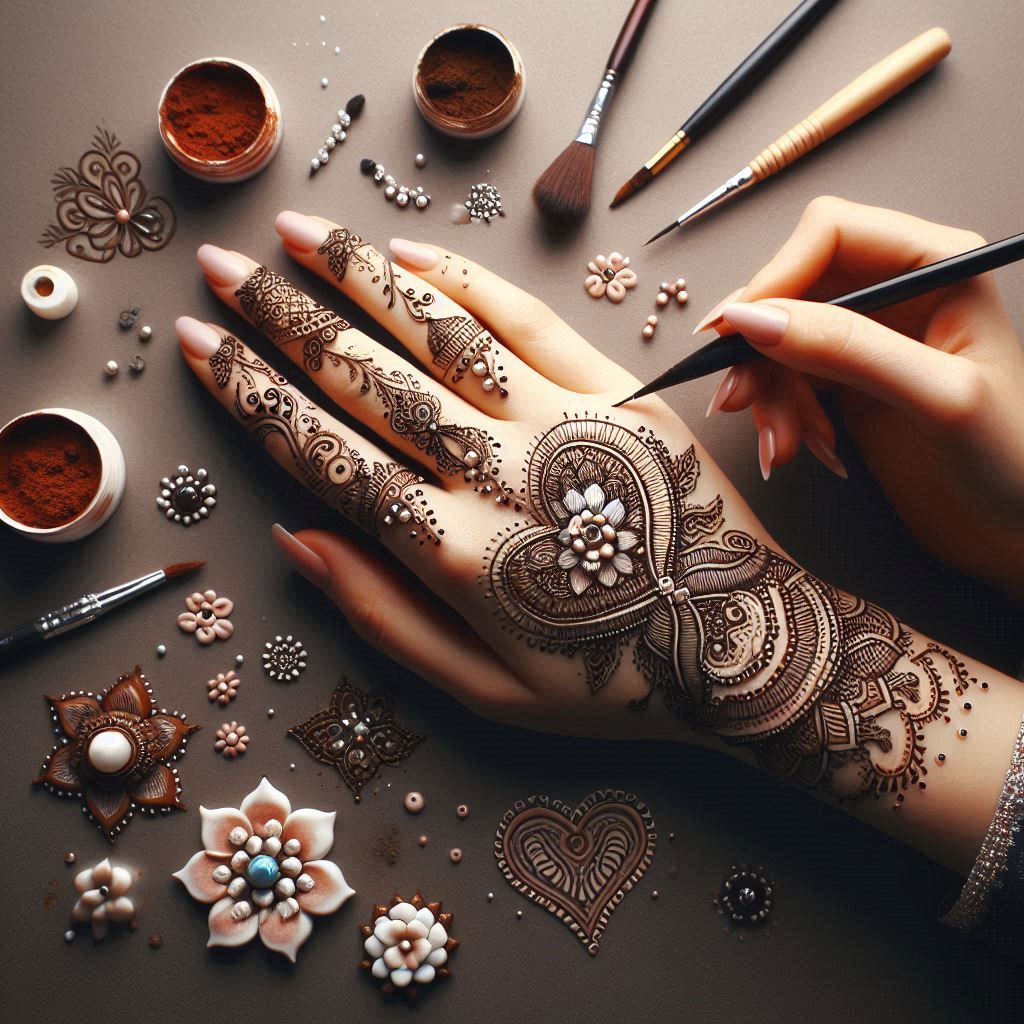
Understanding Mehndi Basics
Before you start designing, it’s essential to understand what Mehndi is and how it works. Mehndi is made from the powdered leaves of the henna plant. When applied to the skin, it leaves a temporary stain that typically lasts for one to three weeks. The key to creating beautiful designs lies in the consistency of the Mehndi paste and the application technique.
Simple Mehndi Designs for Beginners

Start with basic shapes and patterns. Here are some easy designs to get you started
- Dots and Lines: Begin by practicing dots and lines. These are the foundation of most Mehndi designs.
- Flowers: Draw a small circle and surround it with petal shapes. You can add details by drawing smaller lines or dots inside the petals.
- Paisleys: Draw a teardrop shape and add intricate lines and dots inside it to create a paisley pattern.
- Vines and Leaves: Draw a curvy line and add small leaves on either side. This can be used as a filler design or a border.
Step-by-Step Design Process

- Start with the Center: Begin your design in the center of the palm or back of the hand. This could be a simple flower or a paisley.
- Add Surrounding Patterns: Build around the central design with more flowers, leaves, and dots. Keep the design symmetrical for a balanced look.
- Fill in the Gaps: Use small dots, lines, and vines to fill any empty spaces. This adds complexity without making the design too overwhelming.
- Practice and Patience: Practice regularly to improve your control and precision. Be patient; Mehndi art requires a steady hand and attention to detail.
Aftercare Tips

Once you’ve applied your Mehndi design, follow these aftercare tips to ensure a dark and lasting stain
- Let It Dry: Allow the paste to dry naturally. This can take 30 minutes to a few hours.
- Seal the Design: Mix lemon juice and sugar and dab it onto the dried Mehndi. This helps the paste stay moist and stick to the skin longer.
- Avoid Water: Keep the Mehndi dry for as long as possible. Water can cause the paste to fall off prematurely.
- Leave It On: For the best results, leave the Mehndi on for at least 6-8 hours or overnight.
- Scrape Off: Once you’re ready, scrape off the dried paste (don’t wash it off). The design will be light orange initially but will darken over the next 24-48 hours.
Creating beautiful and simple Mehndi designs as a beginner is all about practice and patience. Start with basic patterns, gradually working your way to more intricate designs. Remember to enjoy the process and express your creativity through this timeless art form.