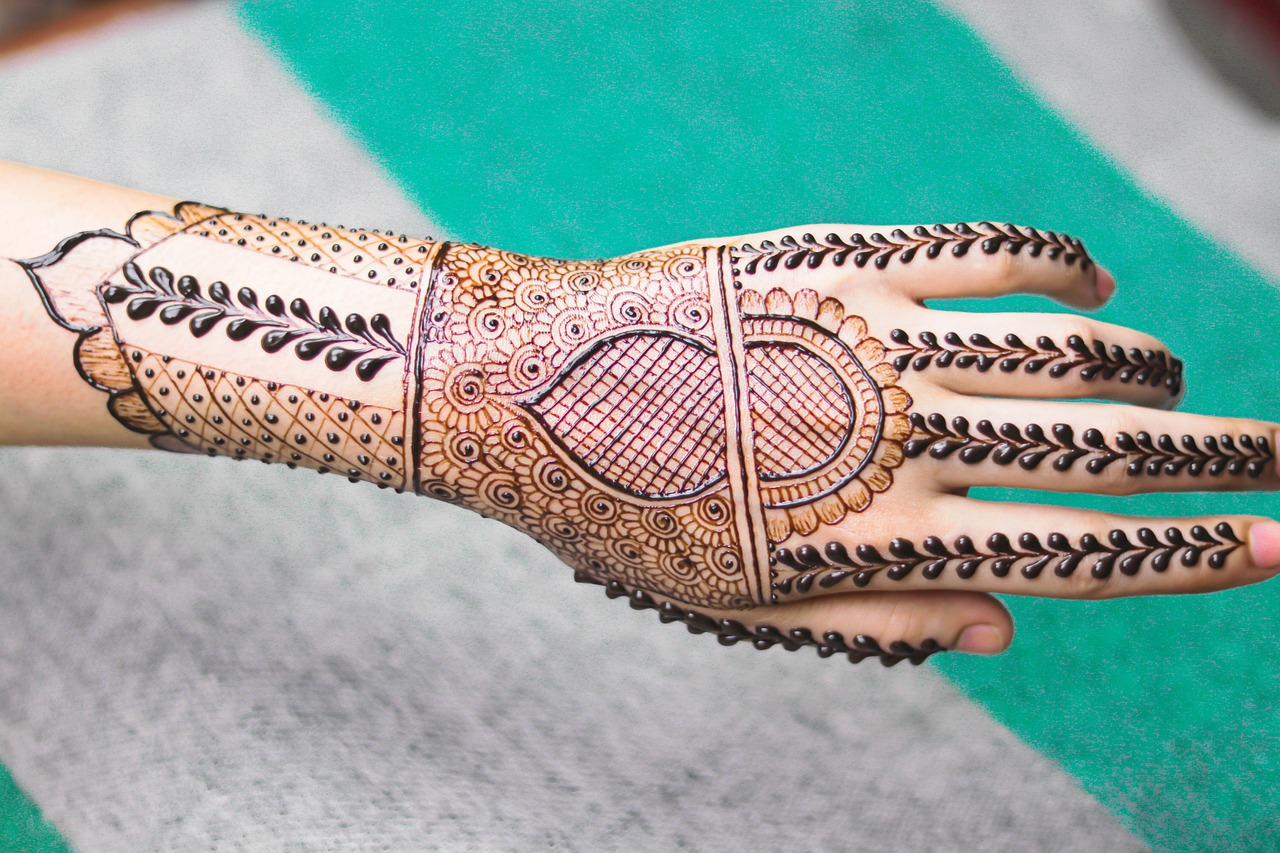
What is Bel Mehndi Design?

Bel Mehndi design features intricate patterns made from henna, inspired by the leaves and flowers of the bel (wood apple) tree. It is known for its beautiful, flowing curves and natural motifs. This design is popular for weddings and special occasions, as it symbolizes beauty and elegance.
One of the great things about bel mehndi design is its versatility. Whether simple or complex, an easy front-hand design can enhance any outfit. Let’s explore how you can create this stunning design with ease!
How Do You Create an Easy Bel Mehndi Design for the Front Hand?
Creating a bel mehndi design for the front hand can be straightforward if you follow a few simple steps:
- Start with clean, dry hands.
- Choose your henna cone and test it on a paper.
- Begin by sketching the outline of the design lightly.
- Fill in the patterns with easy strokes, focusing on the bel motifs.
- Let the henna dry completely before washing it off.
Research Insight on Mehndi Designs
According to a study by the National Center for Biotechnology Information, mehndi has been used traditionally for its natural properties and cultural significance in various regions.
The Significance of Front Hand Mehndi Designs
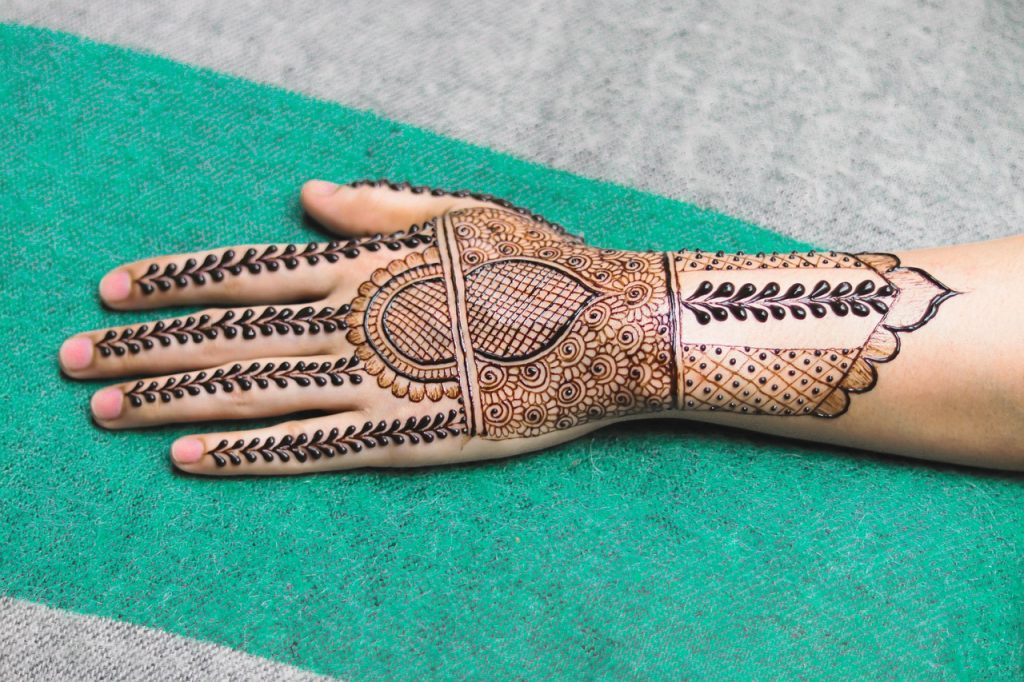
Front hand mehndi designs, including bel patterns, are often chosen for their visibility. They serve as a canvas to display artistic expressions and cultural heritage. The front hand is considered more auspicious, especially for events like weddings or festivals.
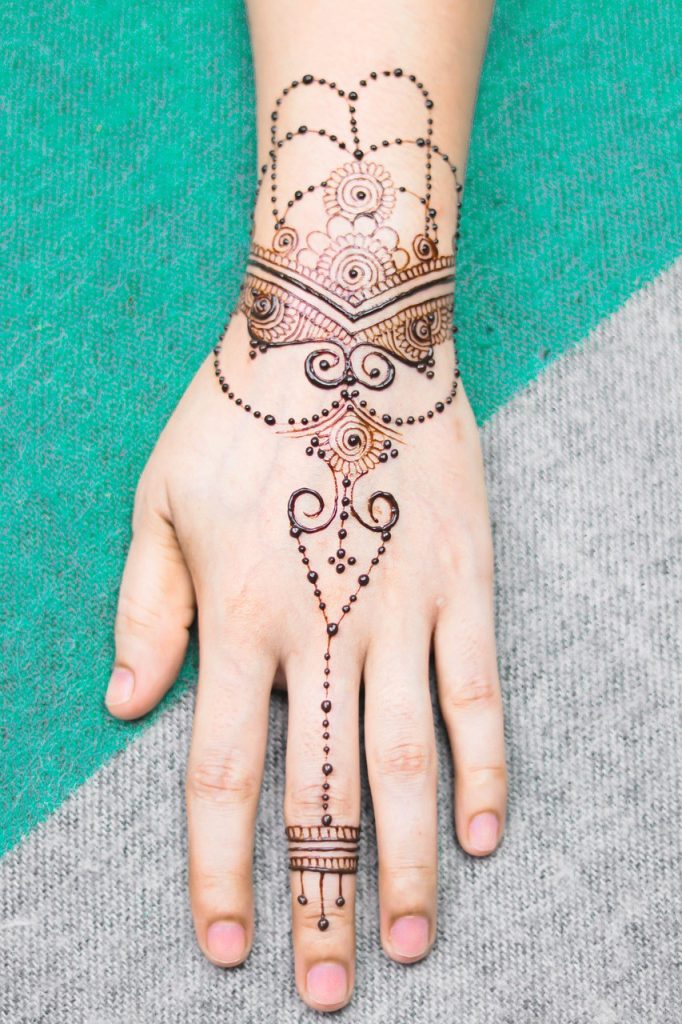
Why Choose Easy Designs for Beginners?
Easy designs are perfect for beginners because they help build confidence and skill without overwhelming intricacy. Simple bel motifs have a modern appeal while still embracing traditional aspects, making them ideal for anyone just starting their mehndi journey.
Expert Insights from Mehndi Artists
In interviews with professional mehndi artists, many agree that starting with simple designs allows you to grasp the basics of henna application. As noted by instructor Rina Patel, “Practicing easy designs lays the foundation for mastering more complex art.”
Best Practices for Applying Bel Mehndi

When it comes to applying bel mehndi designs, a few best practices can enhance your results:
- Use high-quality, natural henna.
- Practice on paper before applying on skin.
- Apply lemon-sugar mix after it dries for better color.
- Avoid washing hands right after for longer-lasting design.
What to Do if the Henna Color Turns Out Light?
If the henna color appears lighter than expected, it’s often due to insufficient drying time or not using the right mix. To improve color, simply apply a bit of sugar and lemon mix before letting it dry completely.
Additional Expert Recommendations
Henna designers recommend you leave the henna on for at least 6-8 hours to achieve a deeper shade. This tip can significantly enhance the quality and longevity of your design.
Conclusion
Bel mehndi designs for the front hand can be both beautiful and easy to achieve. By practicing simple techniques and following best practices, you can adorn your hands with stunning designs that reflect your personality and culture. Ready to give it a try? Download our free booklet for more tips and designs!
If you enjoyed this post, please subscribe to our newsletter or share it with your friends!