Back Side Mehndi Design Easy: A Guide to Stunning Yet Simple Patterns
Mehndi designs have always been a beloved way to adorn the hands and feet, especially during celebrations and festivals. When it comes to designing the backside of the hand, things can get tricky. Thatâs why learning âback side mehndi design easyâ patterns is perfect for those wanting something beautiful yet manageable. Whether youâre a beginner or want quick, stylish options, this article will provide all the tips and ideas to make your design effortless and elegant.
Key Aspects of “Back Side Mehndi Design Easy”

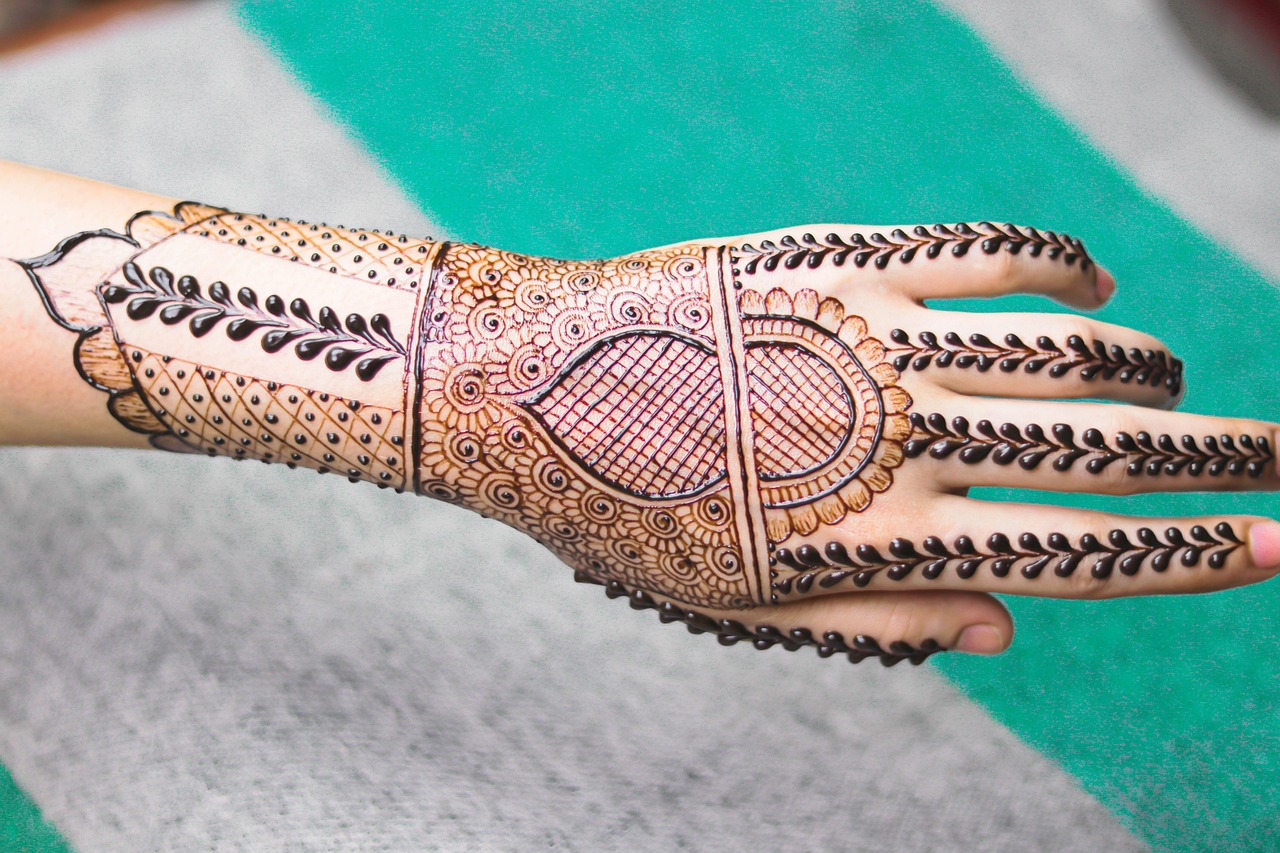
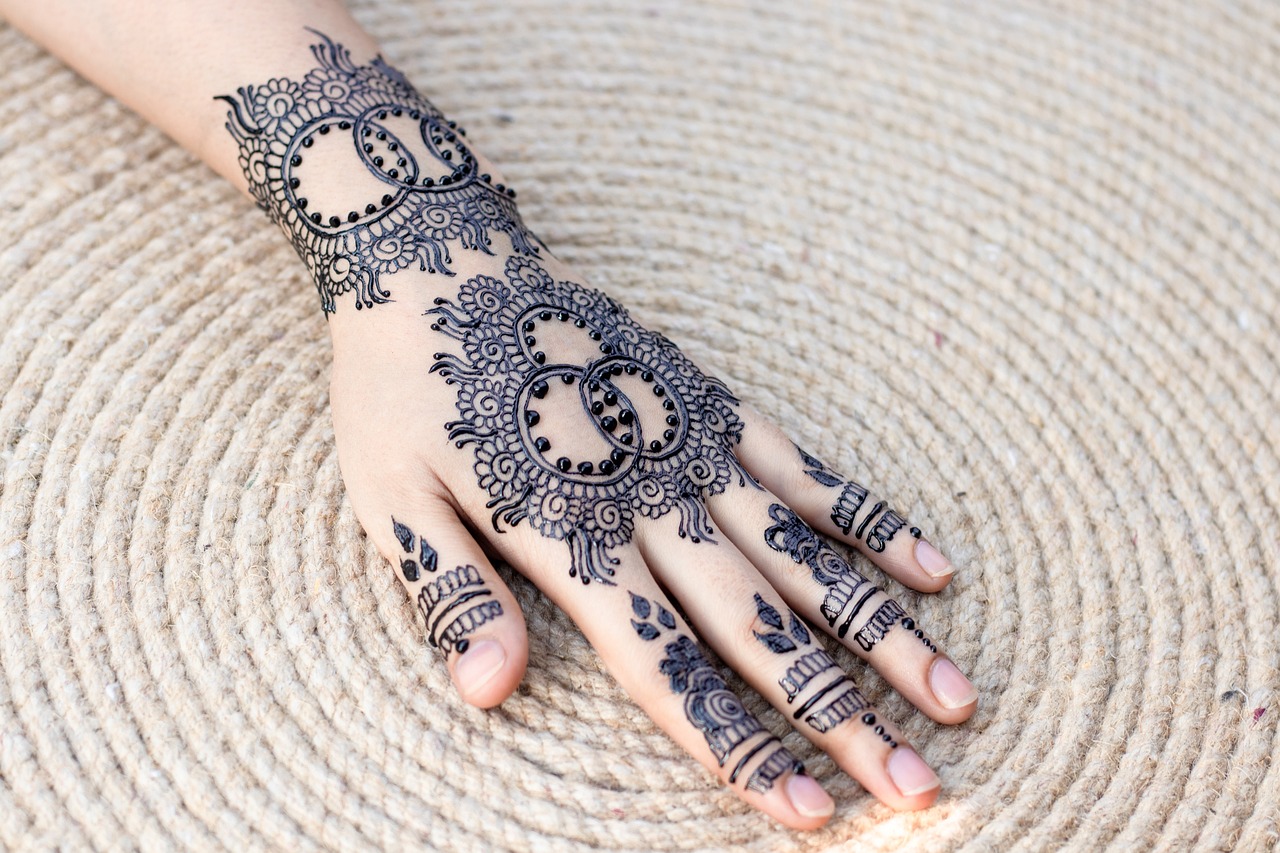
The backside of the hand is a canvas of creativity when it comes to mehndi. Unlike the palm, you can experiment with unique flowing patterns like florals, leaves, and geometric shapes. Easy designs focus on minimal elements with lots of negative space to let the artwork shine without looking overwhelming.
What are the best patterns for the back of the hand?
The best patterns for the back side of the hand include trails flowing from the wrist to the fingers, simple mandalas, and leaf motifs. These designs are both versatile and beginner-friendly, making them a great choice for DIY mehndi enthusiasts.
Fact: Popularity of Simple Designs
Did you know? According to a Style Craze beauty survey, over 58% of women prefer minimalistic henna designs for everyday wear or small celebrations, as they take less time and offer a chic look.
Tips for Creating Easy Back Side Mehndi Designs

Simplicity doesnât mean compromising creativity! To achieve flawless easy mehndi designs, focus on uniformity and symmetry. A few quick tips include using pre-made stencils for guidance or starting with a simple grid and building upon it. This not only saves time but also ensures accuracy in your designs.
Can beginners create back side mehndi designs easily?
Absolutely! For beginners, start with simple patterns such as dots, lines, and swirls. These patterns can be connected to form beautiful trails and mandalas without requiring expert-level skills. Looking at online tutorials or using mehndi sticker outlines can also help.
Example: A Simple DIY Design
One easy design for starters is a dotted floral vine. It begins with a central flower near the wrist, followed by a trail of small flowers, leaves, and dots leading up the middle fingerâa classic and chic look!
Additional Useful Insight for Easy Mehndi Application
To make your back side mehndi application smoother and hassle-free, remember to always start with clean, dry hands. Use a high-quality mehndi cone, and practice applying steady pressure for clean lines. Additionally, once youâre done, let the mehndi dry properly and apply a sugar-lemon mixture for darker stains.
How can you maintain the beauty of back side mehndi for longer?
To ensure your back side mehndi design lasts longer, avoid washing your hands frequently for the first 24 hours. Use natural oils like coconut or mustard oil after scraping off the dried mehndi to lock in the color and keep it vibrant for days to come.
Expert Tip
According to henna artist Arfa Henna, “Always apply mehndi in a relaxed environment. Stress-free hands help in steady application, and maintaining proper drying techniques enhances the final color payoff.”
Conclusion
Creating âback side mehndi design easyâ patterns doesnât have to be daunting. With the right inspiration, tools, and simple techniques, anyone can achieve gorgeous results. From floral trails to mandalas, these designs are perfect for every occasion and skill level. Ready to flaunt your stunning backhand mehndi? Share your creations with us or follow our blog for more design ideas and tips!
CTA: Want more mehndi tips and inspirations? Subscribe to our newsletter for the latest trends, or share this post with someone whoâd love it!