Back Hand Easy Mehndi Design: Simple and Stylish Henna Art for All Occasions
Mehndi designs have been a cornerstone of cultural celebrations for centuries, symbolizing beauty and tradition. Among the various designs, back hand easy mehndi designs stand out for their elegance and simplicity, making them a favorite for beginners and professionals alike. In this blog, weâll explore creative ideas, tips, and the versatility of easy mehndi designs for the back of your hand.
Why Choose Back Hand Easy Mehndi Designs?
The popularity of back hand mehndi designs lies in their charm and ease of application. These designs not only elevate your style for cultural events but also add a modern touch. For those new to henna art, simple designs for the back hand are the perfect starting point to practice and master the craft.
What Makes Back Hand Mehndi Designs Special?
Back hand mehndi designs are versatile and ideal for various occasions, from weddings and festivals to casual gatherings. They focus on lightweight patterns that highlight the hand’s natural beauty without being overly intricate.
Did You Know? The Origin of Mehndi Art
Studies suggest that mehndi, or henna art, dates back to ancient Egypt over 5,000 years ago, where it was used for cosmetic and cooling purposes. Read more on its history here.
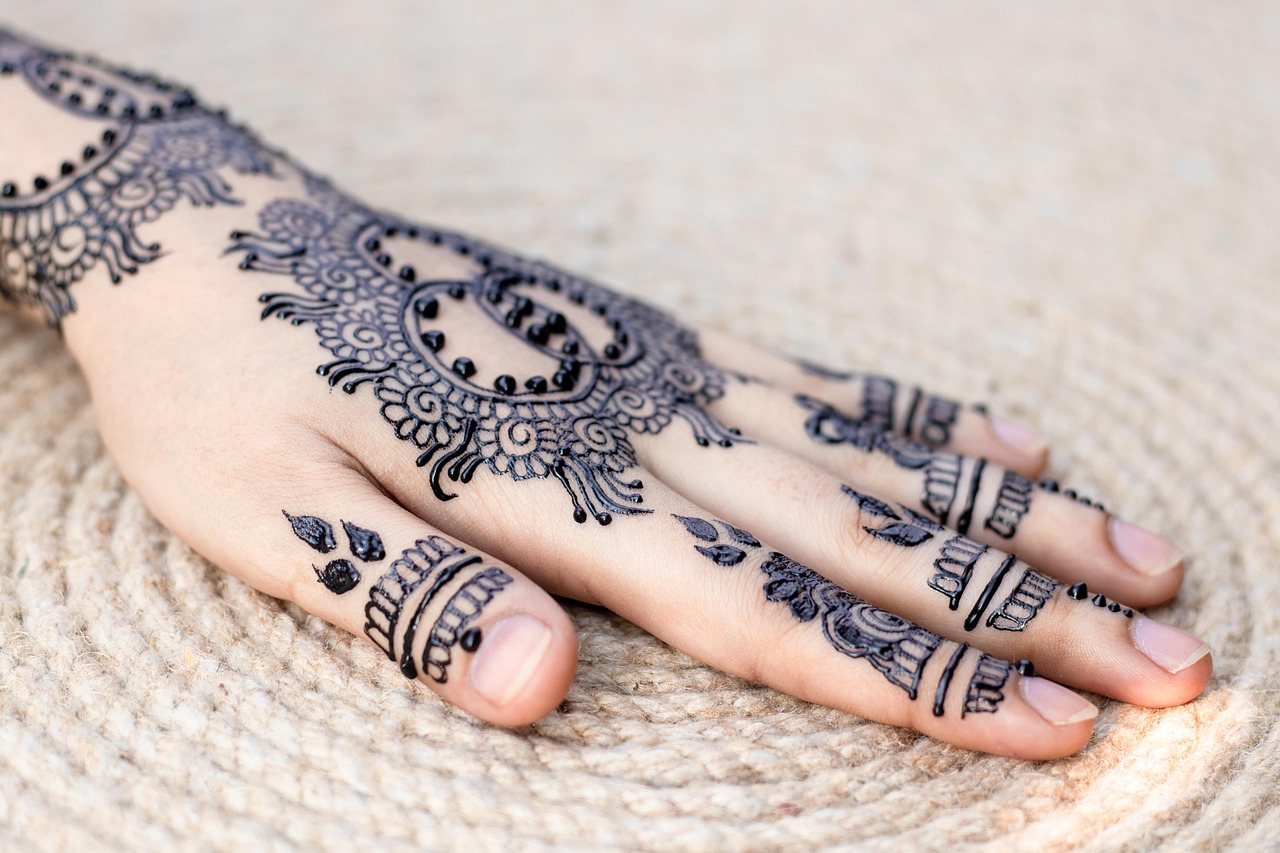
Key Features of a Good Back Hand Easy Mehndi Design

Understanding the elements of an easy mehndi design can help you plan one effortlessly. Common styles include floral motifs, geometric patterns, trailing vines, and simple mandalas. These designs are not just beautiful but also quick to apply, making them the ideal choice for beginners.
What Tools Do You Need for Easy Mehndi Application?
To create a stunning back hand mehndi design, all you need is a quality henna cone, tissue paper for corrections, and a creative attitude. For inspiration, you can browse online galleries or create freehand designs suited to your taste.
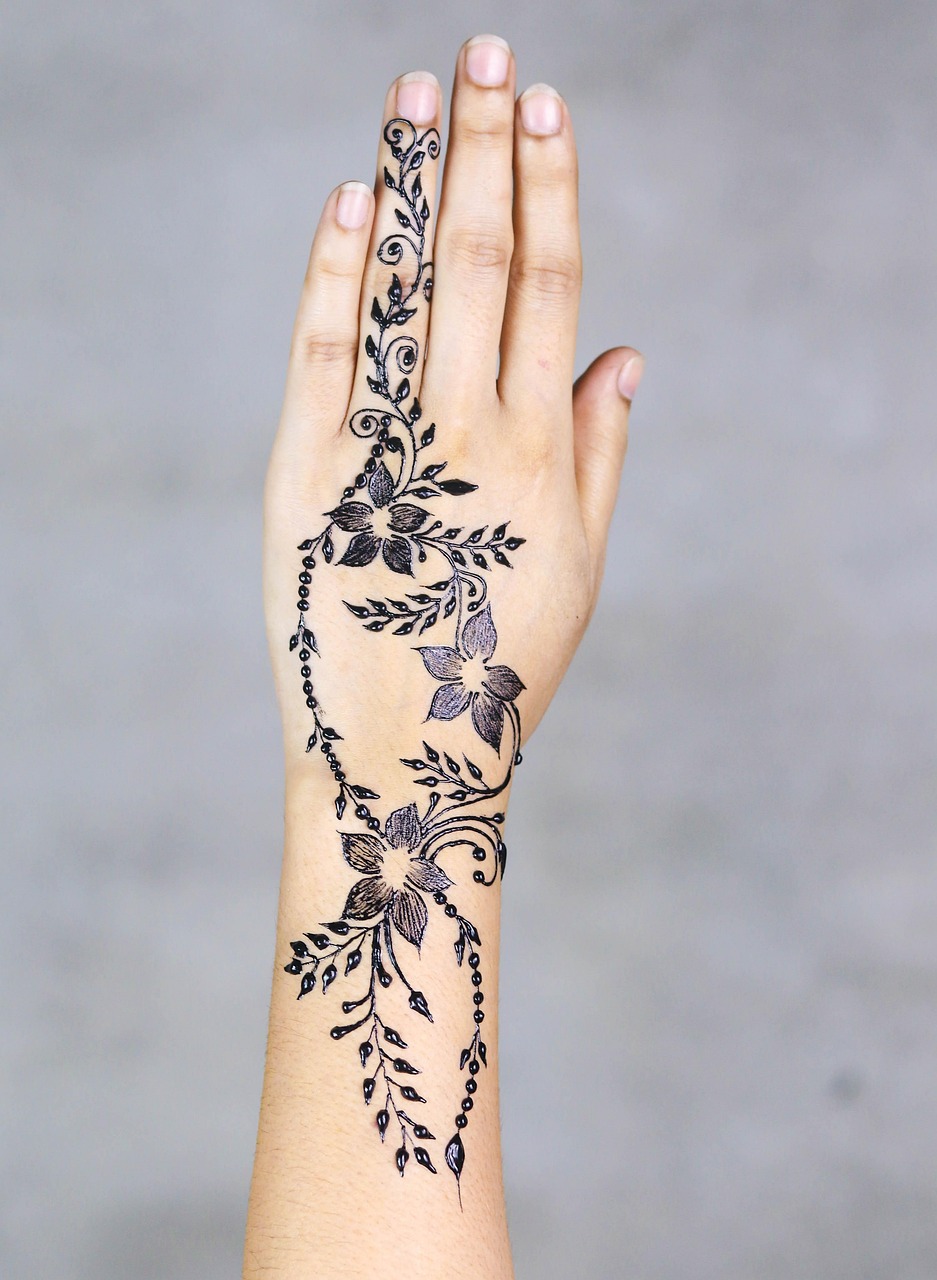
Example: Simple Floral Designs
A basic yet stunning option for back hand designs is a single floral centerpiece with delicate leaves and dots surrounding it. This lightweight design is perfect for minimalist vibes and can be completed in just 10 minutes.
Step-by-Step Guide to Perfecting Your Mehndi Skills

If you’re new to the art, practice is key. To nail your first back hand easy mehndi design, we advise starting with pre-drawn templates and gradually experimenting with freehand patterns. Hereâs a simple guide to follow:
- Start with clean and dry hands for better henna adherence.
- Trace a basic outline using a pencil for symmetry (optional).
- Move from the wrist up toward the fingers to ensure an even flow.
- Let your design dry for at least 2-4 hours for a rich stain.
How Can You Achieve a Longer-Lasting Mehndi Color?
For a deep, rich color, sprinkle lemon juice mixed with sugar on the dried design. This hack seals the mehndi and enhances the stain.
Expert Tip
As per industry experts, using fresh henna paste and avoiding water contact for 12 hours after application are the two key factors to ensure a better, longer-lasting mehndi stain.
Conclusion: Start Your Artistic Mehndi Journey Today
Whether you’re preparing for a traditional event or simply want to showcase your artistic side, back hand easy mehndi designs are your go-to option for creative, elegant, and quick henna art. Try these tips and designs to transform your back hand into a canvas of delicate patterns.
Ready to create your masterpiece? Share your designs with us or follow our blog for more beginner-friendly mehndi tutorials. Donât forget to bookmark this guide for your next henna session!