
Simple Mehndi Design Step by Step: Your Ultimate Guide
Mehndi, also known as henna, has been an integral part of many cultures for centuries. Whether you’re a bride wanting intricate patterns or just exploring it for fun, starting with a simple mehndi design step by step is the best way to master the art. In this guide, weâll break down the process of creating elegant yet minimalistic mehndi designs, perfect for beginners and enthusiasts alike.
Understanding the Basics of Simple Mehndi Design Step by Step
Creating a beautiful mehndi design isnât as overwhelming as it might seem. By following a few simple steps and practicing regularly, you can master this skill. Letâs begin with essential basics.
What tools do you need to start with a simple mehndi design?
To begin your mehndi journey, youâll need specific tools to simplify the process:
- A mehndi cone or prefilled henna tube
- Tracing paper (optional for beginners)
- Clean cotton swabs or earbuds for corrections
- A soft cloth to wipe off excess patterns
Once you have your tools ready, you can prep your design space for a smooth application.
External Information – The History of Mehndi
Did you know? Mehndi has roots dating back over 5,000 years, originating in ancient India, and spread across cultures in the Middle East and Africa. Learn more about the history of henna here.
Step-by-Step Guide to Drawing Simple Mehndi Designs
Now that you know the basics, letâs dive into creating your first simple mehndi design. Follow these easy steps:
- Start with clean, dry skin: Wash your hands and dry them completely.
- Practice your design on paper: Use a pen or marker to sketch your design first for accuracy.
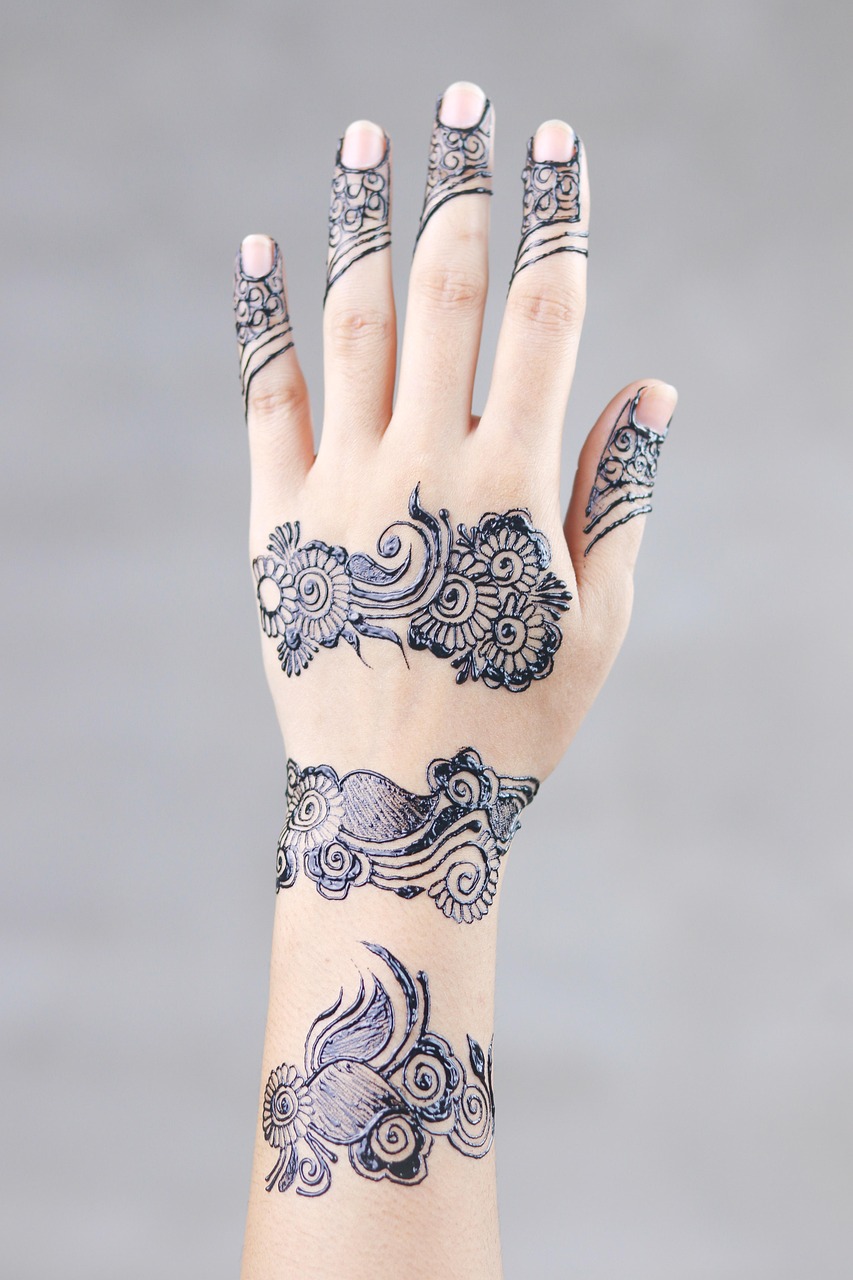
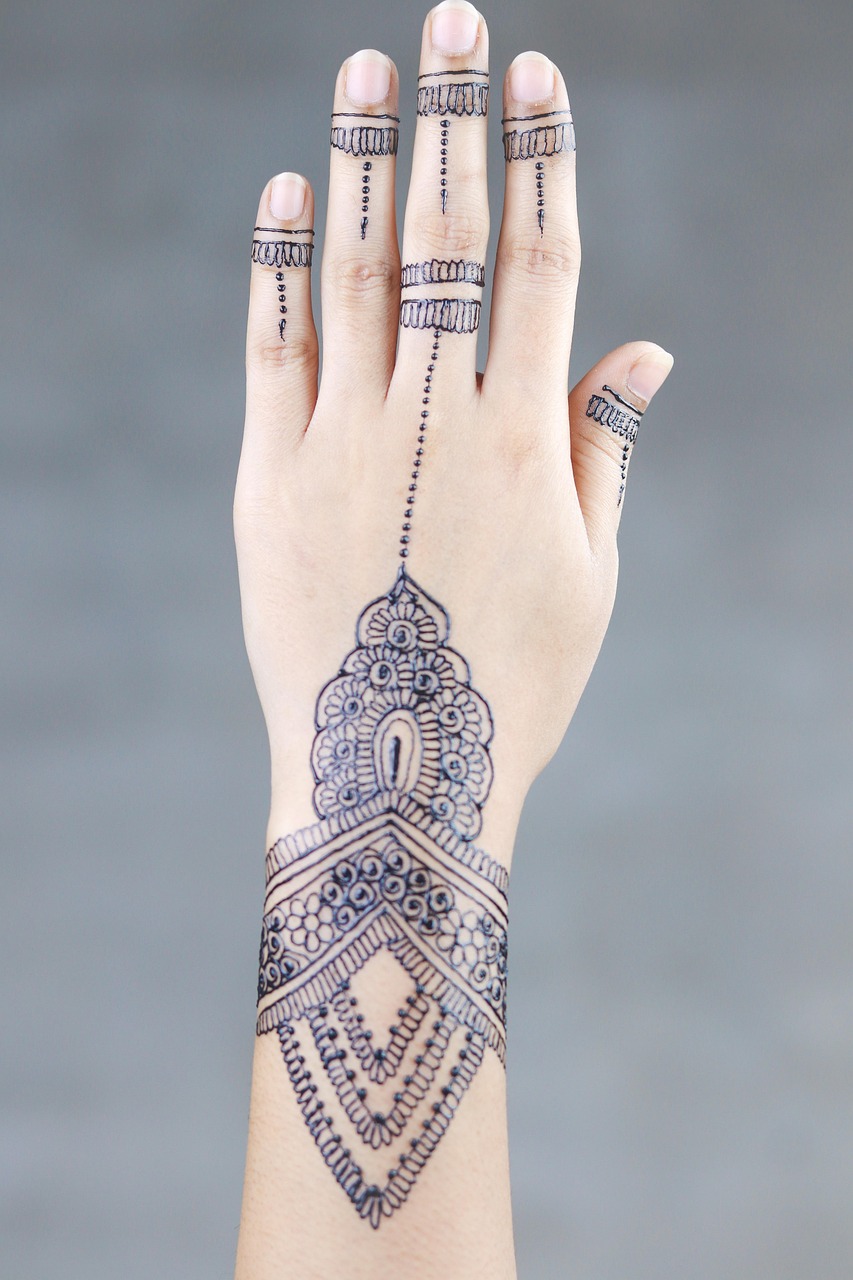
- Begin with dots and lines: Start with basic elements like dots, straight lines, and scallops on your skin.
- Expand into patterns: Use flowers, paisleys, and leaf motifs to enhance your design bit by bit.
- Let it dry properly: Leave the mehndi to dry for 2â3 hours for the deepest stain.
How long does it take for a beginner to learn simple mehndi designs step by step?
The time depends on your dedication and practice. On average, consistent practice for a week can help beginners perfect basic designs.
External Information – Real Story
Hereâs an inspiring story: An Indian artist, Pooja Patel, started with simple designs and, within six months of daily practice, became a professional mehndi artist. Her step-by-step approach has been a key to her success. Follow her mehndi tutorials here for inspiration!
Tips for Getting the Most Out of Your Mehndi Designs
Here are some additional pro tips for enhancing your mehndi design skills:
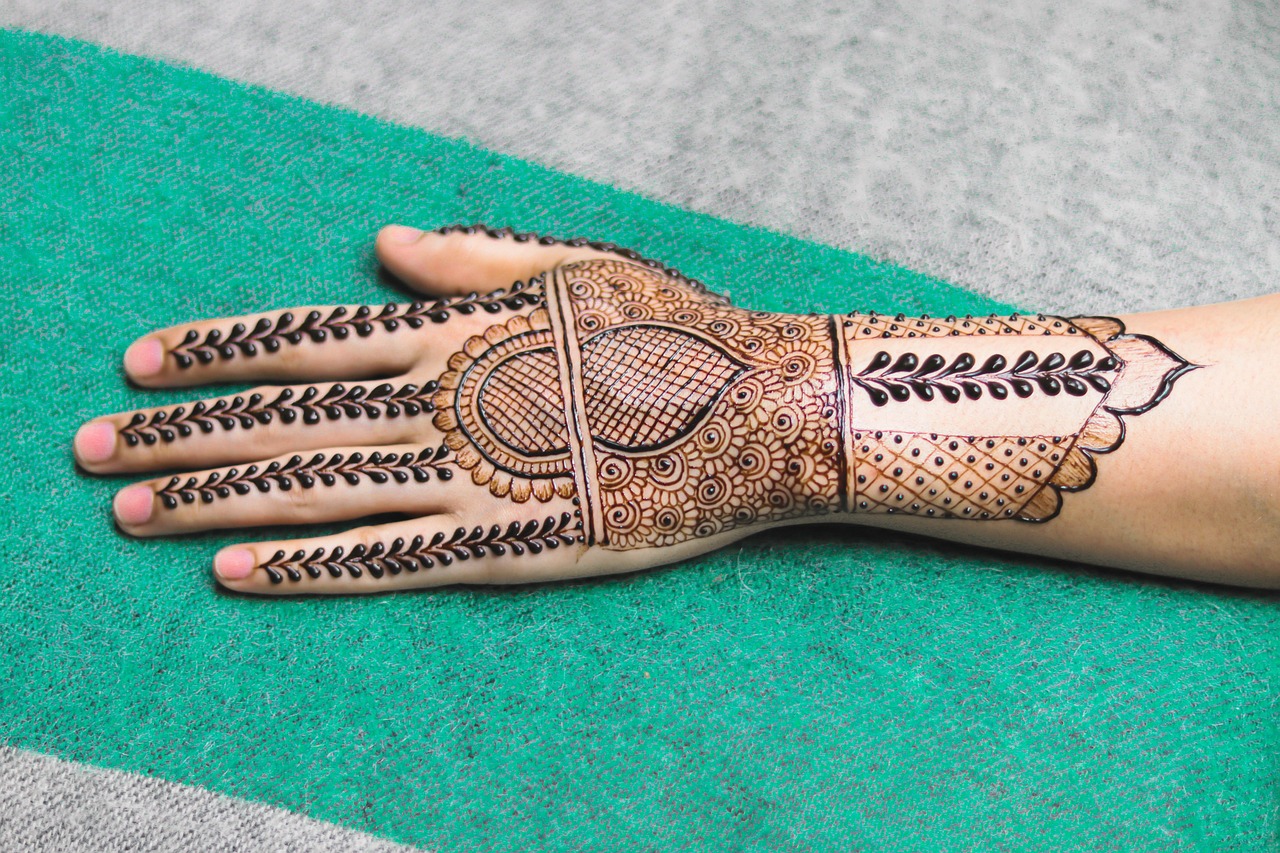
1. Use natural henna: Opt for chemical-free henna cones for the best stain and skin safety.
2. Maintain steady pressure: Hold your cone like a pen and apply gentle, consistent pressure for smooth strokes.
3. Practice symmetry: Use tracing paper if needed to ensure symmetrical designs on both hands.
How can I make my mehndi stain darker?
For a deeper stain, apply lemon and sugar paste on dried mehndi. Avoid washing and allow mehndi to stay on your skin for as long as possible â preferably overnight.
Expert Tip
Famous mehndi artist Veena Nagda suggests, “Always prepare your skin by exfoliating before applying mehndi, as it helps the stain last longer.” Learn more tips from experts like Veena on her website.