
Step by Step Mehndi Design: A Complete Guide for Perfect Patterns
Learn how to create stunning mehndi designs with ease using our step-by-step guide. Embrace creativity and tradition while mastering the art!
Why Mastering Step by Step Mehndi Design is Essential
Mehndi, also known as henna, is an integral part of many cultural traditions, symbolizing beauty, luck, and joy. Whether you are a beginner or someone looking to perfect your skills, following a structured, step-by-step approach is key to crafting intricate and flawless designs. Applying mehndi can also be a therapeutic process, blending artistry and mindfulness.
What Are the Basics of Step by Step Mehndi Design?
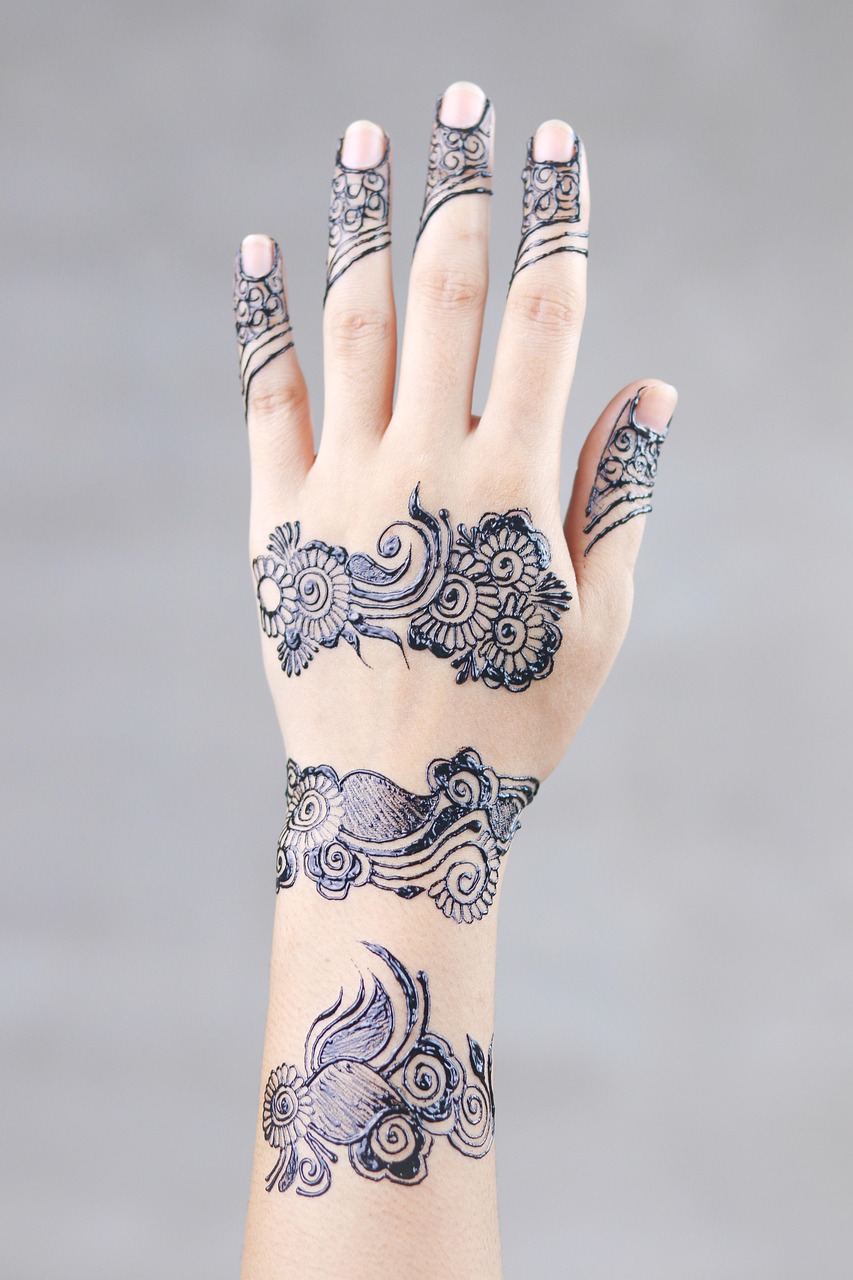
The foundation of any great mehndi design starts with understanding the basics: proper cone handling, knowing the elements (curves, lines, and dots), and practicing small patterns first. Begin with simple floral or geometric designs before advancing to more intricate art.
External Information – Mehndi Usage and Popularity
Did you know that mehndi dates back over 5,000 years and is used not only in weddings but also for celebrations in countries like India, Pakistan, and parts of Africa? According to Britannica, the use of henna is deeply rooted in history and remains an enduring cultural tradition.
Step-by-Step Guide to Easy Mehndi Designs
Creating beautiful mehndi designs involves a systematic process that ensures even beginners can achieve stunning outcomes. Hereâs a simplified plan broken down into actionable steps:
- Prepare Your Tools: Ensure your mehndi cone is clean, and the tip is sharp for fine detailing.
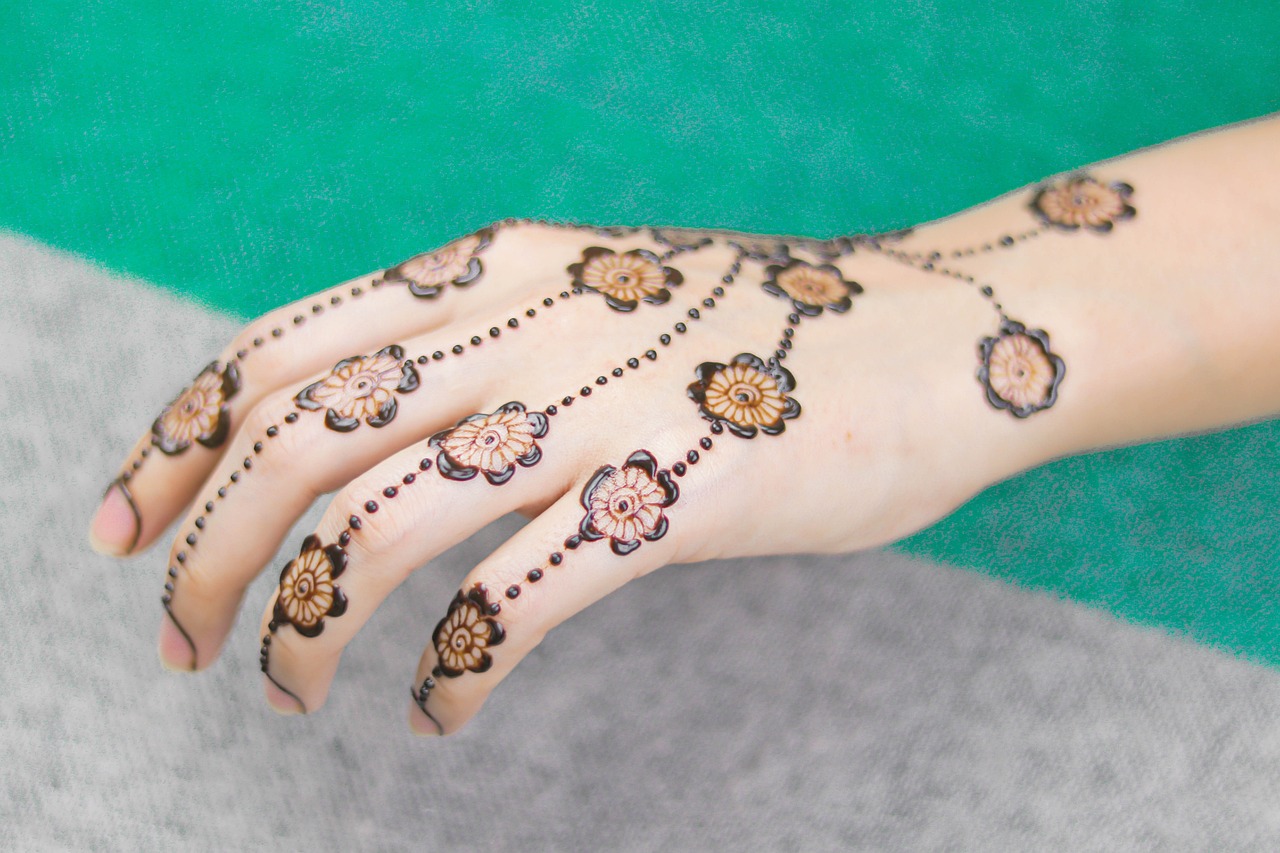
- Start with Basic Outlines: Create the structure of your design, such as a circle in the palm center or floral patterns.
- Add Fillers: Use dots, lines, and small leaves to enhance the design’s flow.
- Focus on Symmetry: Especially for bridal designs, maintaining balance adds to the aesthetic appeal.
- Detailing and Shading: Add depth with shading techniques or create bold outlines for contrast.
- Finishing Touch: Let the mehndi dry fully and seal it using a lemon-sugar mix for darker, lasting results.
Does Following Steps Guarantee Better Mehndi Results?
Absolutely! While creativity plays a huge role, sticking to a systematic approach prevents errors and ensures a neat, professional outcome. Beginners, in particular, benefit from following clear steps to avoid feeling overwhelmed.
External Information – Case Study
One beginner reported drastic improvements by following guided tutorials: “I used to struggle, but after learning step by step, my designs became more defined and intricate.” Platforms like YouTube offer countless examples of guided mehndi lessons.
Top Tips for Elevating Your Mehndi Art
Once you’re comfortable with the basics, itâs time to refine your skills. Here are some creative tips to elevate your mehndi game:
- Practice traditional motifs such as mandalas, paisleys, and vines.
- Experiment with modern styles combining lines and geometric shapes.
- Use white, red, or glitter henna to add vibrancy to your designs.
- Maintain steady hand pressure on the cone for uniform strokes.
How Can You Make Your Mehndi Last Longer?
To enhance the longevity and intensity of your mehndi, follow these tips:
Avoid washing your hands for at least 12-24 hours, and rub a mixture of lemon and sugar on the design once it dries.
External Information – Expert Insight
Expert mehndi artist Hira Khan states, “The color intensity deeply depends on aftercare; steaming the design with clove smoke is an ancient trick for darker tones.”