Easy Indian Mehndi Designs for Beginners: A Step-by-Step Guide
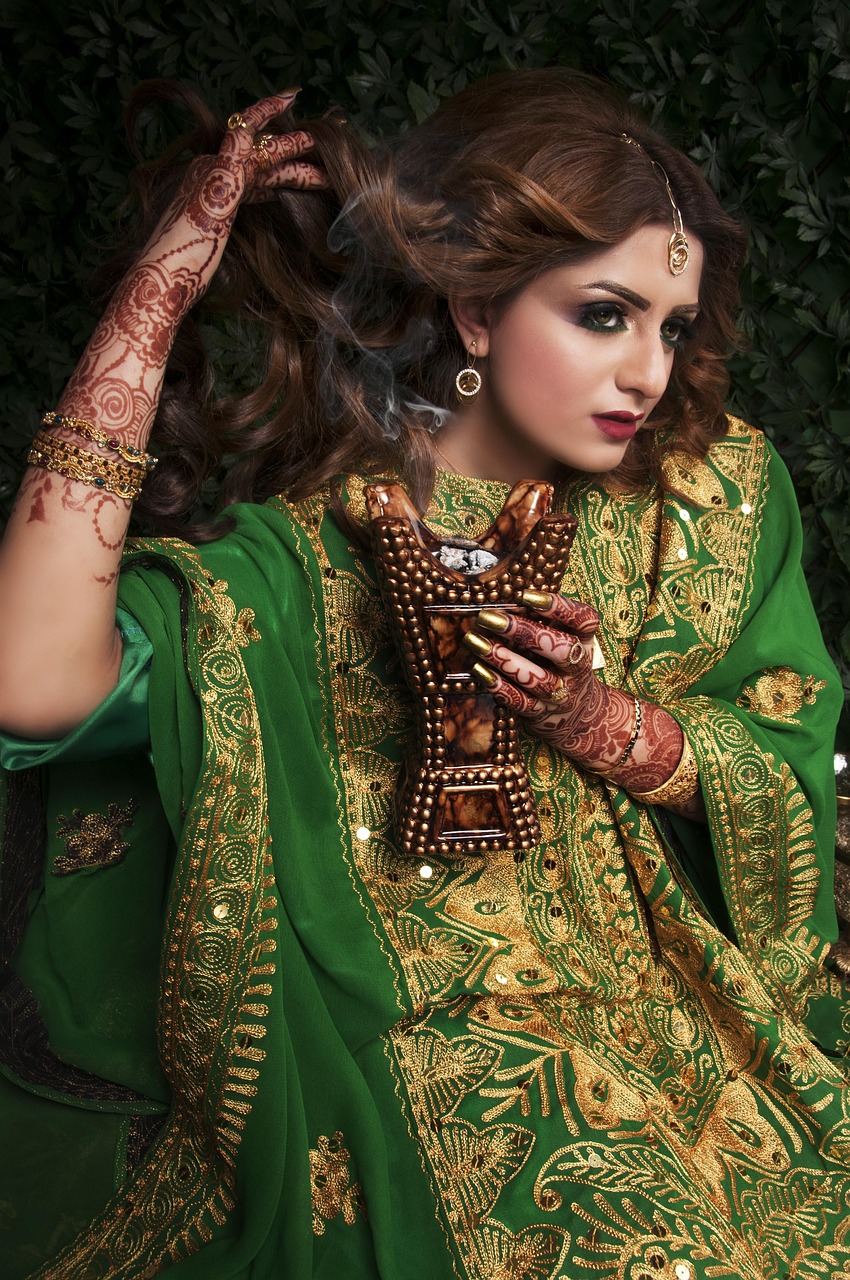
Mehndi, or henna, is an age-old art form that adds charm, elegance, and cultural beauty to festivals and special events in India. For beginners, creating intricate designs may seem overwhelming, but with the right guidance, you can achieve stunning patterns effortlessly. In this blog, weâll explore easy Indian mehndi designs for beginners, share tips, and answer common questions so you can start creating impressive henna tattoos right away!
Simple Mehndi Designs That Every Beginner Can Master

Indian mehndi designs are often associated with elaborate motifs and meticulous detailing, but you donât need prior experience to create beautiful patterns. For starters, it’s best to begin with easy, minimal designs that focus on common elements like flowers, leaves, dots, and lines, gradually progressing toward more complex shapes.
What are some easy elements to start with for beginners?
When practicing mehndi designs as a beginner, focus on foundational patterns such as:
- Floral motifs like daisies or roses
- Simple overlapping circles
- Curvy trails or “bel” designs
- Basic paisleys (tear-drop shapes)
- Criss-cross patterns for filling spaces
Did You Know?
According to a Hindustan Times report, mehndi is not just a temporary decorative art but also has scientific benefits, such as stress relief and temperature regulation for the skin during hot weather.
The Importance of Practice and Technique

Even with easy Indian mehndi designs for beginners, consistent practice and mastering basic techniques are crucial. The right mehndi cone grip, steady hand movements, and initial tracing techniques make all the difference in achieving neat and graceful results.
How can beginners improve their mehndi application skills?
Here are some practical tips to improve your mehndi application:
- Start tracing designs on paper before applying mehndi on your skin.
- Ensure that your mehndi cone has a fine tip for precision.
- Practice with basic grid-based designs, which help improve symmetry.
- Donât rush â steady application is key to clean results.
Real-World Example
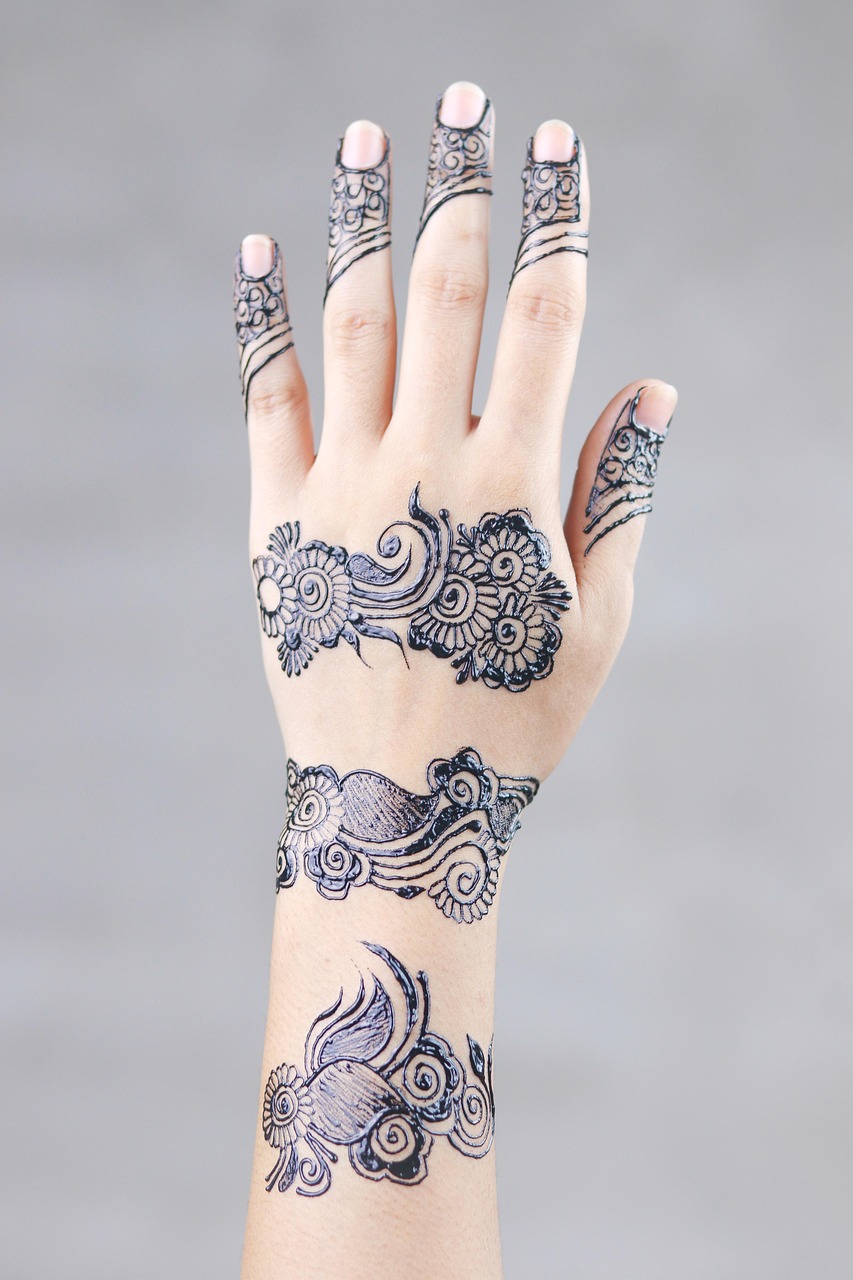
Take inspiration from popular artists on platforms like Instagram or Pinterest. One beginner-friendly design often shared by henna professionals involves a single flower in the center of the palm, accented with leafy shapes and a few spirals. Such designs give a stunning yet minimalistic look.
Pro Tips for Perfect Beginnersâ Mehndi Designs
Here are some expert suggestions to ensure your mehndi designs turn out perfect every time:
- Prep your hands: Wash thoroughly and avoid using oils or lotions before applying mehndi.
- Create guidelines: Use a light pencil or stencil to create faint outlines on your hand.
- Focus on symmetry: Repeat patterns evenly for a balanced design.
- Choose the right mehndi cone: Quality cones with a smooth flow help in clean and effortless application.
Whatâs the quickest way to remove mistakes in mehndi design?
If you make a mistake, quickly wipe it off with a damp cotton swab before the henna sets on your skin. Be gentle to avoid smudging into other parts of your design.
Expert Tip
Renowned mehndi artist @sidotammehndi recommends experimenting with pre-made henna stencils to understand hand movements and pressure before venturing into freehand designs.
Conclusion
Easy Indian mehndi designs for beginners provide an exciting gateway into the beautiful world of henna art. By mastering basic shapes, practicing consistently, and creating symmetry in your designs, youâll be amazed by how quickly you improve. Ready to start your henna journey? Grab your mehndi cone, follow our tips, and let your creativity flow!
Looking for more step-by-step tutorials and design inspiration? Donât forget to subscribe to our newsletter for the latest updates and tips. Happy designing!
