Easy Flower Mehndi Designs: A Beginnerâs Guide to Simple Yet Beautiful Henna Art
Mehndi is more than just a temporary tattoo â itâs a timeless art that symbolizes beauty, tradition, and celebrations. Among the endless designs available, flower mehndi designs are a favorite for their simplicity and elegance. Theyâre versatile, perfect for various occasions, and most importantly, super easy to create, even for beginners! In this guide, weâll dive into the world of easy flower mehndi designs and share tips to help you create stunning floral patterns effortlessly.
Why Flower Mehndi Designs Are Perfect for Beginners
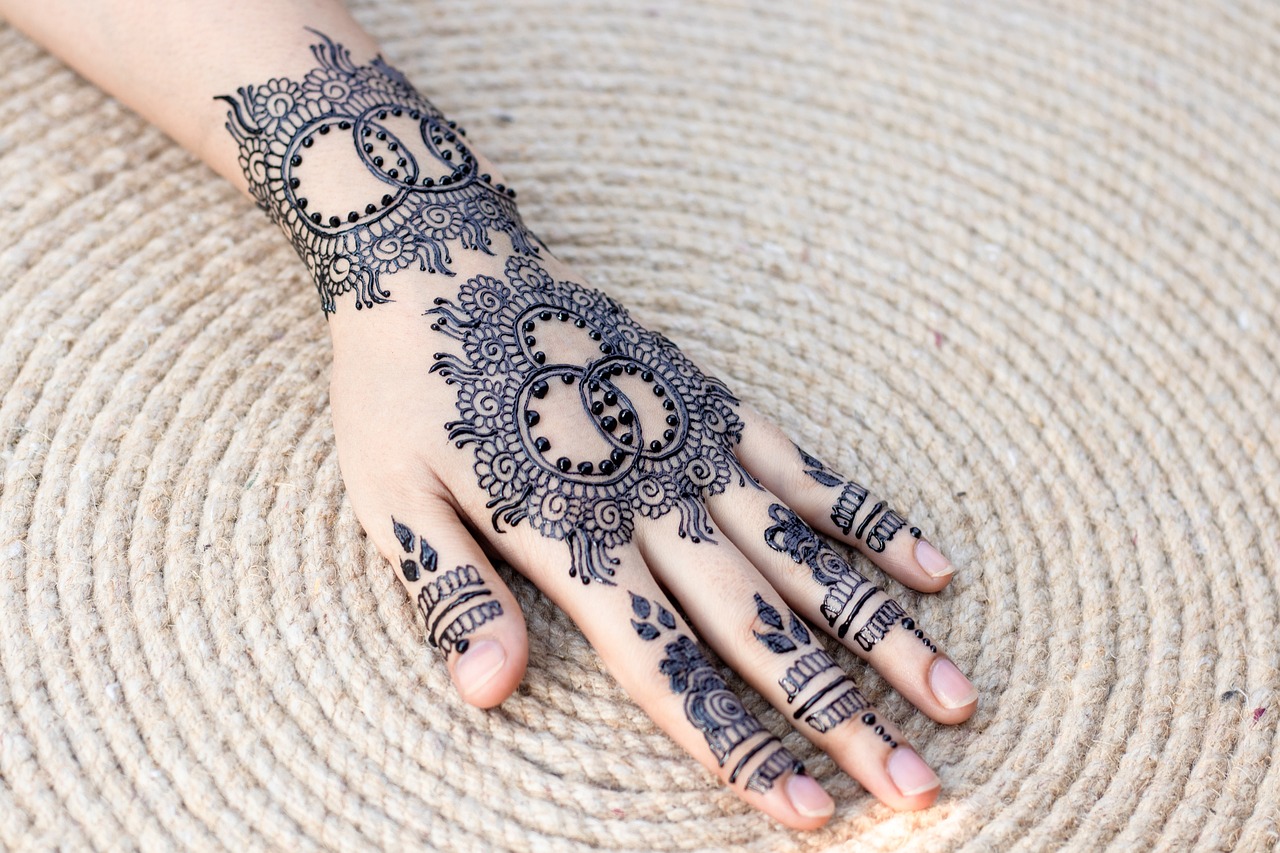
Flower mehndi designs stand out for their simplicity and the creative freedom they offer. These floral patterns are beginner-friendly because they donât require intricate techniques or symmetrical precision. With just a few basic shapes, like circles, petals, and leaves, you can create stunning designs that look both traditional and modern.
What Makes Flower Mehndi the Go-To Design for Beginners?
The popularity of easy flower mehndi designs stems from their adaptability. You can start with simple floral motifs such as daisy chains or basic mandala-based flowers and gradually enhance the design by adding swirls, vines, or dots. Moreover, they suit all occasions â from weddings to casual get-togethers.
Hereâs an Interesting Fact!
According to a study on cultural art forms published by Britannica, flower mehndi designs have been a part of henna art for centuries, symbolizing prosperity and celebration.
Tips for Creating Stunning Easy Flower Mehndi Designs
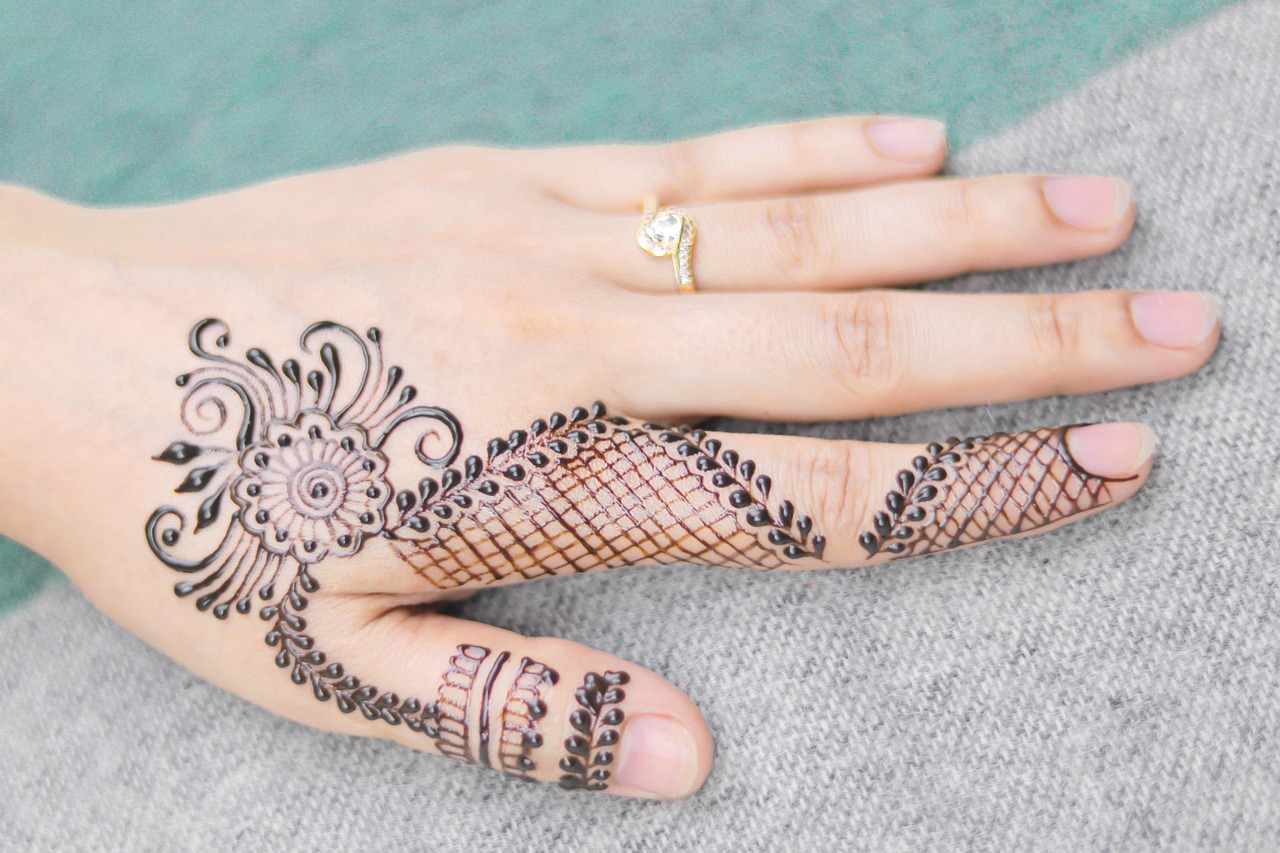
While flower henna patterns are simple, adding finesse takes practice and smart techniques. Start with basic designs like concentric circles and gradually incorporate details such as leaves or paisley patterns. Focus on symmetry and proper spacing to ensure your design looks polished.
Can You Use Templates for Flower Mehndi Designs?
Absolutely! Using templates is a great way for beginners to learn and build confidence. You can trace outlines with a pencil or stencil before applying the henna. Once youâre comfortable, youâll naturally transition to freehand designs, perfecting your strokes over time.
Case Study: A Beginnerâs Success Story
Meet Priya, a beginner who started with templates to practice basic flower mehndi designs. Within a month, she created intricate floral patterns without any help. By practicing easy designs regularly, Priya turned her passion for henna into a side business. Let her story inspire you to try it yourself!
Common Mistakes to Avoid When Trying Flower Mehndi Designs
Even easy flower mehndi designs can go awry if youâre not careful. Beginners often overlook essential details, such as the consistency of the henna or the spacing between motifs. Avoid these pitfalls by keeping your designs simple, ensuring your cone’s tip is clean, and starting with small accents before moving to complex patterns.
How Do You Make Sure Flower Mehndi Designs Last Longer?
To ensure your henna design lasts longer, focus on pre-application and aftercare. Clean your skin before applying mehndi, avoid washing the area for at least 12 hours post-application, and apply a mixture of lemon juice and sugar to darken the stain. Proper care will ensure your flower mehndi design lasts up to 7â10 days.
Expert Tip from a Henna Artist
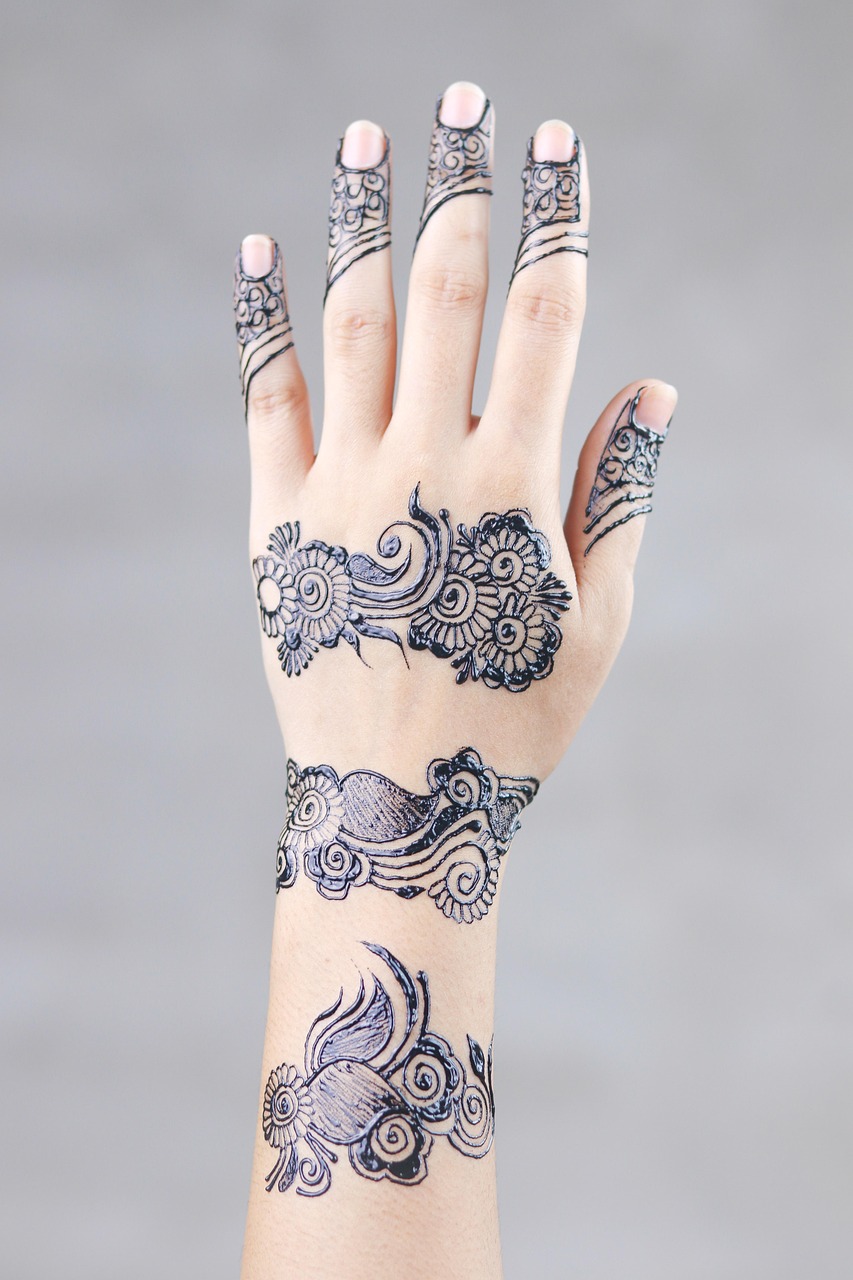
Renowned henna artist Shirin Malik advises, âPractice thin and thick strokes alternately to add depth to your flower mehndi designs. Small details like shading petals or adding textures make all the difference!â
Conclusion
Easy flower mehndi designs are the perfect starting point for anyone looking to explore henna art. They strike the right balance between simplicity and elegance, enabling beginners to experiment without feeling overwhelmed. With practice, the right tools, and attention to detail, you can create beautiful floral mehndi patterns that stand out. So, grab a henna cone, start practicing, and share your designs with the world. Let your creativity bloom!
Ready to begin your mehndi journey? Download our free template guide to get started or subscribe to our newsletter for the latest tips and tricks in henna art!
