Step-by-Step Mehndi Designs for Full Hand: A Journey in Creativity
When it comes to Mehndi, there’s something magical about seeing a design unfold, layer by layer, across the palm and fingers. Much like cooking a complex dish, each step in the process is crucial to achieving the final masterpiece. Today, I’ll walk you through a simple yet elegant full hand Mehndi design – one that you can recreate at home, even if you’re a beginner. So, grab your henna cone, and let’s get started!
Step 1: Preparing the Henna Mixture
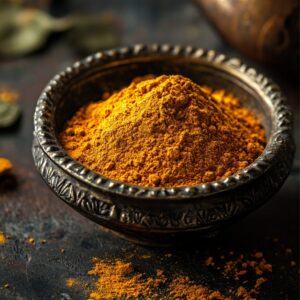
Before we dive into the artistic part, let’s make sure our canvas – the henna paste – is ready to go. For those who want to try making the paste from scratch, here’s a quick and easy recipe. You’ll need henna powder, lemon juice, a bit of sugar, and a few drops of eucalyptus oil. Mix these ingredients together until they form a smooth, creamy consistency, then let it sit for a few hours (or even overnight). This will ensure that the dye is released properly, giving you rich, dark designs.
If you’re short on time, don’t worry – pre-made henna cones work just as well!


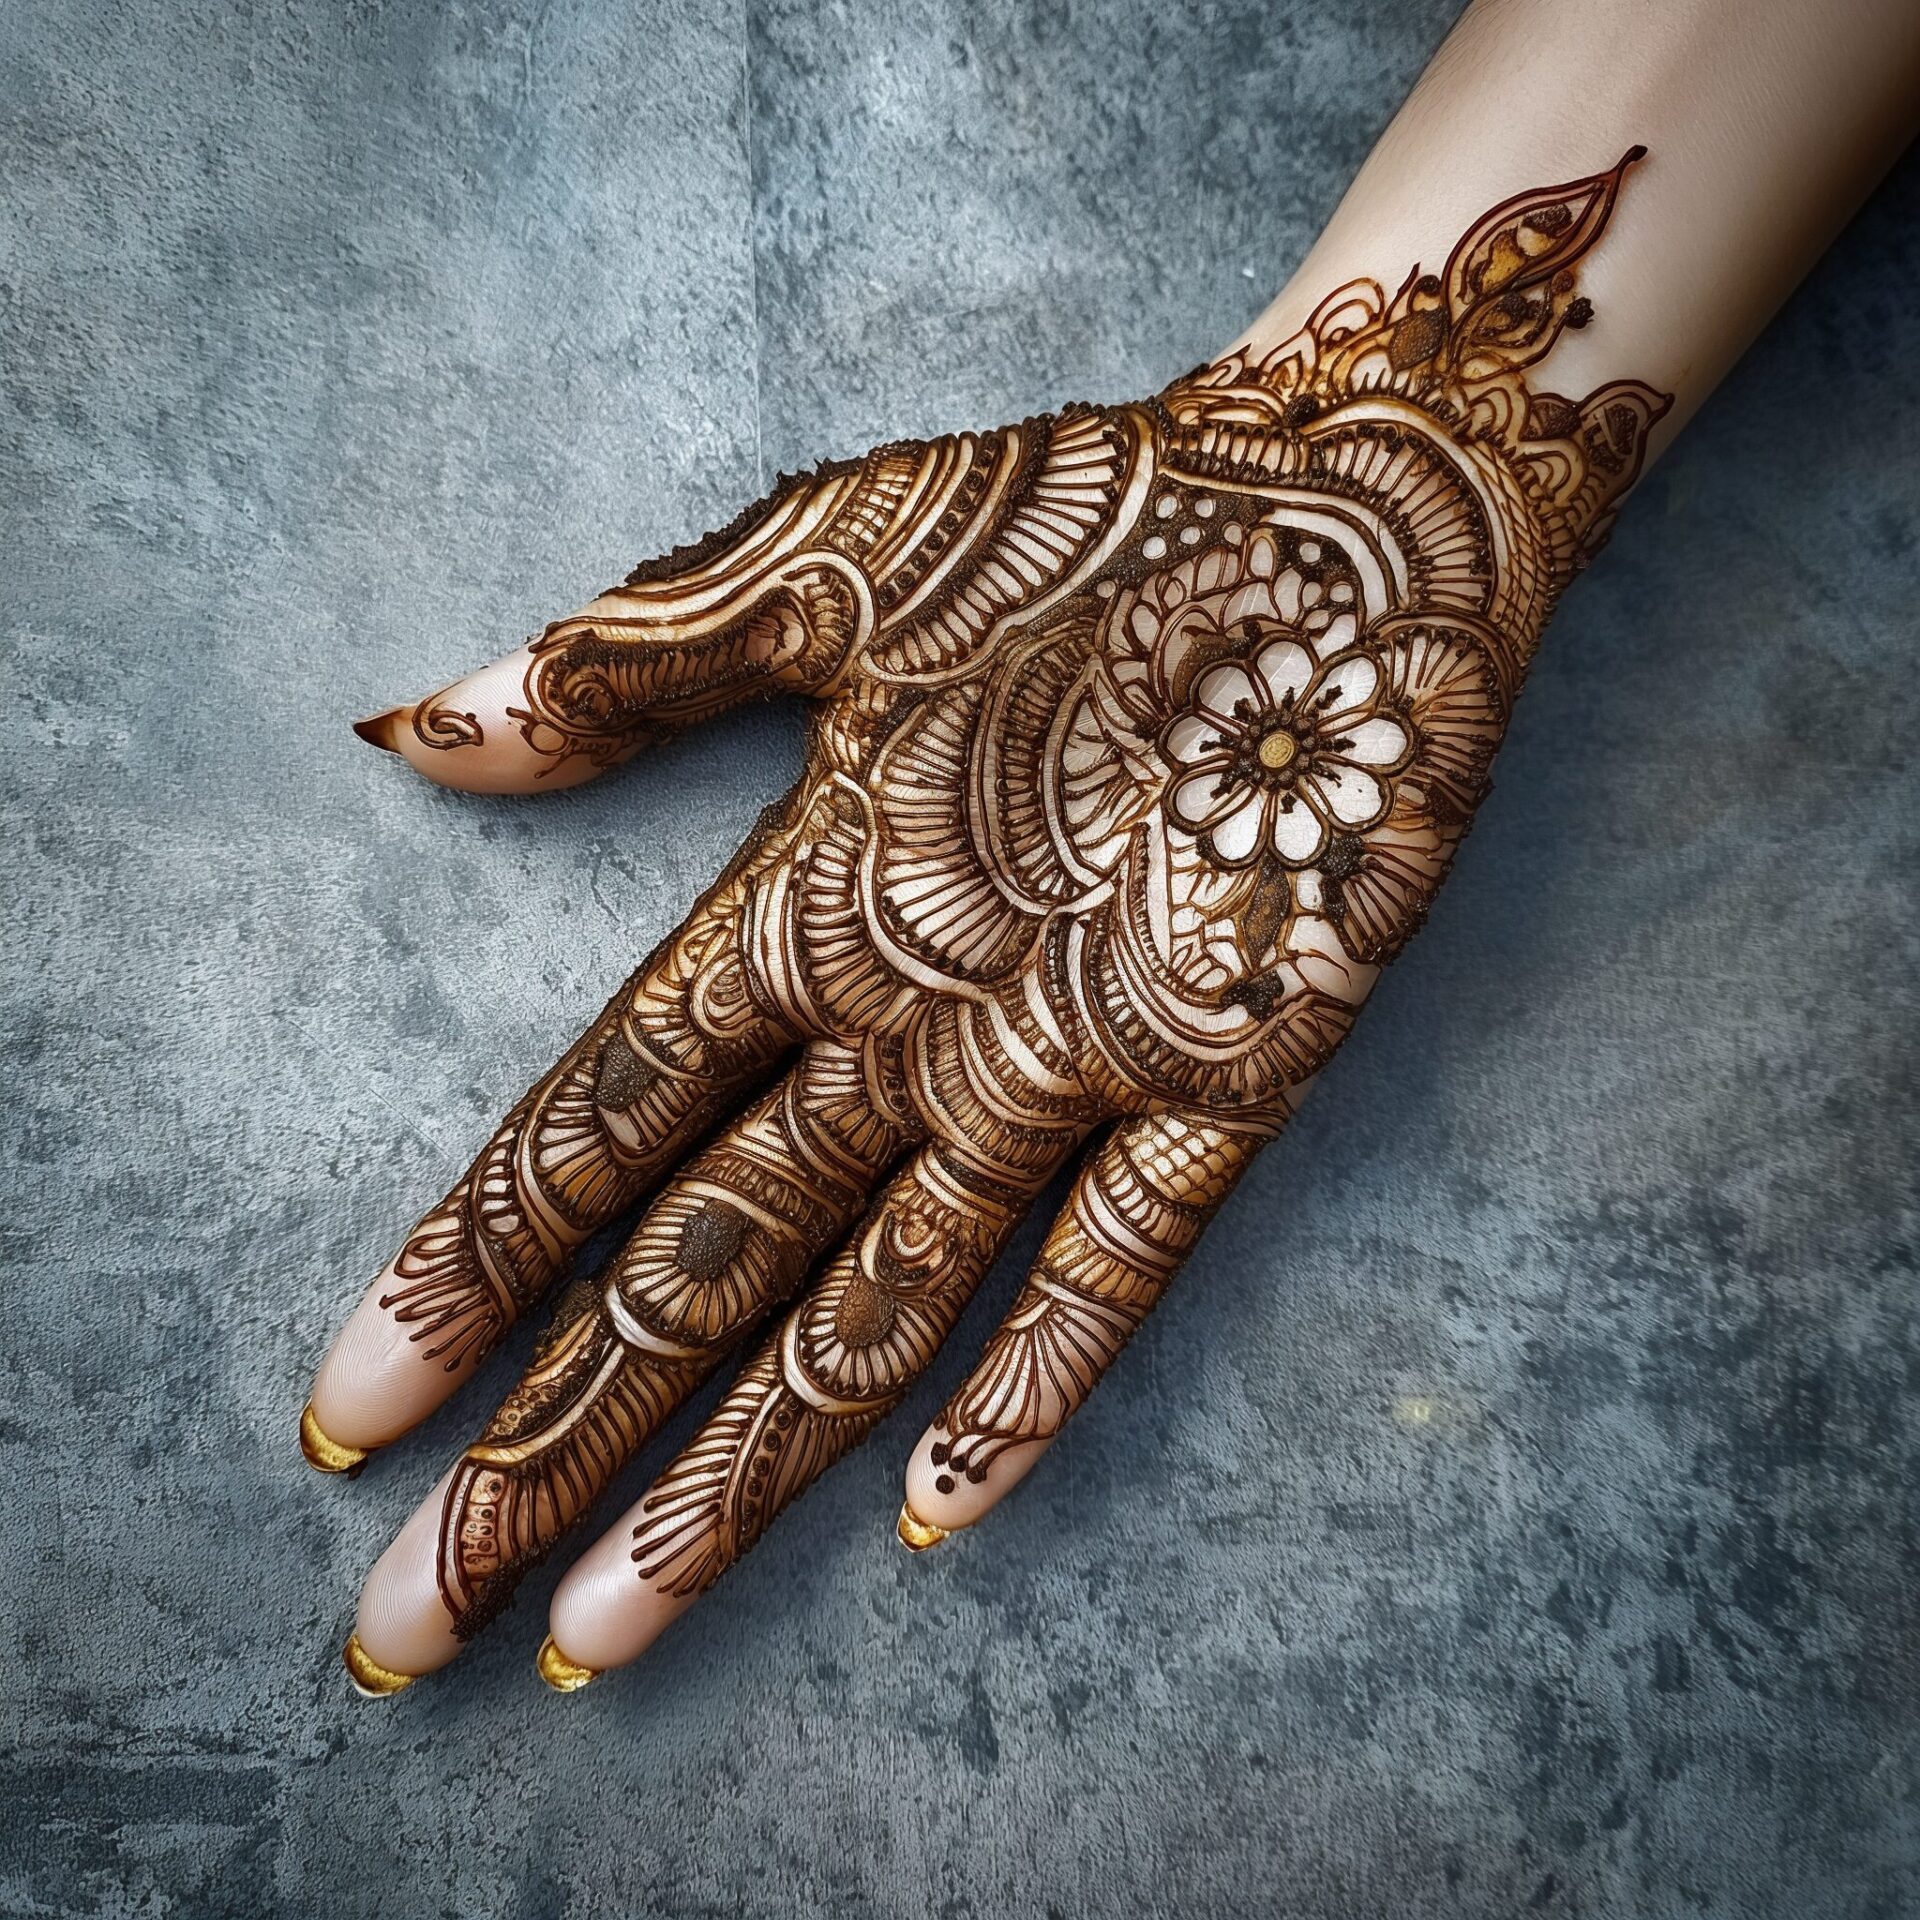
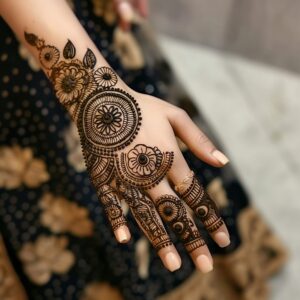
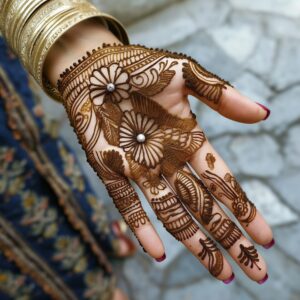
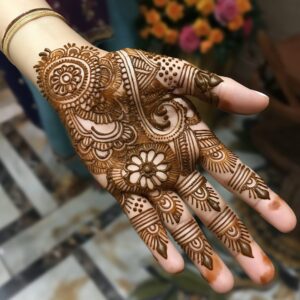
Step 2: Starting with the Base – Palm Design
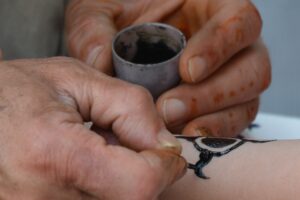
Now that our henna is ready, let’s move on to the design. Begin with the palm. Start by drawing a simple flower in the center of the palm – this will serve as the base of your design. From the flower, draw a series of swirling vines that radiate outwards, filling the space around the center. These vines should be fluid and organic, much like the way spices blend in a curry!
Once your vines are complete, add small leaves or dots to the ends of each vine for added detail. These little elements will give your design more depth, much like adding garnish to a dish.
Step 3: Filling the Fingers with Details
Next up, let’s tackle the fingers. Starting at the base of each finger, create a series of semi-circles or paisley patterns that extend upwards toward the fingertip. These patterns can be as simple or as intricate as you like – think of it as layering spices in a dish; each layer adds more complexity and flavor!
For those who are feeling a bit adventurous, you can add additional geometric shapes like diamonds or lattice patterns to the sides of the fingers. These not only look stunning but also provide a beautiful contrast to the swirling lines on the palm.

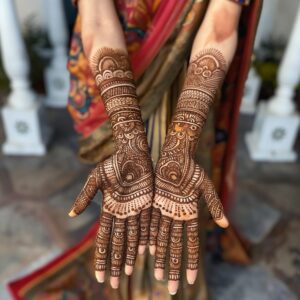
Step 4: Extending the Design to the Wrist
Once the palm and fingers are done, let’s extend the design down to the wrist. This area gives you a lot of freedom to experiment with larger patterns. One of my favorite things to do is to create a bangle-like design around the wrist, giving the illusion that the hand is adorned with beautiful jewelry. This is similar to adding the final garnish on a perfectly plated dish – it completes the whole presentation!
Start by drawing several parallel lines across the wrist, and then fill the spaces between them with geometric shapes or delicate flowers. Feel free to add tiny dots or leaves in between the spaces for extra flair.
Step 5: Letting It Dry and Setting the Color
Now that your Mehndi masterpiece is complete, the next important step is to let it dry. Much like letting dough rest, this step is key to ensuring that the final result is rich and vibrant. Let the henna sit on the skin for a few hours, or until it becomes dry and starts to crack slightly.
Here’s a pro tip: once the henna dries, dab a mixture of lemon juice and sugar over the design. This will help darken the color and keep the henna on your skin for a longer period. After a few hours, gently scrape off the dried henna, but avoid using water for at least 12 hours. This allows the dye to continue deepening, much like how a slow-cooked dish gets more flavorful with time!


A Final Word on Creativity
Just like in cooking, there’s no single “right” way to create a Mehndi design. Each artist brings their own flair and creativity to the process, and that’s what makes Mehndi so special. Whether you prefer minimalist designs or intricate patterns that cover the entire hand, the most important thing is to enjoy the process – it’s not just about the final result, but about the journey.
So, the next time you sit down to apply Mehndi, remember: each swirl, each line is a reflection of your personal style. Let your creativity flow, and don’t be afraid to experiment!