Mastering Mehndi Art: Essential Mehndi Design Tips and Tricks
Mehndi, also known as henna, has been an integral part of traditional celebrations for centuries. From weddings to festive occasions, stunning mehndi designs can elevate your entire look. But mastering intricate patterns or ensuring your henna lasts longer requires more than just practiceâitâs about knowing the right tips and tricks.
In this blog, weâll explore some of the best mehndi design tips and tricks to help you create flawless designs, boost your confidence, and make your art truly standout.
Perfecting the Basics: Essential Mehndi Design Tips
Before diving into complex patterns, mastering the essentials is key to success with your mehndi designs. A steady hand, a smooth paste, and consistent pressure when applying the cone can make all the difference.
How can I achieve smooth and precise mehndi patterns?
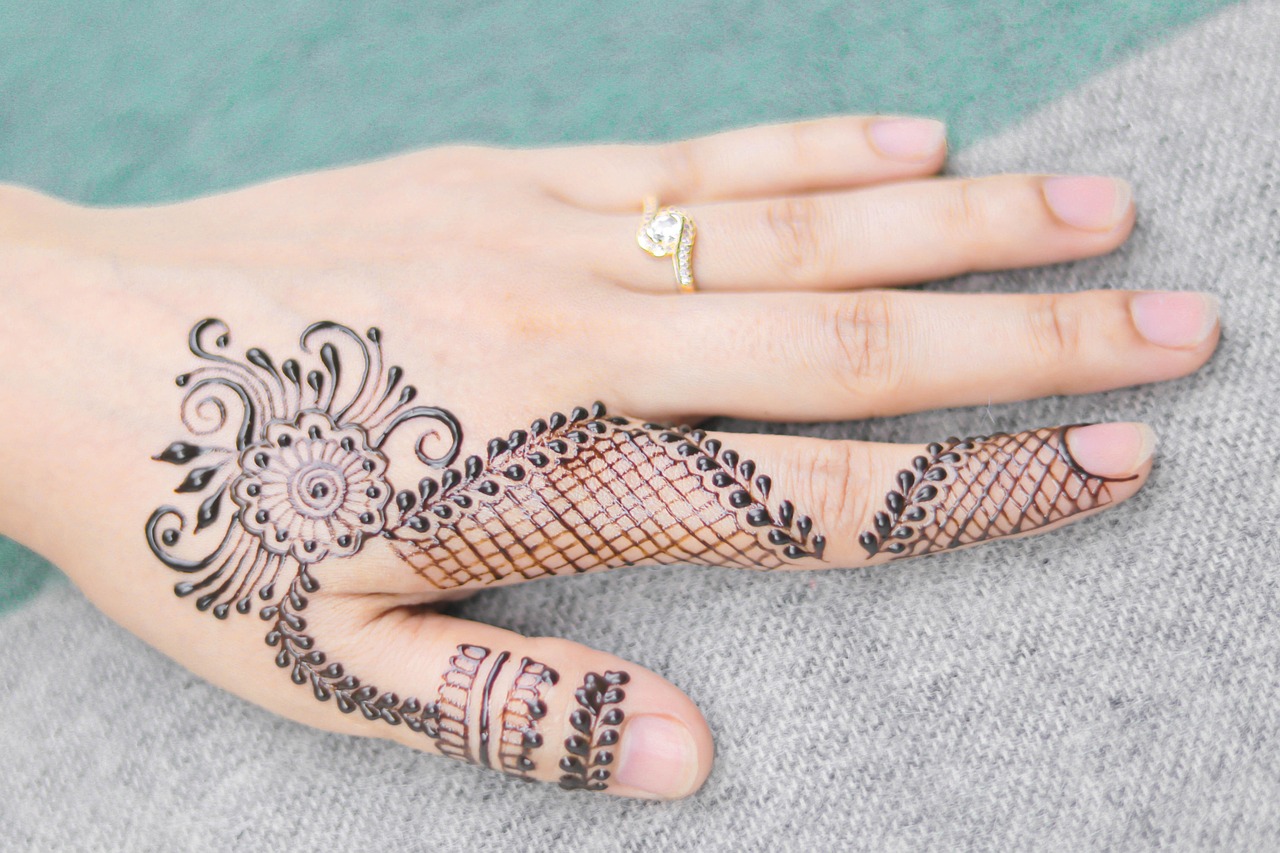
To create clean, precise lines in your mehndi designs, ensure that your cone has a fine, well-cut tip. Use light pressure for thinner lines and increase it slightly for thicker strokes. Practice simple paisley or flower patterns first to build your coordination and control.
Pro Tip: The Cone is Everything!
According to Henna Caravan, ensuring your henna paste is finely sifted and free of clumps before filling your cone is crucial. Improper paste consistency can lead to uneven application and messy designs.
Preparation Matters: Mehndi Pre-Application Tricks
Preparation is key when it comes to achieving gorgeous, long-lasting mehndi designs. Before applying your henna, there are several simple but effective tricks to follow.
How do I make mehndi last longer and appear darker?
To maximize the color intensity and longevity, start by cleaning your hands with soap to remove oil or dirt. Apply mehndi to dry skin, and avoid using lotions beforehand. Once applied, let the henna dry naturally, then dab it with a mixture of lemon juice and sugar to “seal” the design.
A Real-Life Example from Eid Celebrations
A bride-to-be from Mumbai shared her secret: applying lemon-sugar syrup every 30 minutes while her henna dried resulted in a stunning dark maroon shade that lasted for nearly two weeks. This simple trick greatly enhances the vibrancy of your mehndi art!
Advanced Mehndi Tricks for Intricate Designs
When it comes to designing detailed, intricate mehndi patterns, patience and creativity are vital. Advanced techniques can help you create jaw-dropping designs that leave a lasting impression.
How do I create symmetrical, detailed patterns?
Start by practicing grids or guidelines for symmetry. You can lightly sketch these with a cosmetic pencil before applying henna. Focus on smaller sections of the design at a time, and always keep a tissue handy to fix any mistakes instantly.
Expert Insight: From Industry Professionals
Renowned mehndi artist Veena Nagda advises always keeping your wrists steady while applying curved patterns. In an interview, she recommends sitting on a comfortable chair with a flat surface to improve precision, especially for bridal designs.
Conclusion
Whether you’re a seasoned artist or just getting started, these mehndi design tips and tricks are your gateway to creating mesmerizing designs with confidence. Remember to practice regularly, take care of your cone and paste, and pay attention to details to perfect your craft.
Want to learn more expert mehndi techniques? Subscribe to our newsletter for exclusive updates and tutorials, or share your favorite tip in the comments below. Letâs perfect the art of mehndi together!

