
Easy Mehndi Design Step by Step: A Beginner’s Guide
Mehndi, or henna, is an ancient art form beloved for its intricate and beautiful designs. Whether for weddings, festivals, or a fun activity, learning easy mehndi designs step by step helps beginners create stunning patterns quickly and effortlessly. This guide will break down the process, provide tips, and answer common questions so you can master basic mehndi designs confidently.
How to Start with Easy Mehndi Design Step by Step

The key to creating beautiful mehndi designs lies in understanding basic patterns and combining them. First, assemble your supplies: henna cones, tissue paper, and an inspiration sketch or designs to replicate. Once ready, start with simple shapes like circles, lines, and spirals before progressing to more elaborate patterns.
Related Question: What are the easiest mehndi patterns for beginners?
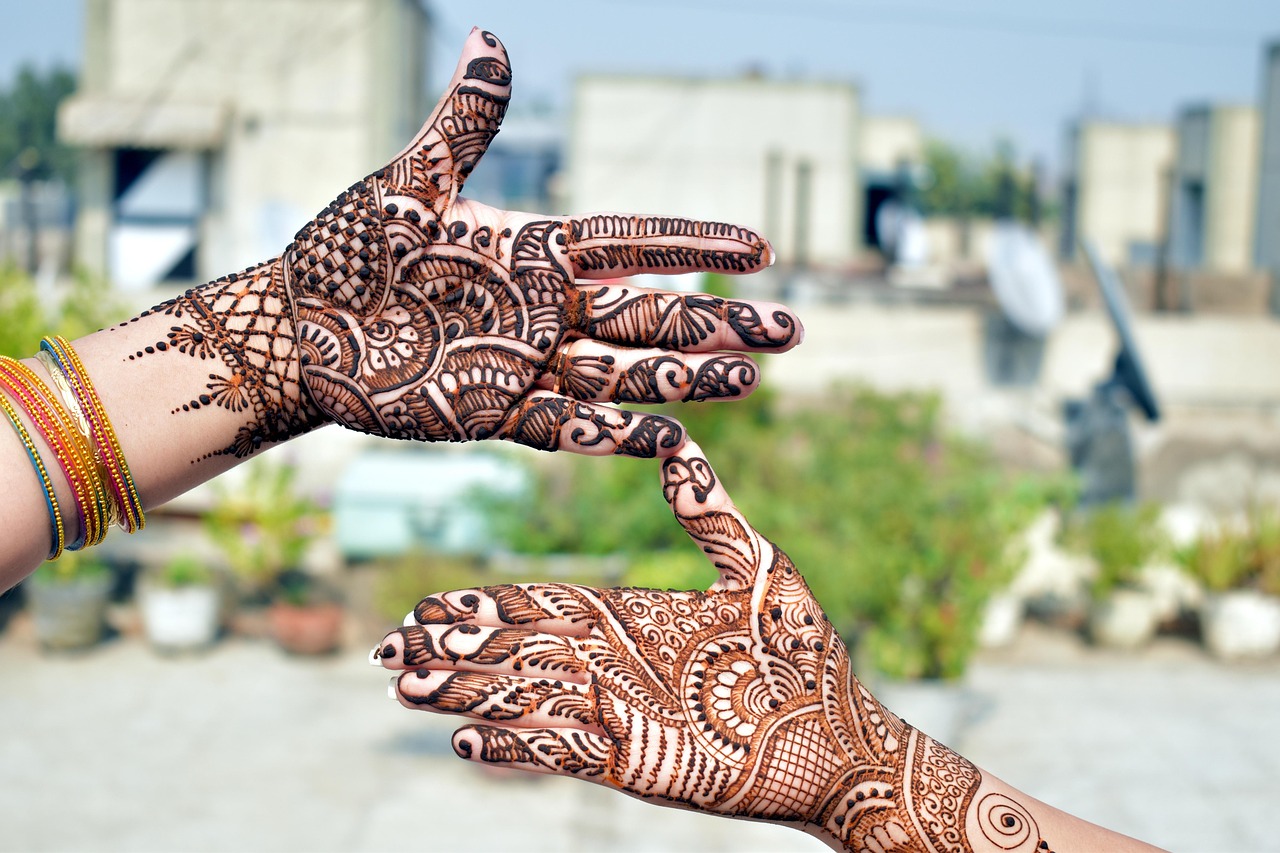
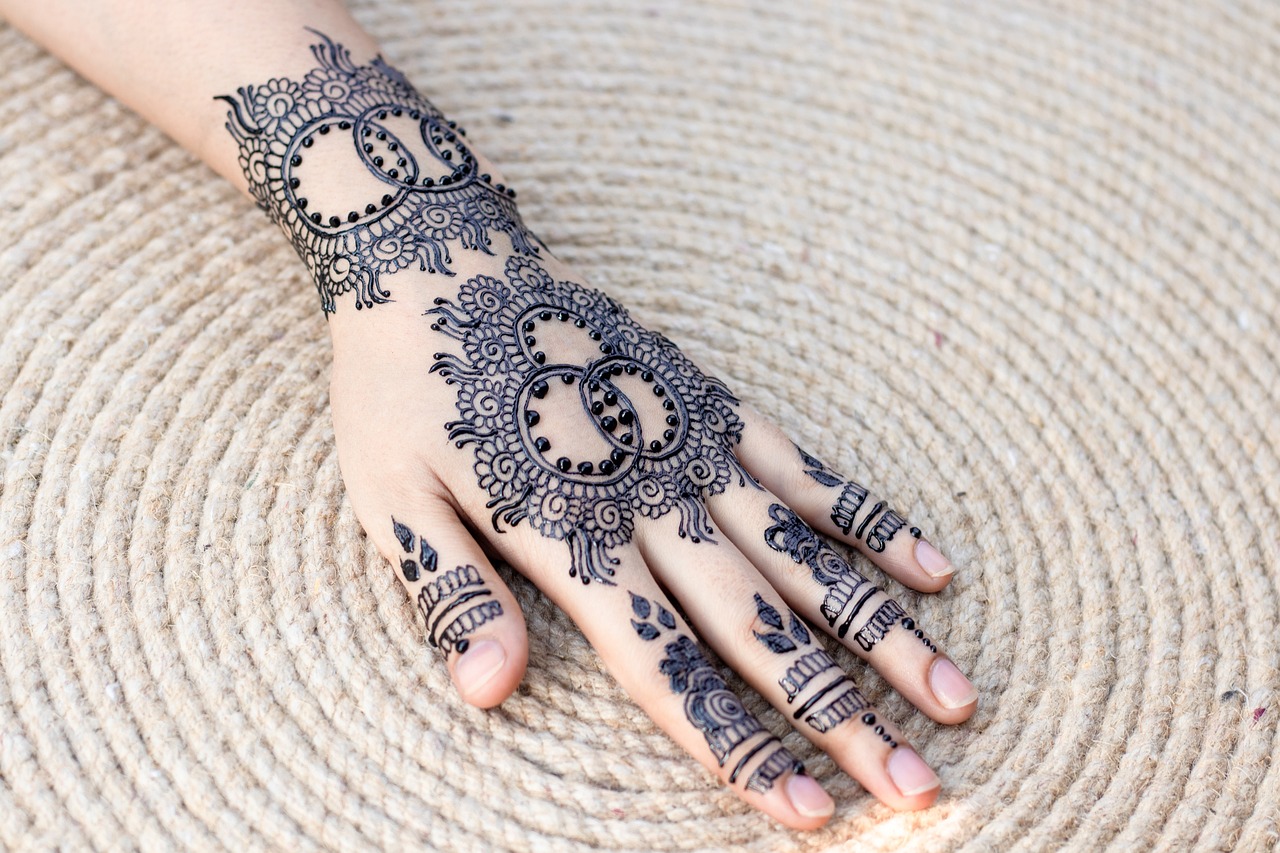
For beginners, easy mehndi patterns include simple florals, leafy trails, and symmetrical shapes. Start with a circular mandala in the palm, small floral patterns, or paisley motifs and gradually add more details.
External Information: Importance of Practice
Did you know that practice is essential for clean lines and steady designs? According to an article on The Henna Guys, practicing on traceable templates or paper can significantly improve your technique.
How to Create a Step-by-Step Mehndi Design
Once you are familiar with basic patterns, you can begin creating complete designs step by step. Here’s a simple approach:
- Start with the center (such as a flower or mandala).
- Add small details like dots, vines, and petals around the initial design.
- Extend the design to the fingers using repetitive patterns like dots, lines, or curves.
- Fill gaps with shading or outlines to enhance the design.
The trick is to work from the center outward, keeping designs balanced while layering elements gradually.
Related Question: How long does it take to complete a mehndi design?
For a beginner, a small design can take 15-30 minutes, while larger, more detailed designs may take up to an hour. With practice, you’ll become faster and more precise.
External Information: A Real-Life Case
A study by the Journal of Art Studies found that beginners could improve their mehndi design speed and style by practicing at least 30 minutes daily over a week. This practice helps in developing muscle memory for smoother strokes.
Best Strategies for a Beautiful Mehndi Application
Perfecting mehndi requires not just skill but preparation. Here are a few additional tips for a flawless application:
- Ensure your hands are clean and dry before application.
- Use freshly made henna paste for vibrant color.
- Relax your hand to prevent smudging the design.
- Let the henna dry completely before removing it for the best results.
Related Question: How do I prevent smudges while designing mehndi?
To prevent smudges, support your hand on a stable surface and use a tissue to clean the henna cone tip often. Take your time and avoid rushing.
External Information: Expert Tip
Renowned mehndi artist Pavan Henna advises, âKeep practicing small designs daily, focusing on precision over speed. A clear and slow application results in better designs.â
Conclusion
Learning easy mehndi designs step by step is a creative and rewarding journey. Start with simple patterns, practice regularly, and build your skills by layering elements for intricate results. Whether for fun or a special occasion, these tips will help you master the basics and improve over time.
If you found this guide helpful, donât forget to share it with friends or comment below with your favorite designs! Need more inspiration? Subscribe to our newsletter for advanced mehndi design ideas and tutorials.