How to Draw Simple Mehndi Designs Step by Step
Mehndi art, also known as henna art, is a stunning tradition rooted in South Asian and Middle Eastern cultures. Drawing simple mehndi designs step by step doesnât have to be overwhelming, even for beginners. With some guidance, a steady hand, and creativity, anyone can create breathtaking designs effortlessly. In this blog, weâll walk you through the process of mastering simple mehndi designs step by step while sharing tips to enhance your skills. Letâs get started!
Understanding the Basics of How to Draw Simple Mehndi Designs Step by Step

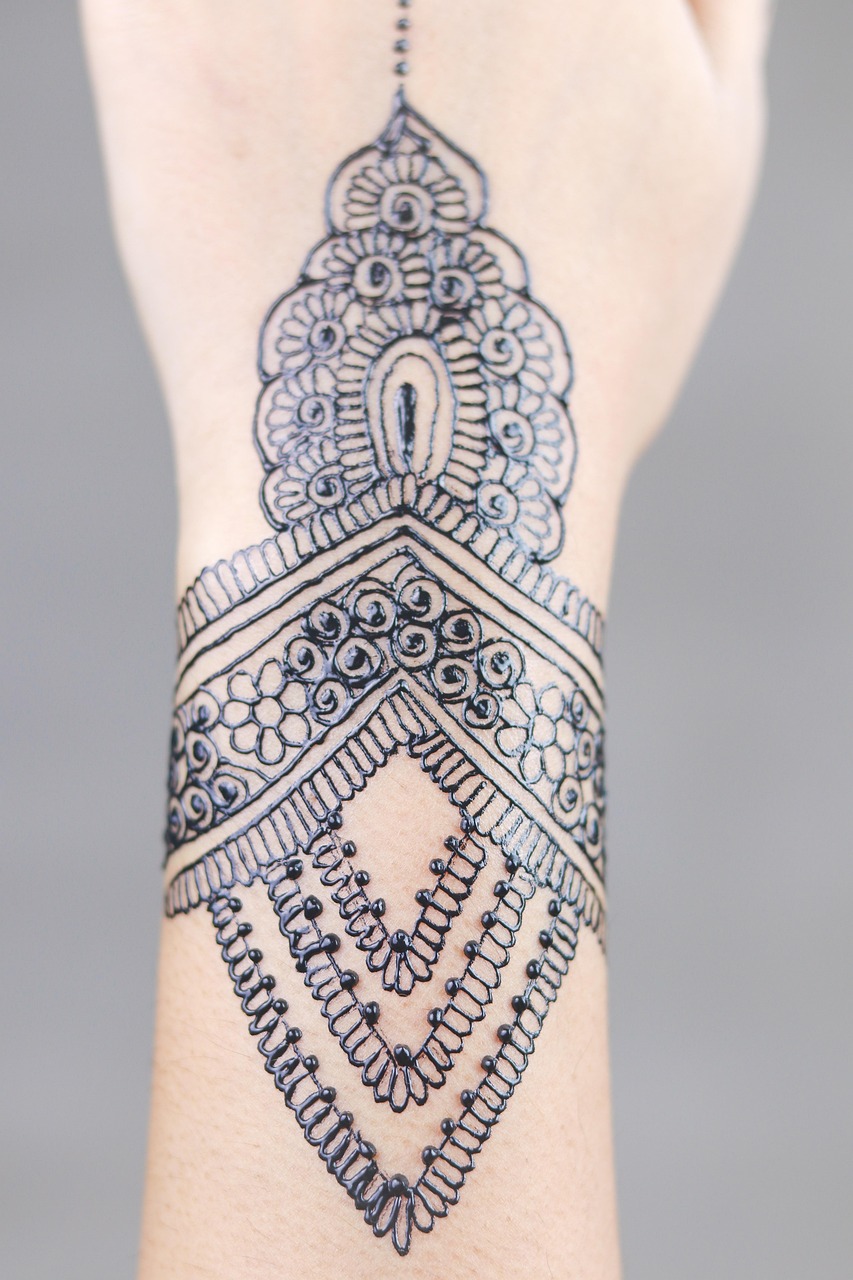
Before you begin, itâs important to familiarize yourself with the basic shapes and elements commonly found in henna art. These foundational patterns form the framework of any mehndi design and make the process easier.
What are the basic mehndi design shapes one should learn?
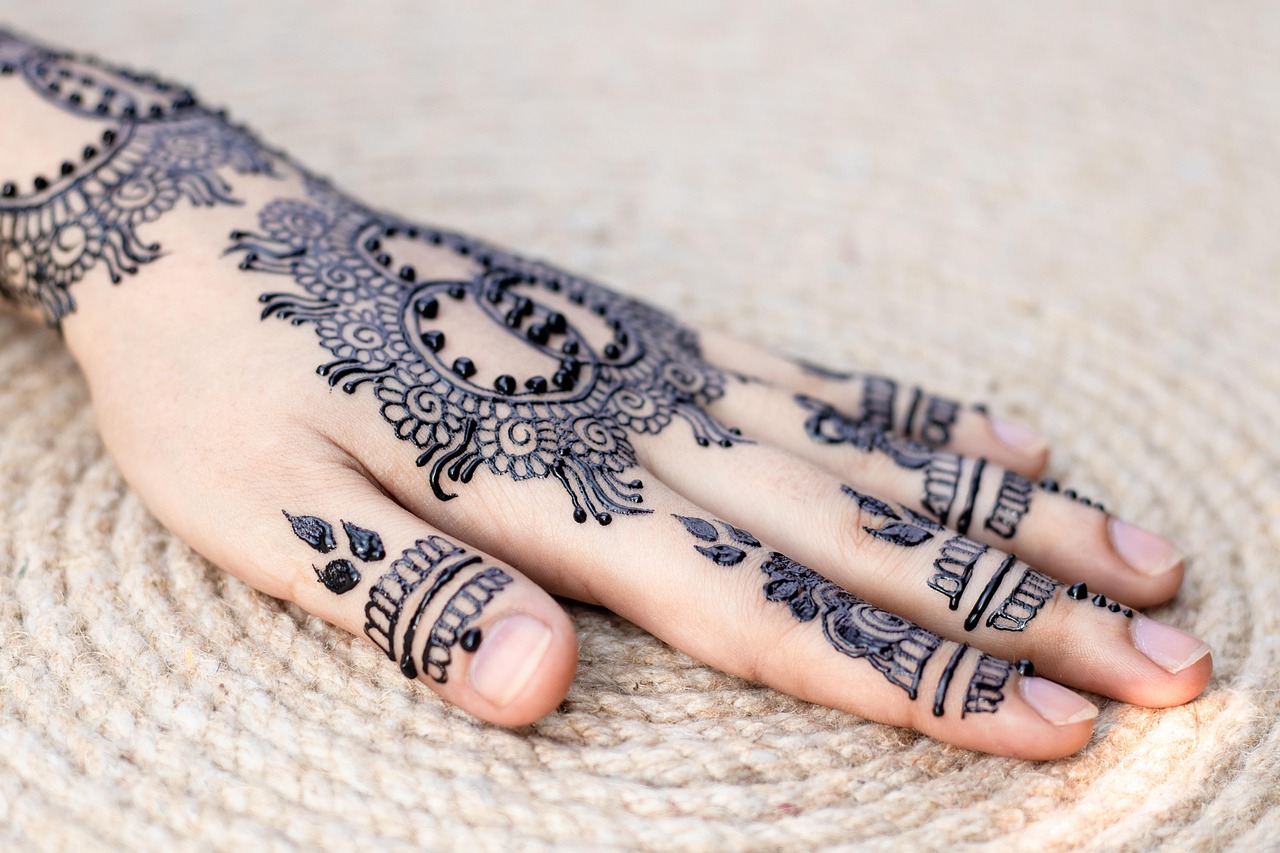
Basic mehndi shapes include dots, lines, paisleys, spirals, flowers, and grids. Mastering these simple elements is the first step in drawing intricate designs effortlessly. To start, practice each shape repetitively on a sheet of paper or directly on your skin using a cone for better precision.
Quick Fact About Mehndi Art
According to Britannica, the application of mehndi is a practice more than 5,000 years old, symbolizing joy, celebration, and beauty in cultures across the globe.
The Step-by-Step Process of Drawing Simple Mehndi Designs
Once youâve mastered the basic shapes, the next step is integrating them into cohesive designs. Follow these step-by-step instructions to create your own stunning henna patterns.
How do I create a simple floral mehndi design?
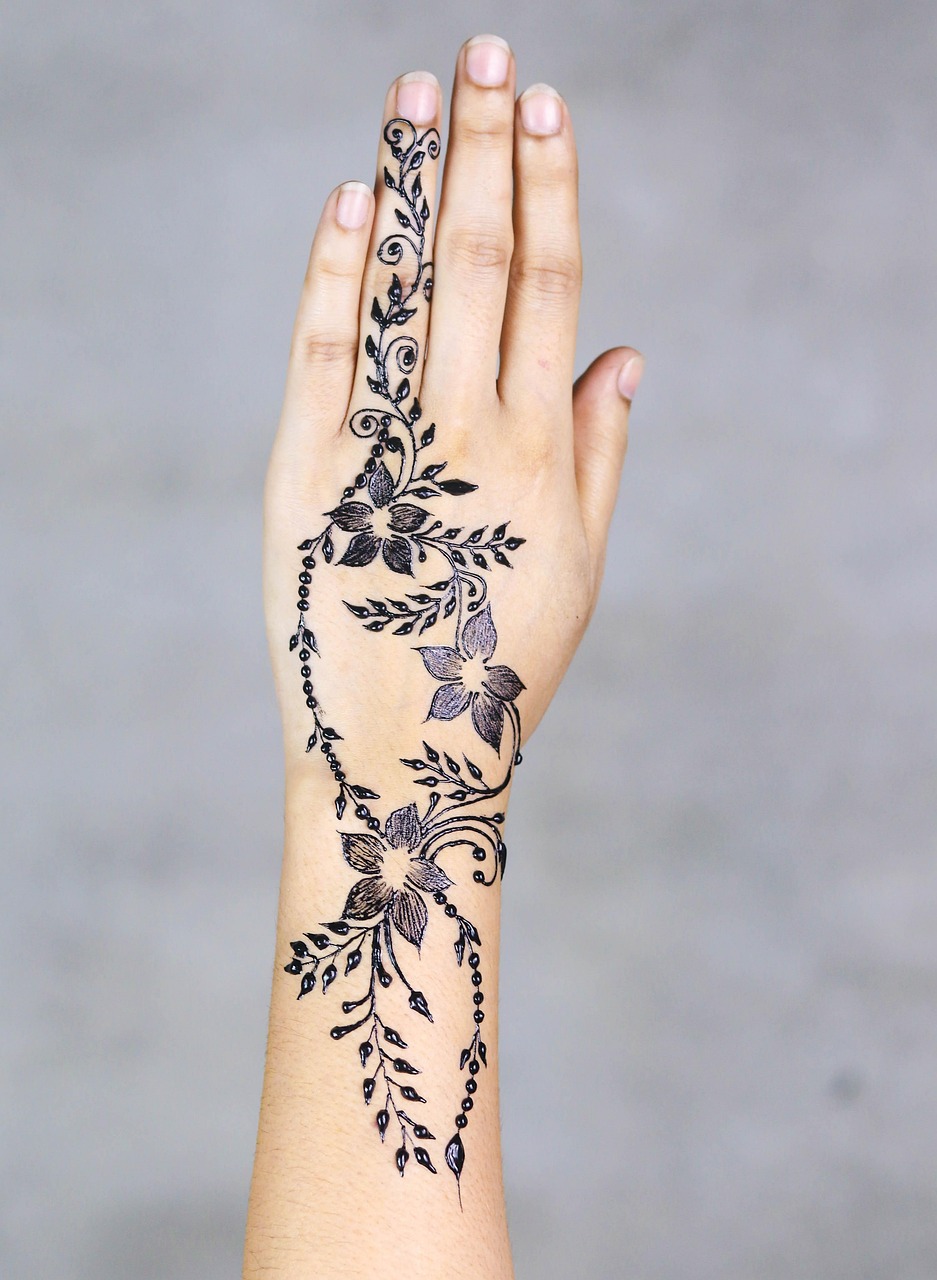
Hereâs a quick guide to creating a basic floral henna design:
- Begin with a large central circle as the flower.
- Draw small petals around the circle, keeping them evenly spaced.
- Add a layer of larger petals around the smaller petals.
- Use filler patterns like dots or spirals to connect the flower to other design elements.
- Extend the design with flowing vines and leaves for an elegant appearance.
Example: Floral Design Breakdown
Designers often start with a flower because itâs versatile. Popular mehndi tutorial channels like Henna Tutorials have easy-to-follow videos demonstrating this step-by-step process.
Tips for Practicing Simple Mehndi Designs
Consistency is key when learning how to draw simple mehndi designs step by step. Regular practice allows you to achieve clean lines, precision, and symmetrical patterns, which are essential for any henna art.
How often should beginners practice mehndi designs for improvement?
Dedicate at least 15-20 minutes daily to practice. Start with easy designs and gradually transition to complex ones. As you gain confidence, try applying designs directly onto your hands or a friendâs for realistic practice.
Expert Tip
Renowned henna artist Veena Malik advises beginners to experiment with pre-made henna cones for consistent flow. She suggests, âFocus on learning symmetry and spacing. These two aspects alone can transform the way your designs look.â
Conclusion
Learning how to draw simple mehndi designs step by step is all about patience and creativity. Start with basic shapes, practice combining them into cohesive patterns, and donât be afraid to experiment. With consistent practice and a bit of inspiration, youâll create beautiful mehndi designs in no time. Ready to give it a try? Share your progress in the comments or follow us for more henna tutorials and tips!
Pro Tip: Download our free beginnerâs guide to easy mehndi designs and get inspired!